Table of Contents
1. Overview
2. Create a Single To-do
3.Create a Recurring To-do
4. 3 Different Ways to Create a New To-do
Overview
To-do’s can be added to your schedule as a reminder of things you and your team need to do. You can use these for many different things including job prep, errands, ect
New To-Do’s can be added to your schedule a few different ways.
Create a Single To-do
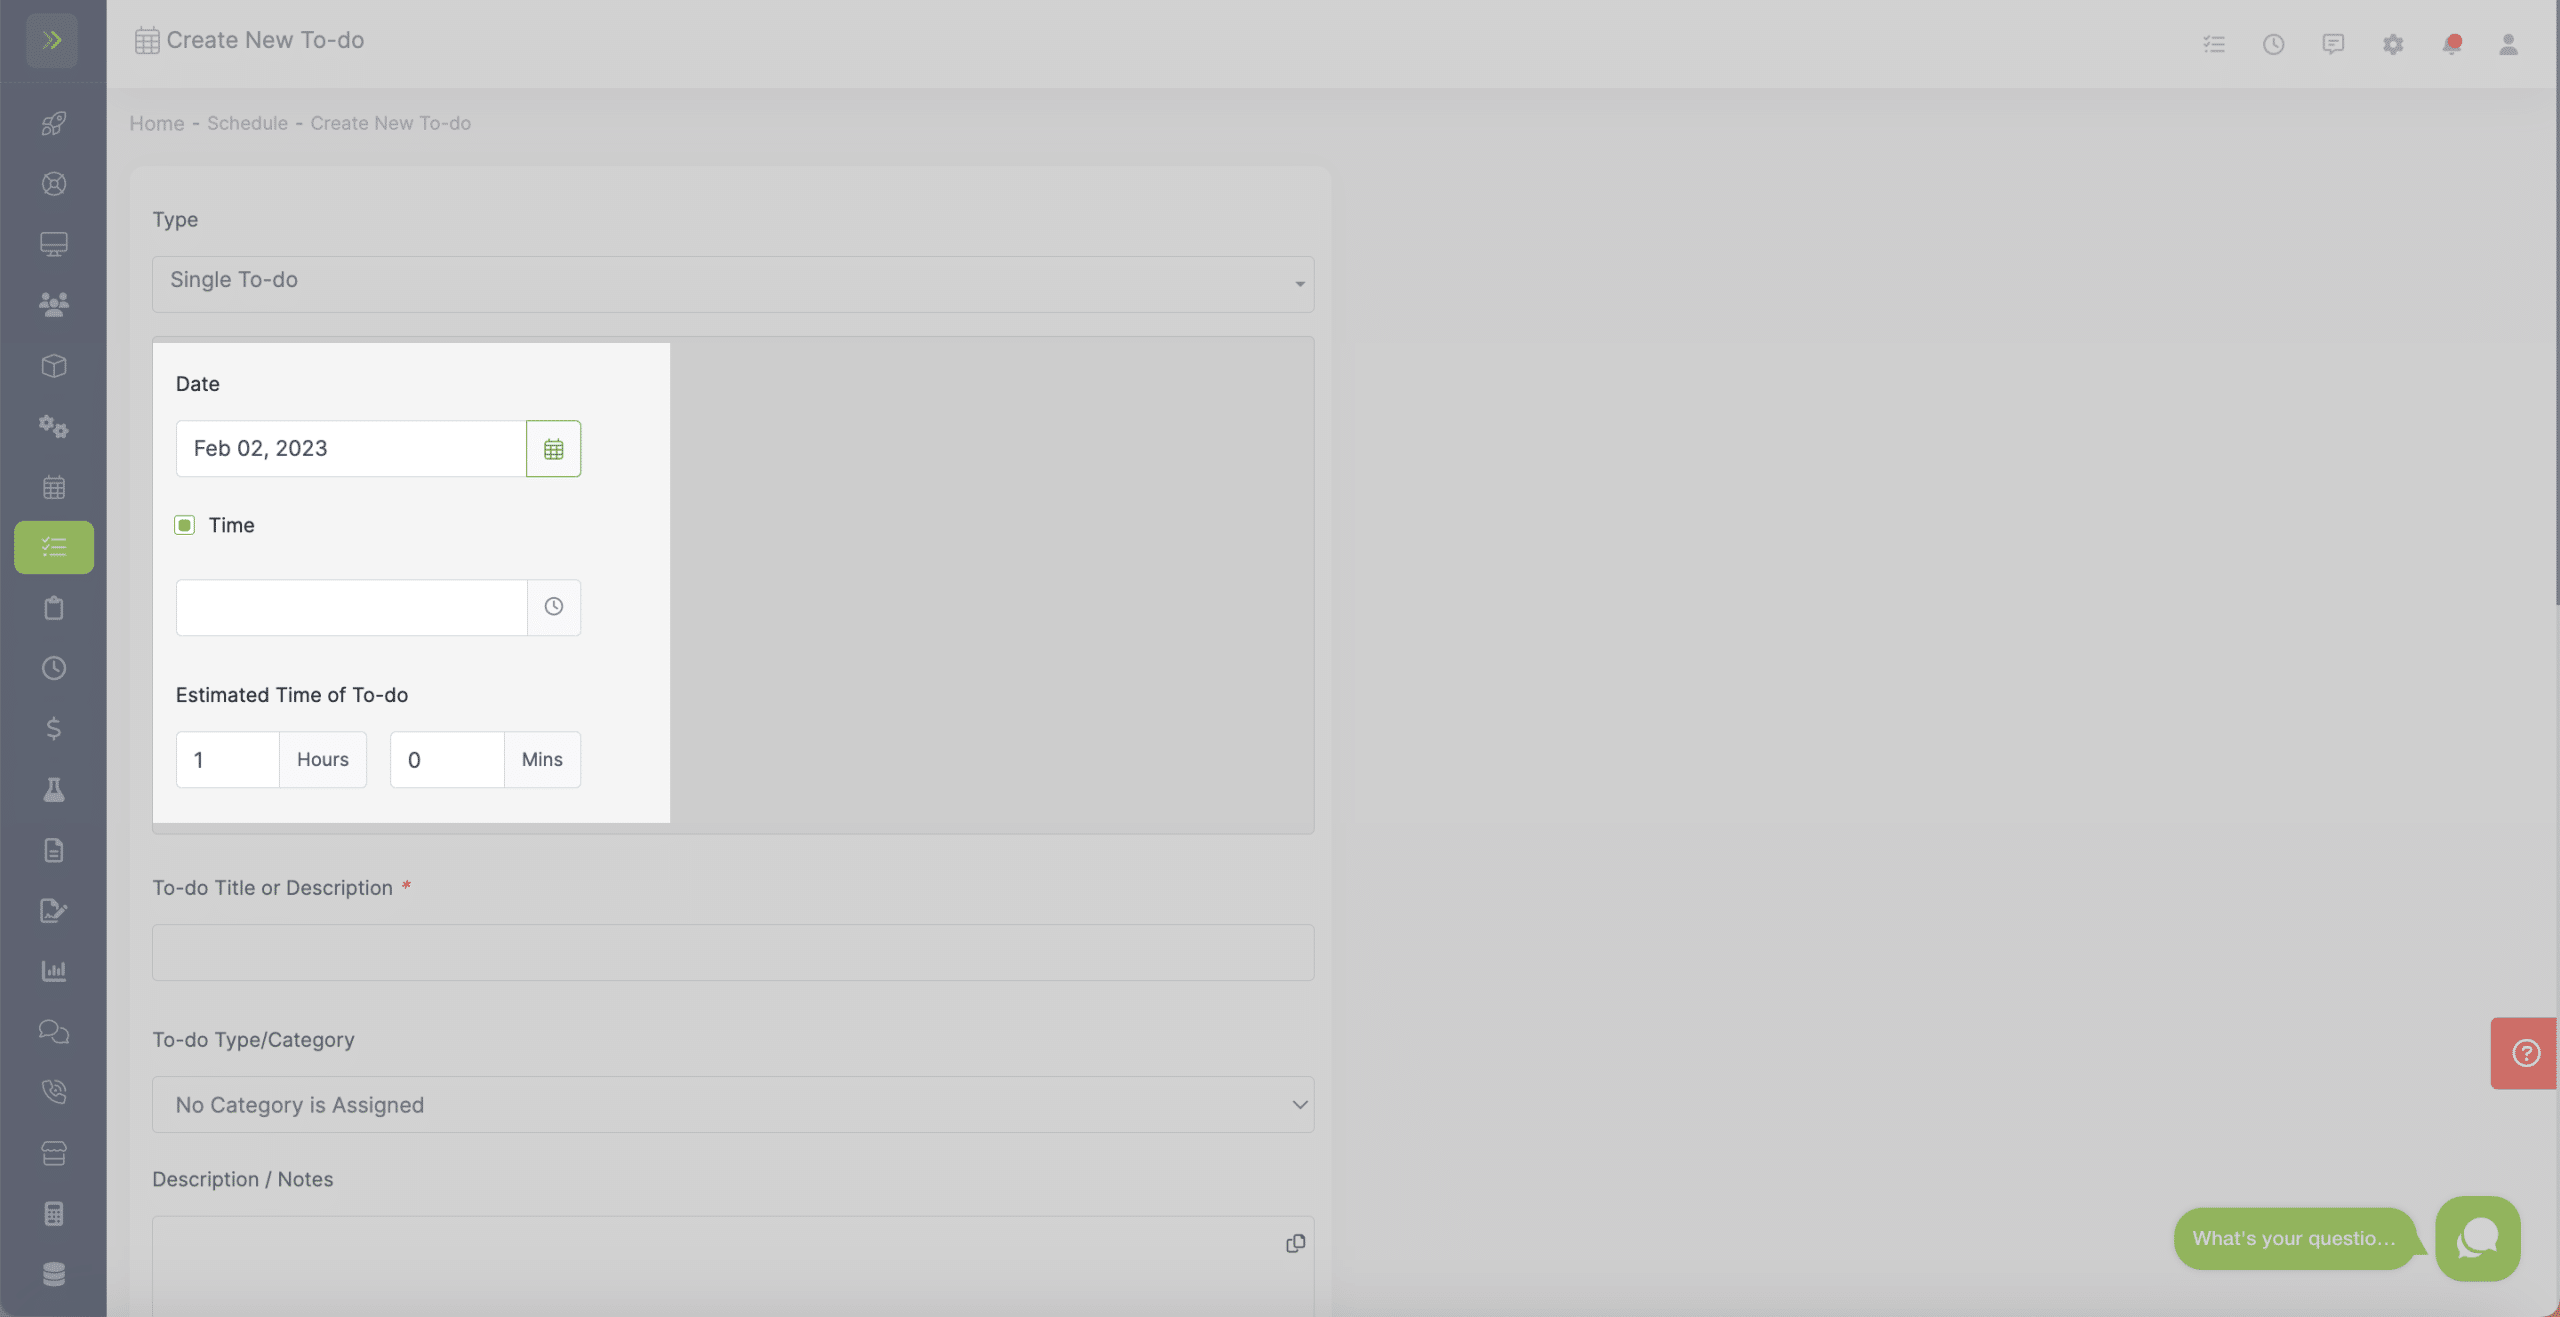
First select “Single To-do” from the Type Dropdown

You will first choose a date for the to-do and you can also set a time and the estimated duration of the to do.
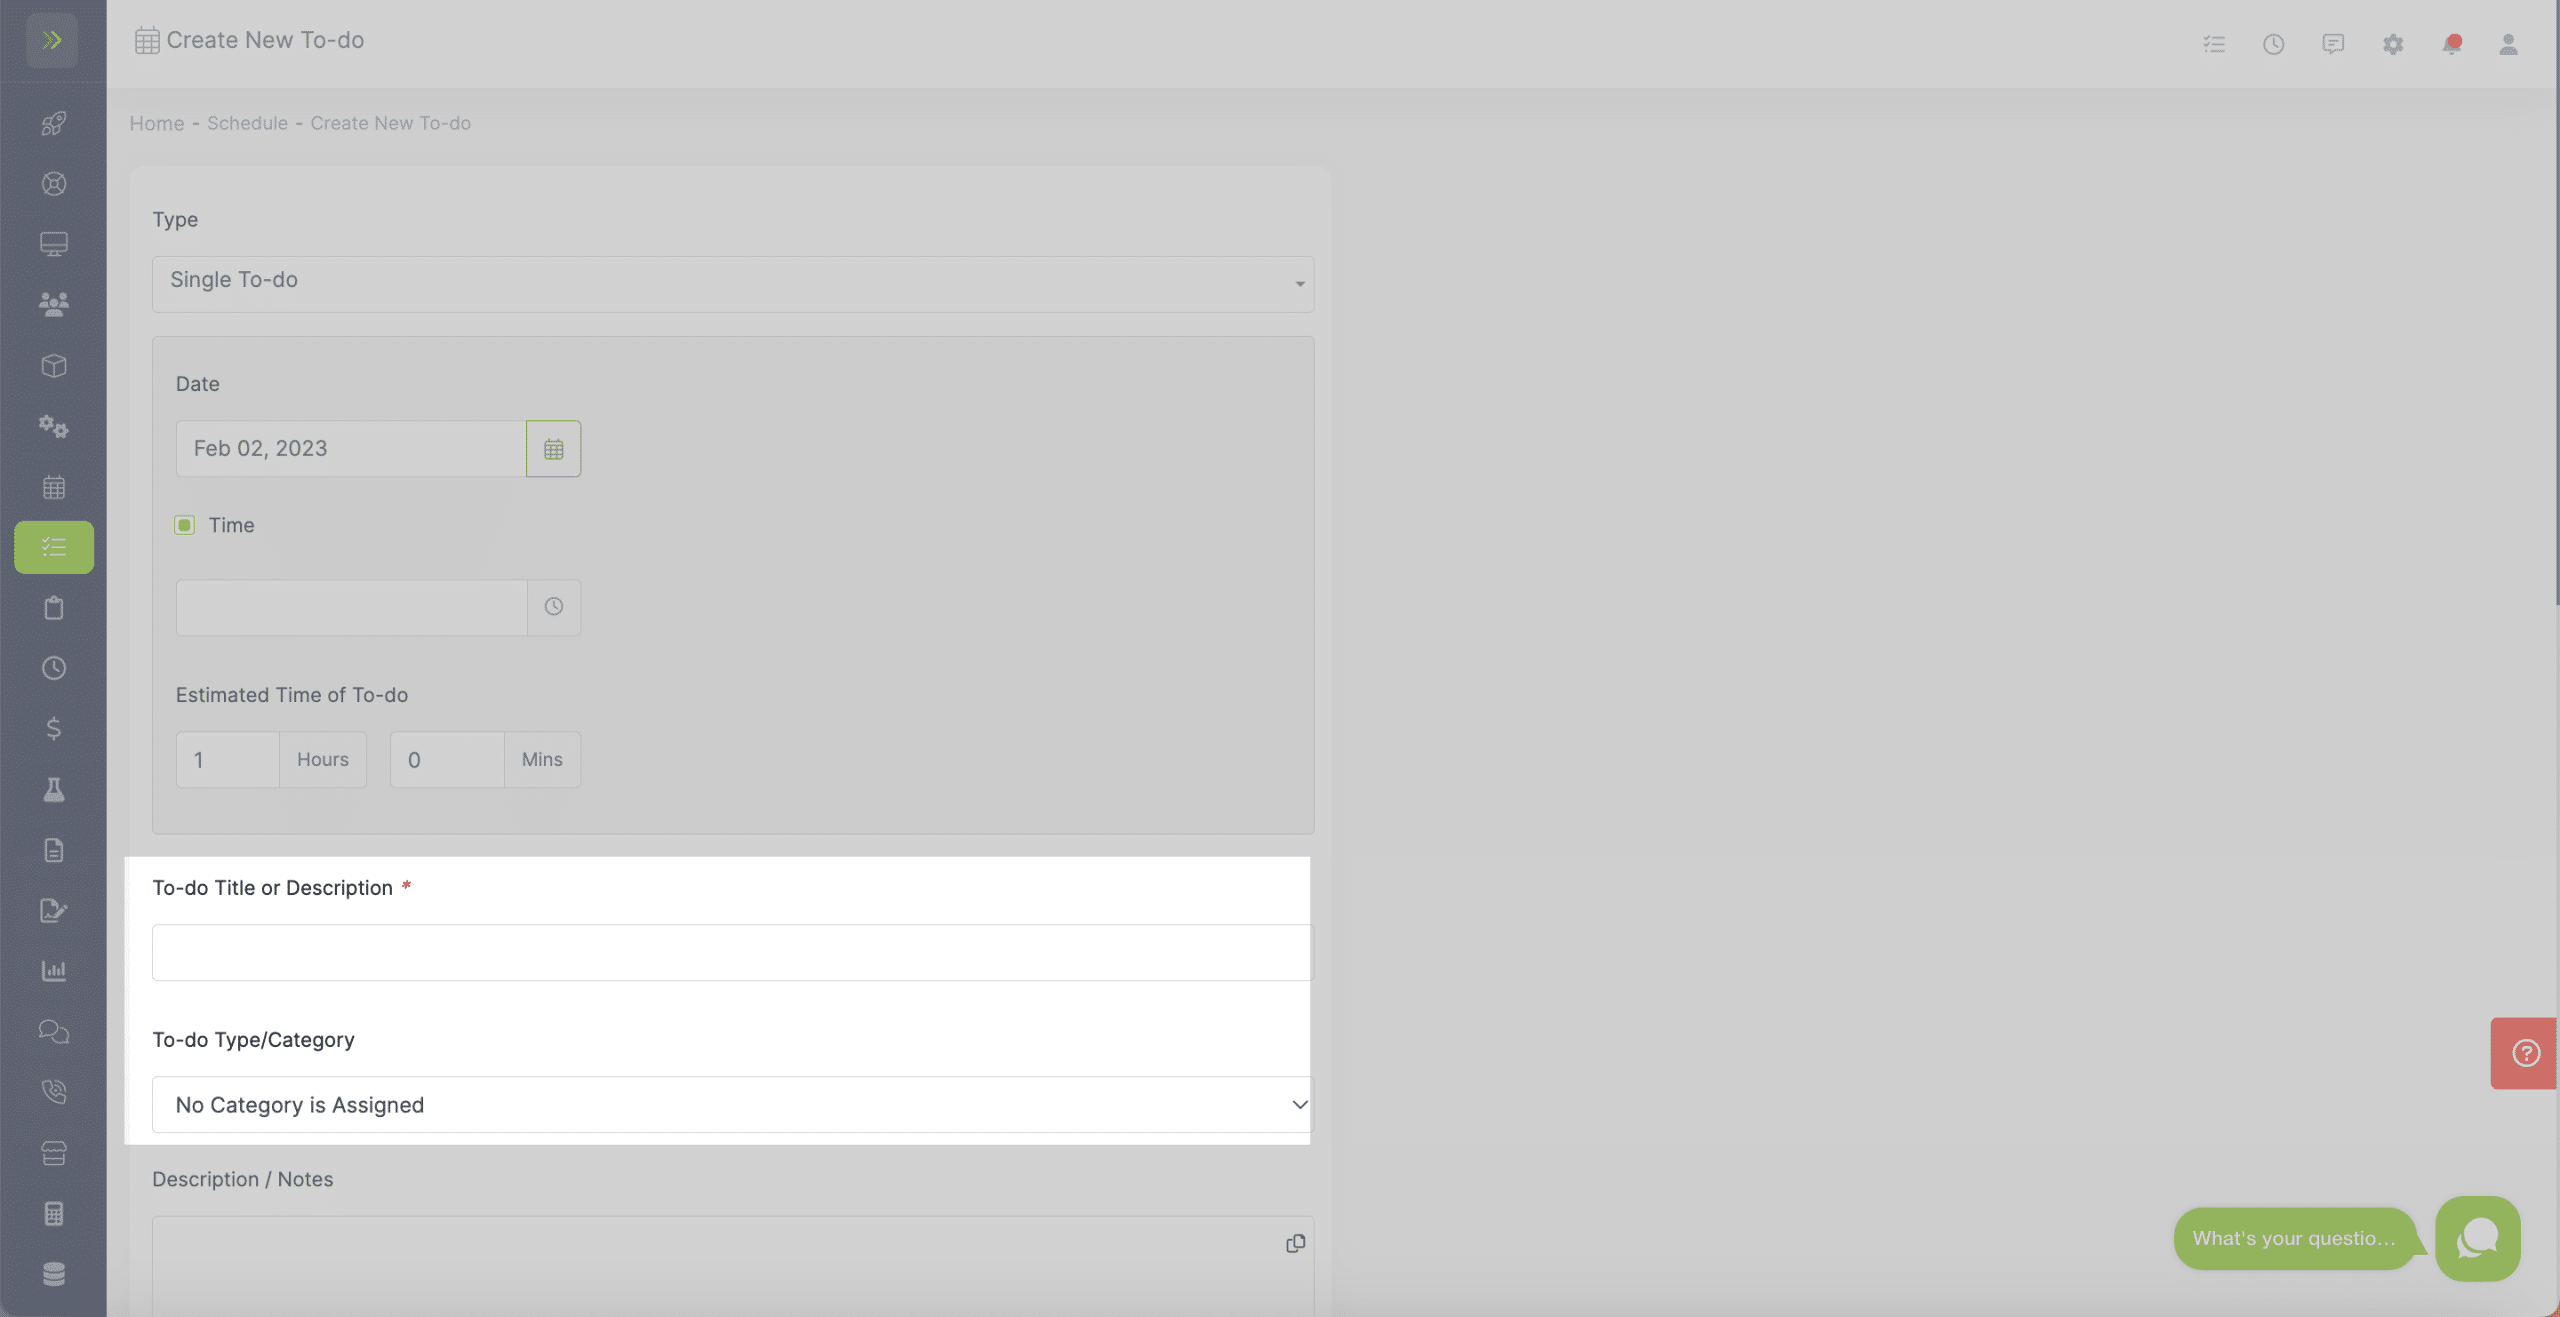
Next, name or describe the To-do and select a category (learn how to edit and add those here)
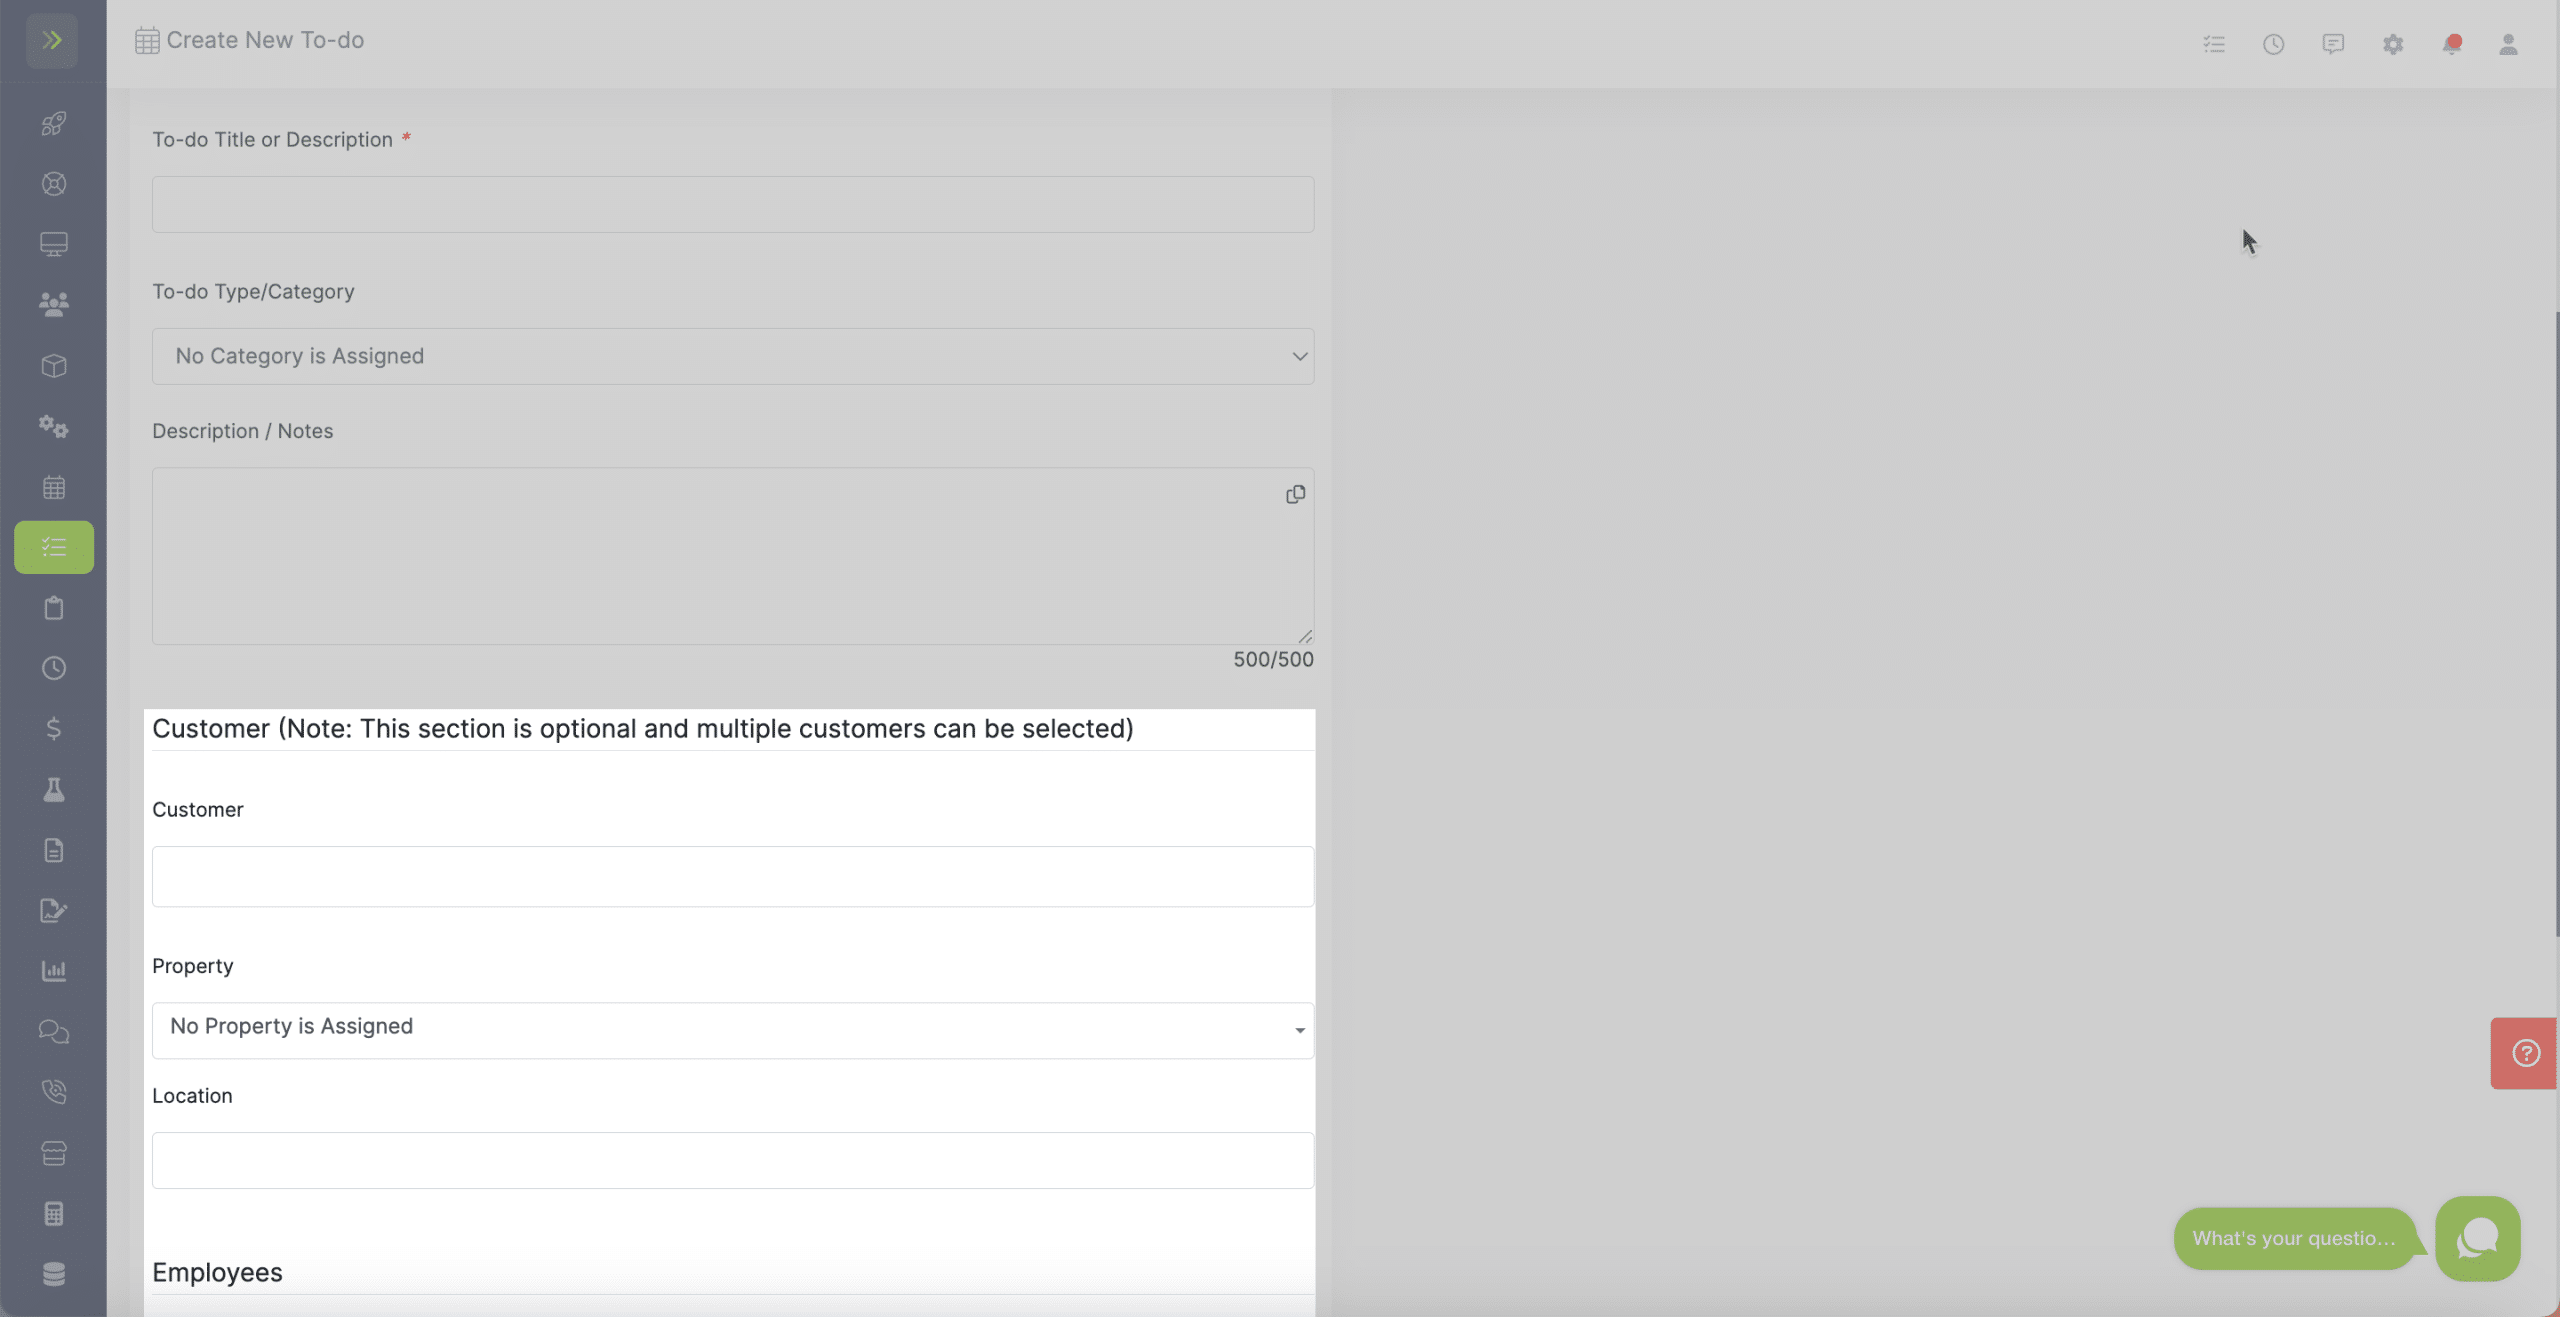
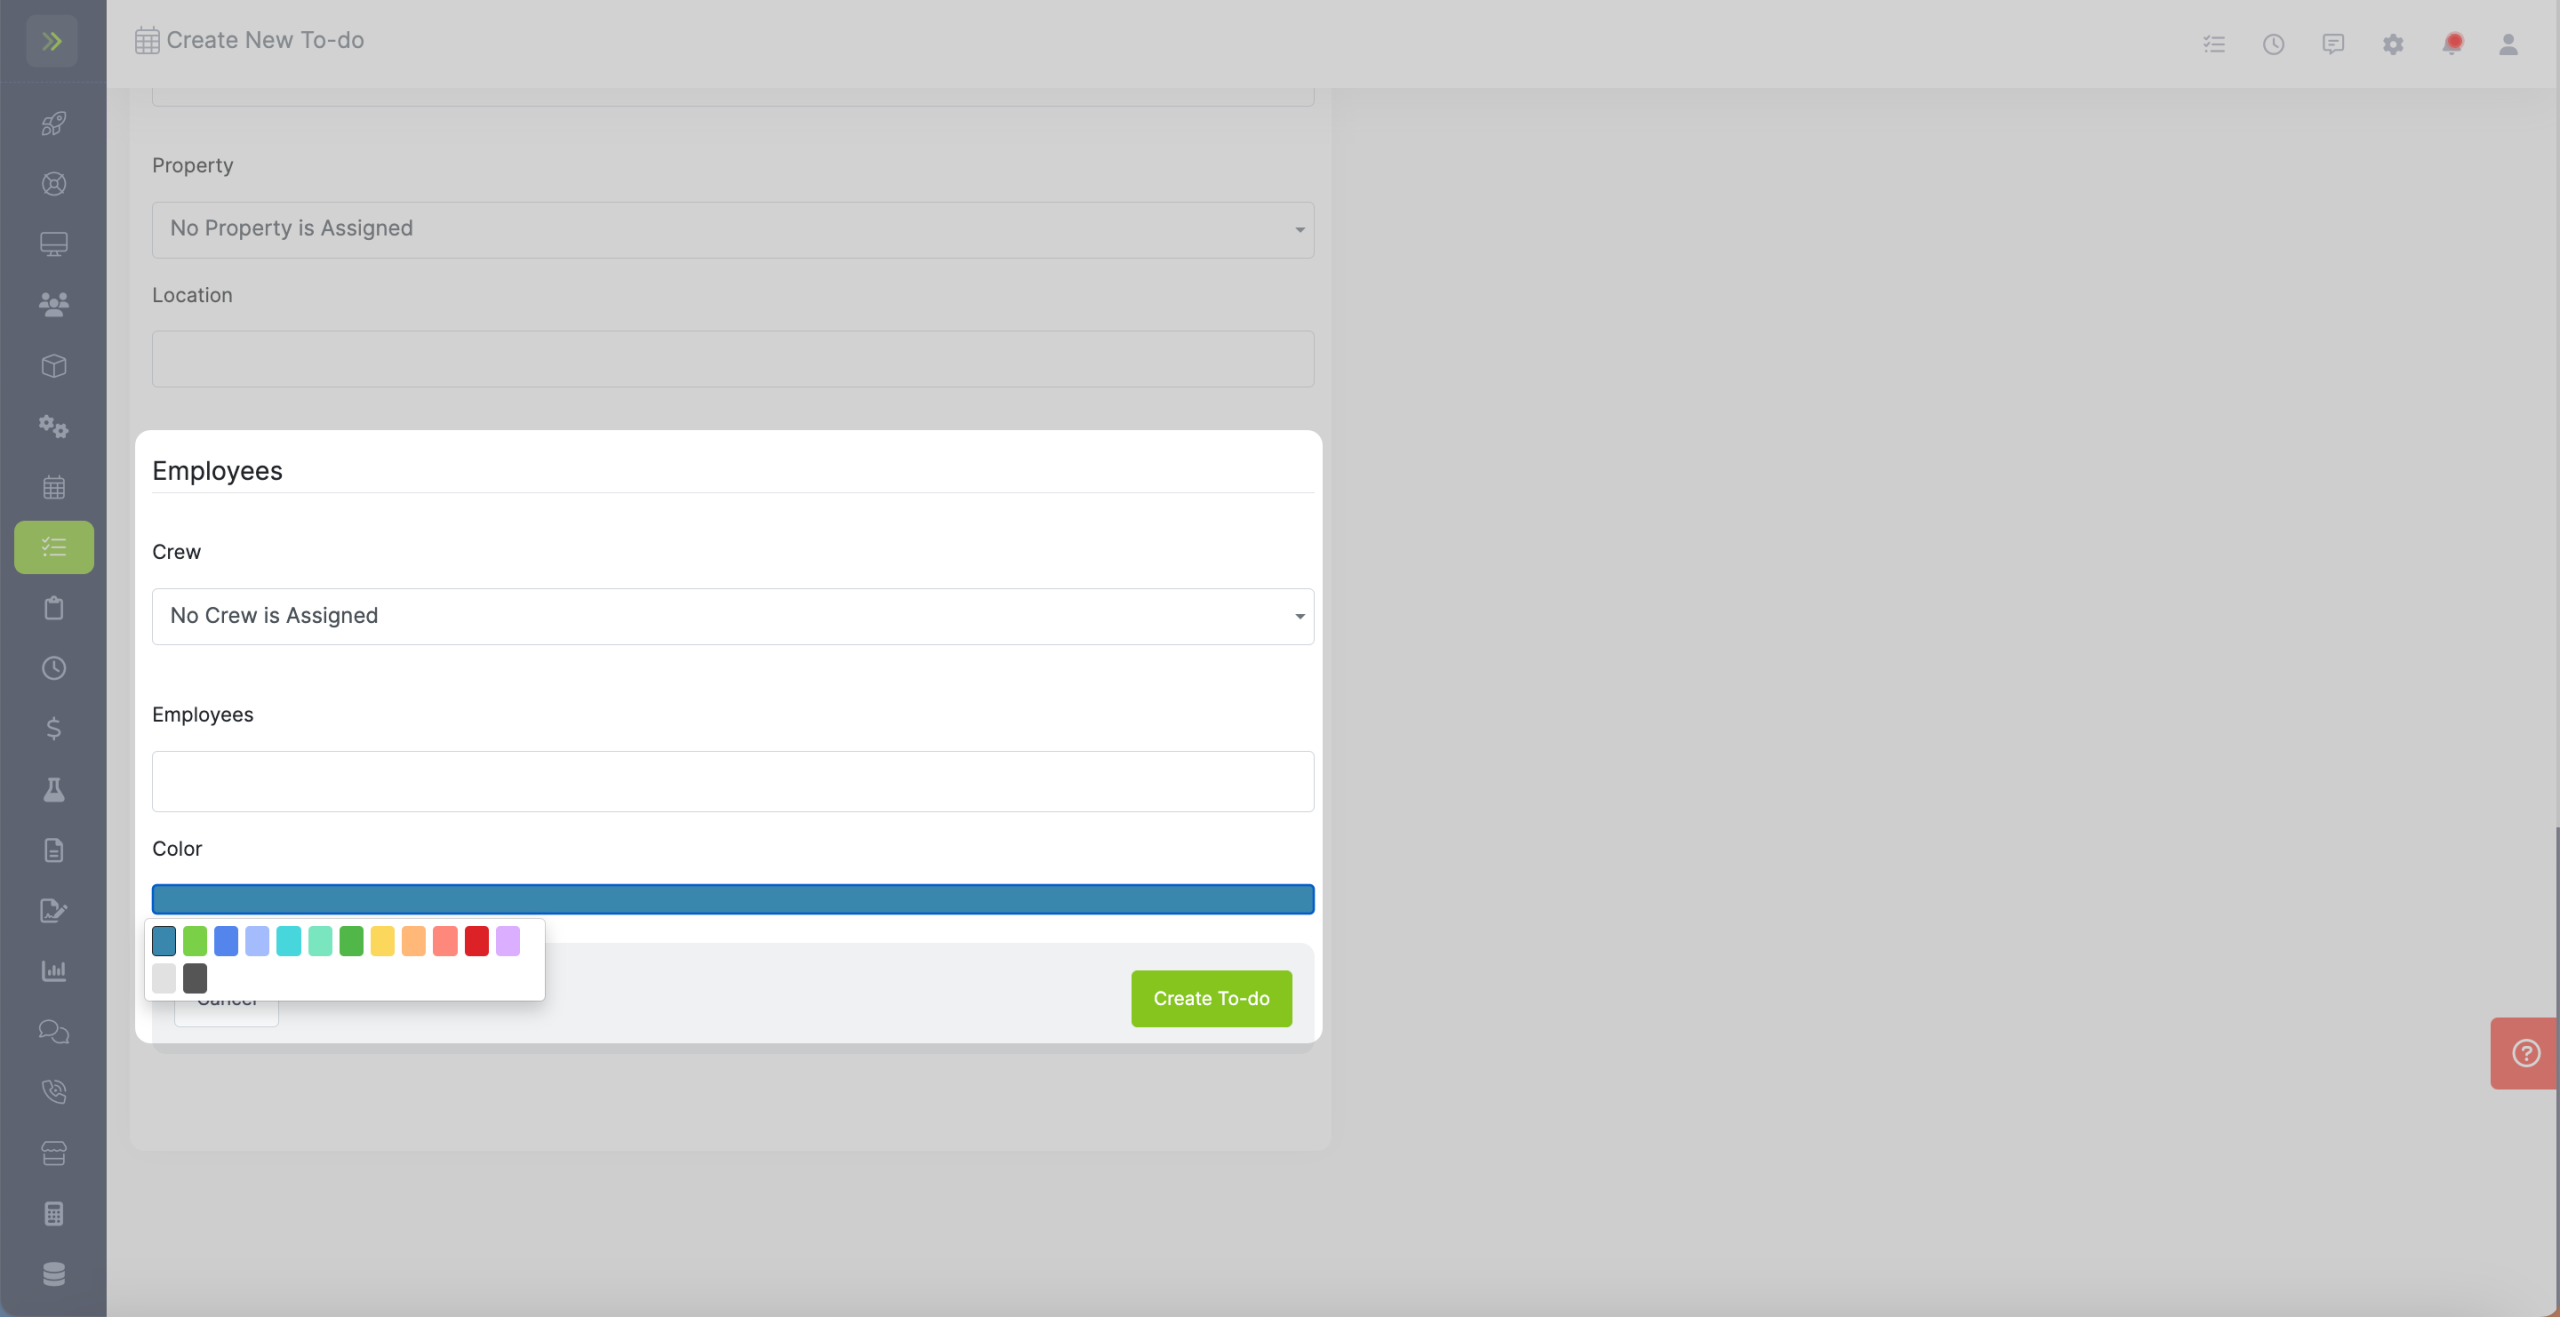
The next section is optional, but you can select customers, properties, and employees that are involved with this To-Do.
You can also change the color that will appear on your schedule for this to-do
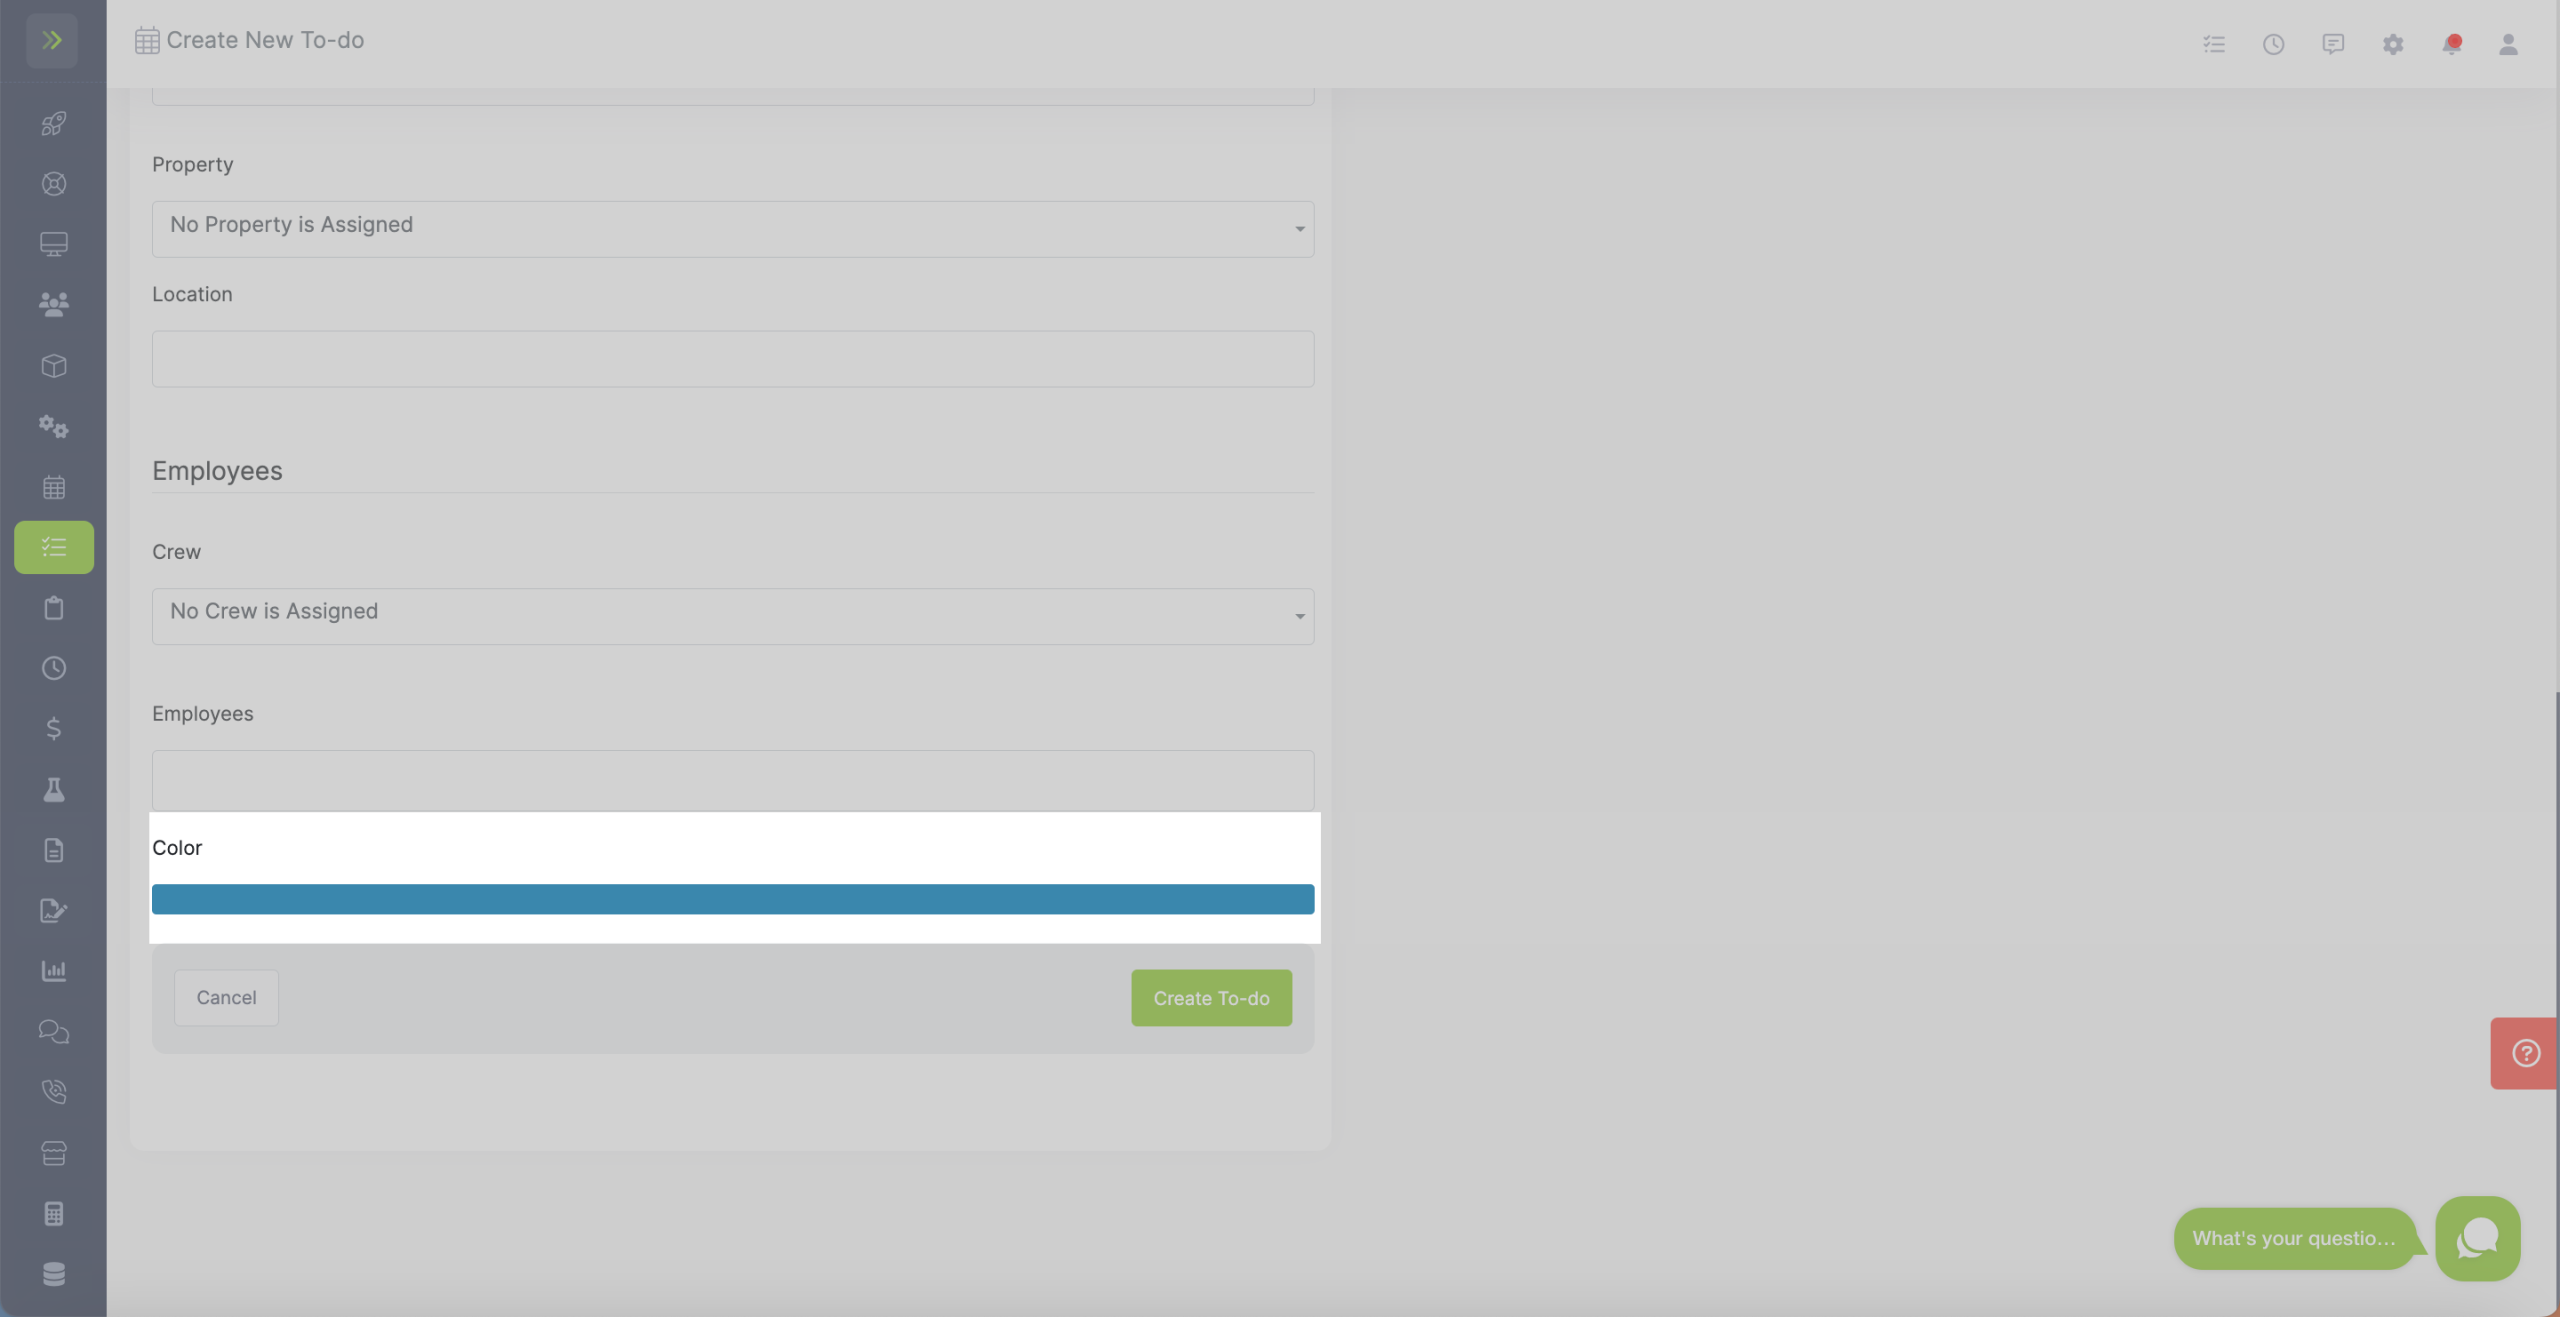
When are finished filling out the information for your to-do, be sure to click the green “Create To-do” button.
Create a Recurring To-do
Change the type to “Recurring Series of To-do”
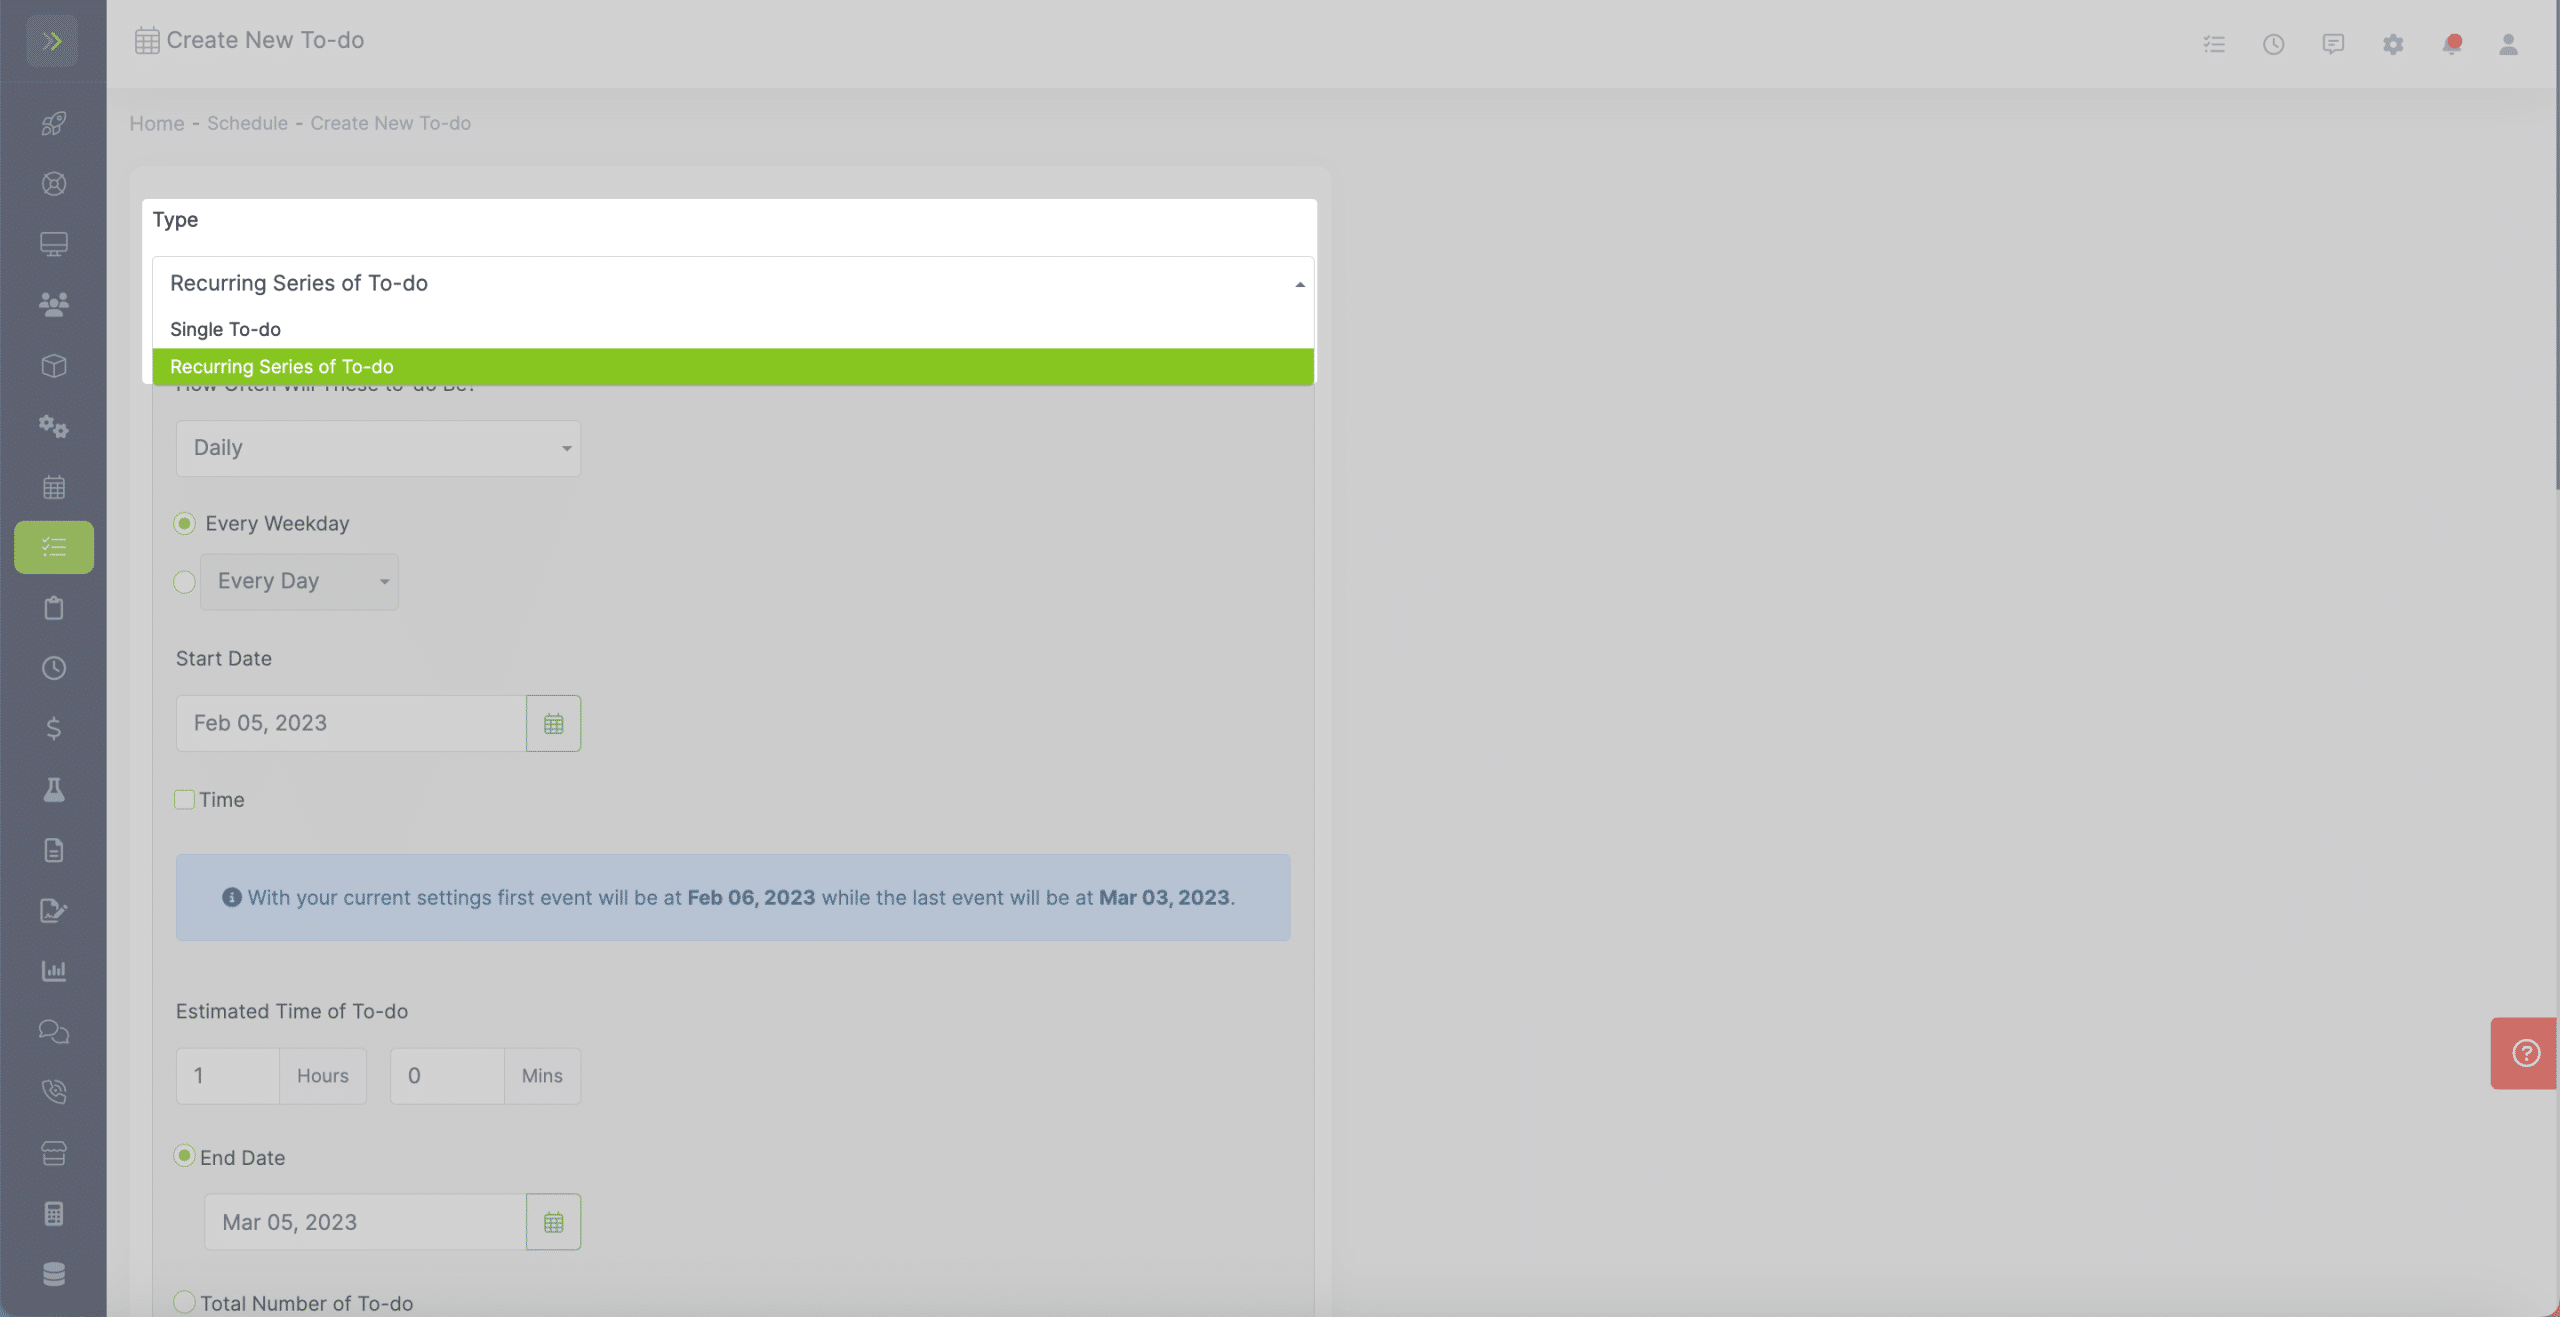
Select how often you would like this To-do to occur. You can choose from daily, weekly, monthly or yearly.
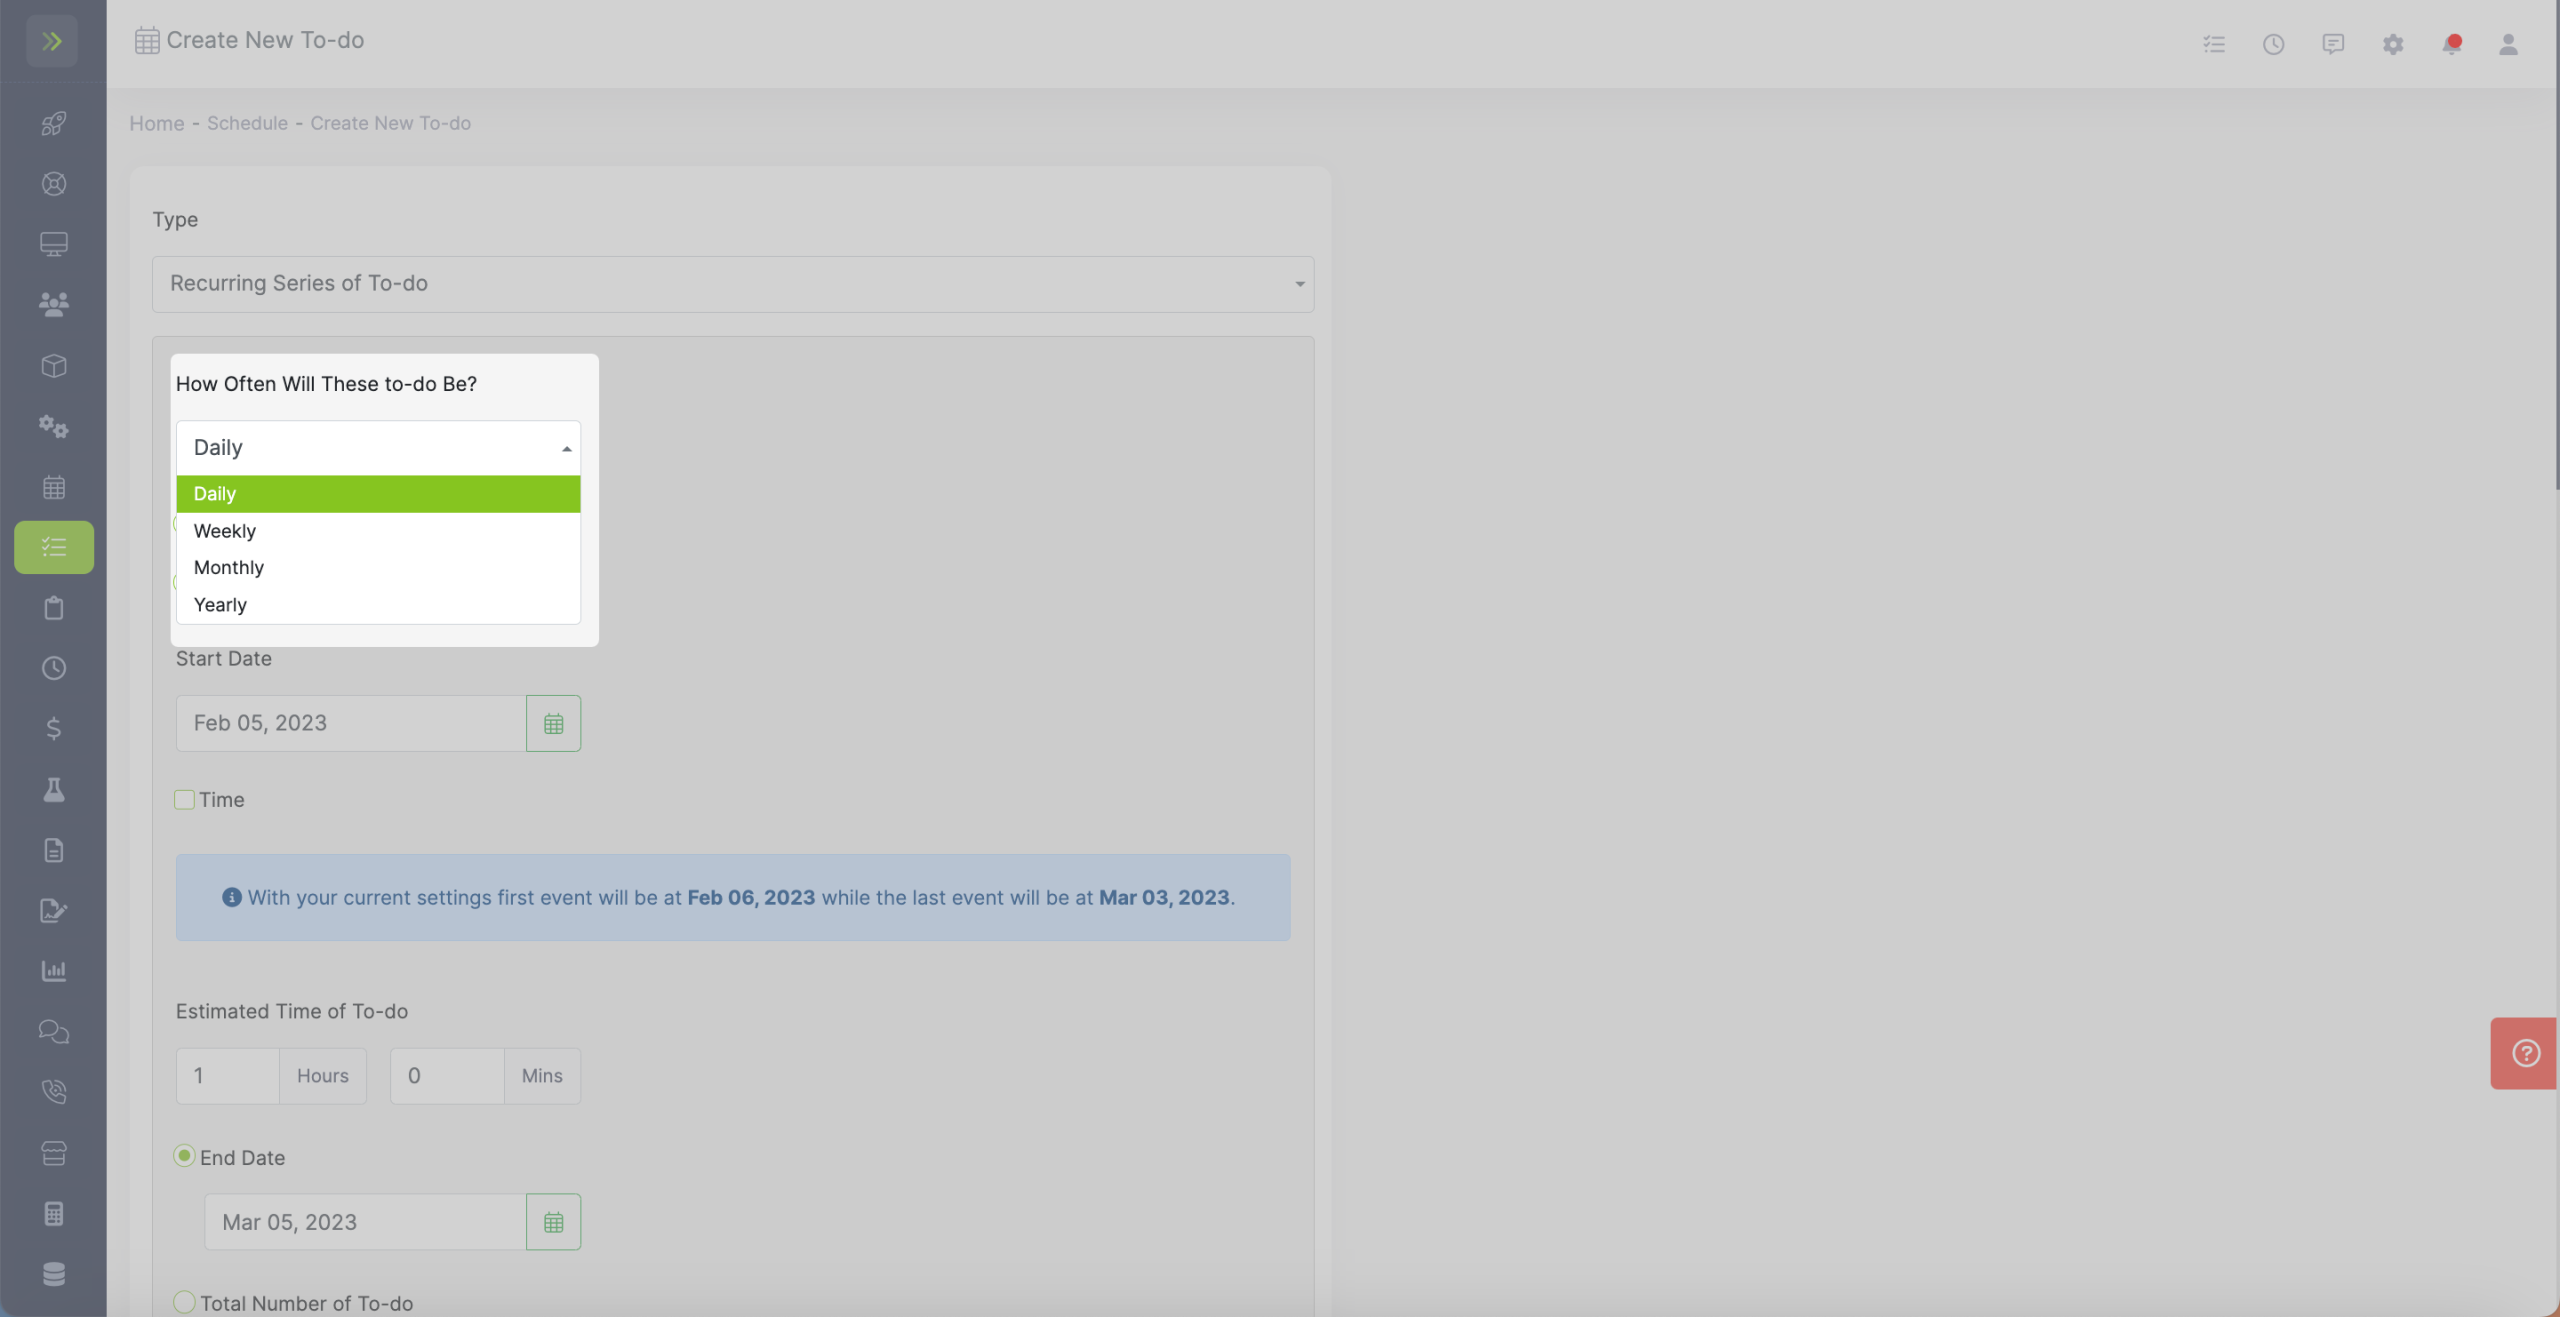
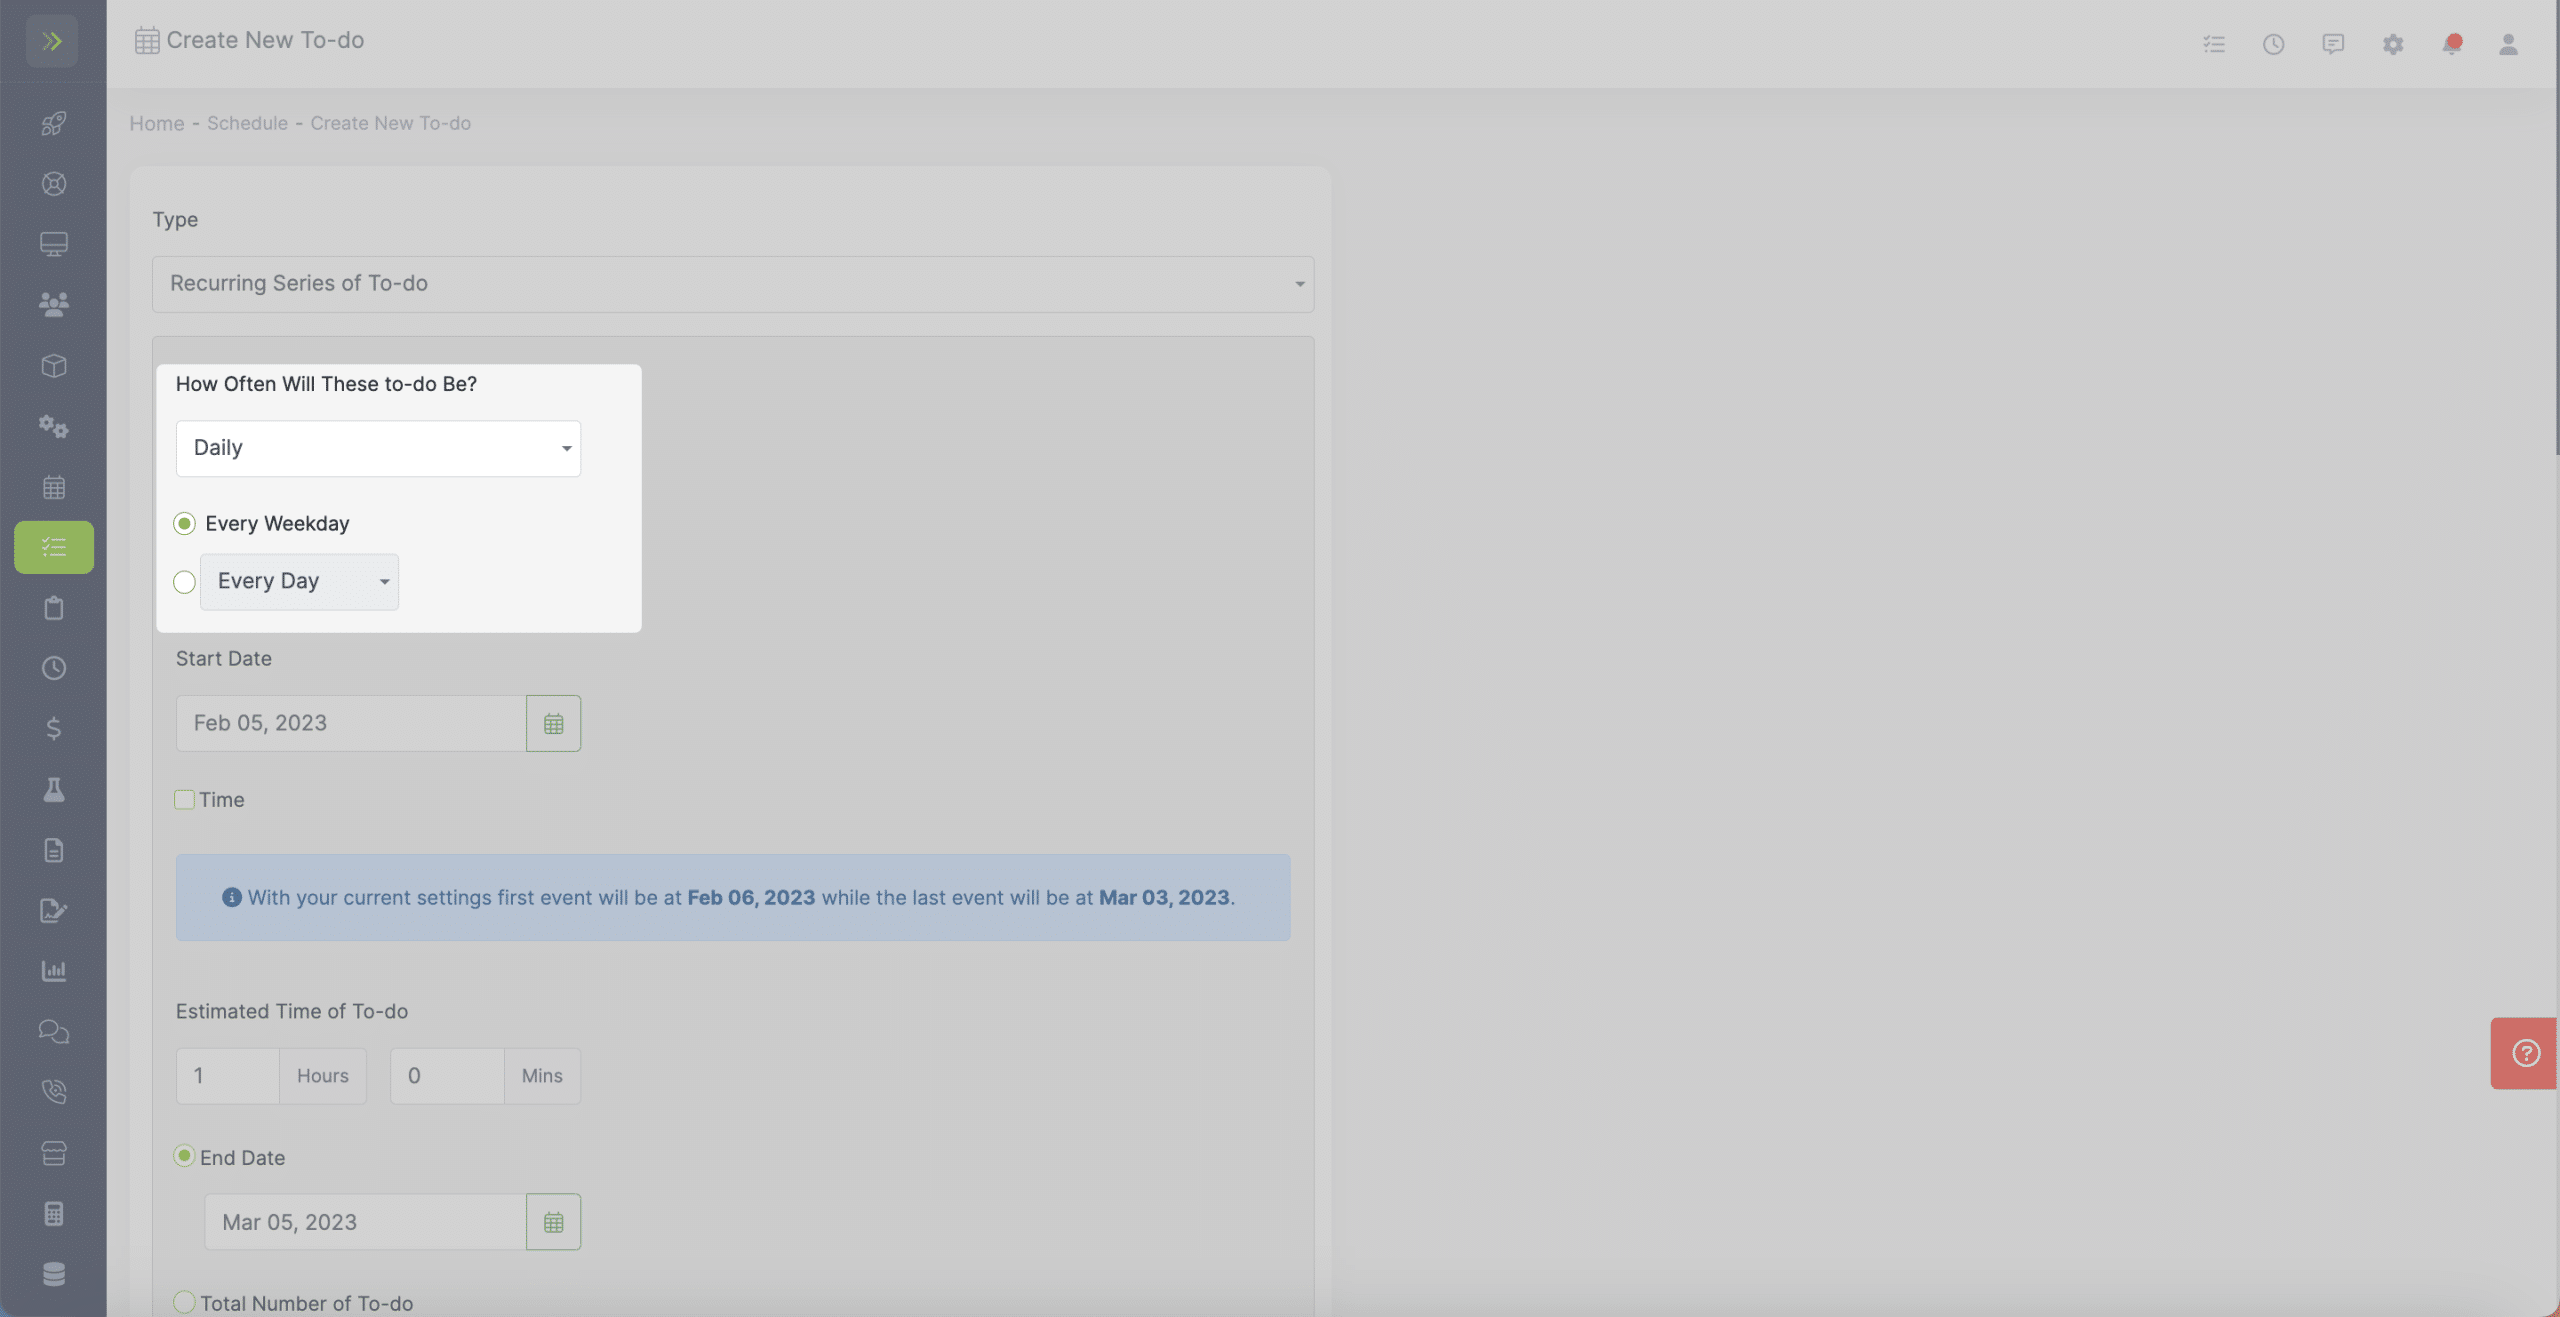
If you select Daily you have the option to choose every weekday or you can select daily, every 2 days, etc
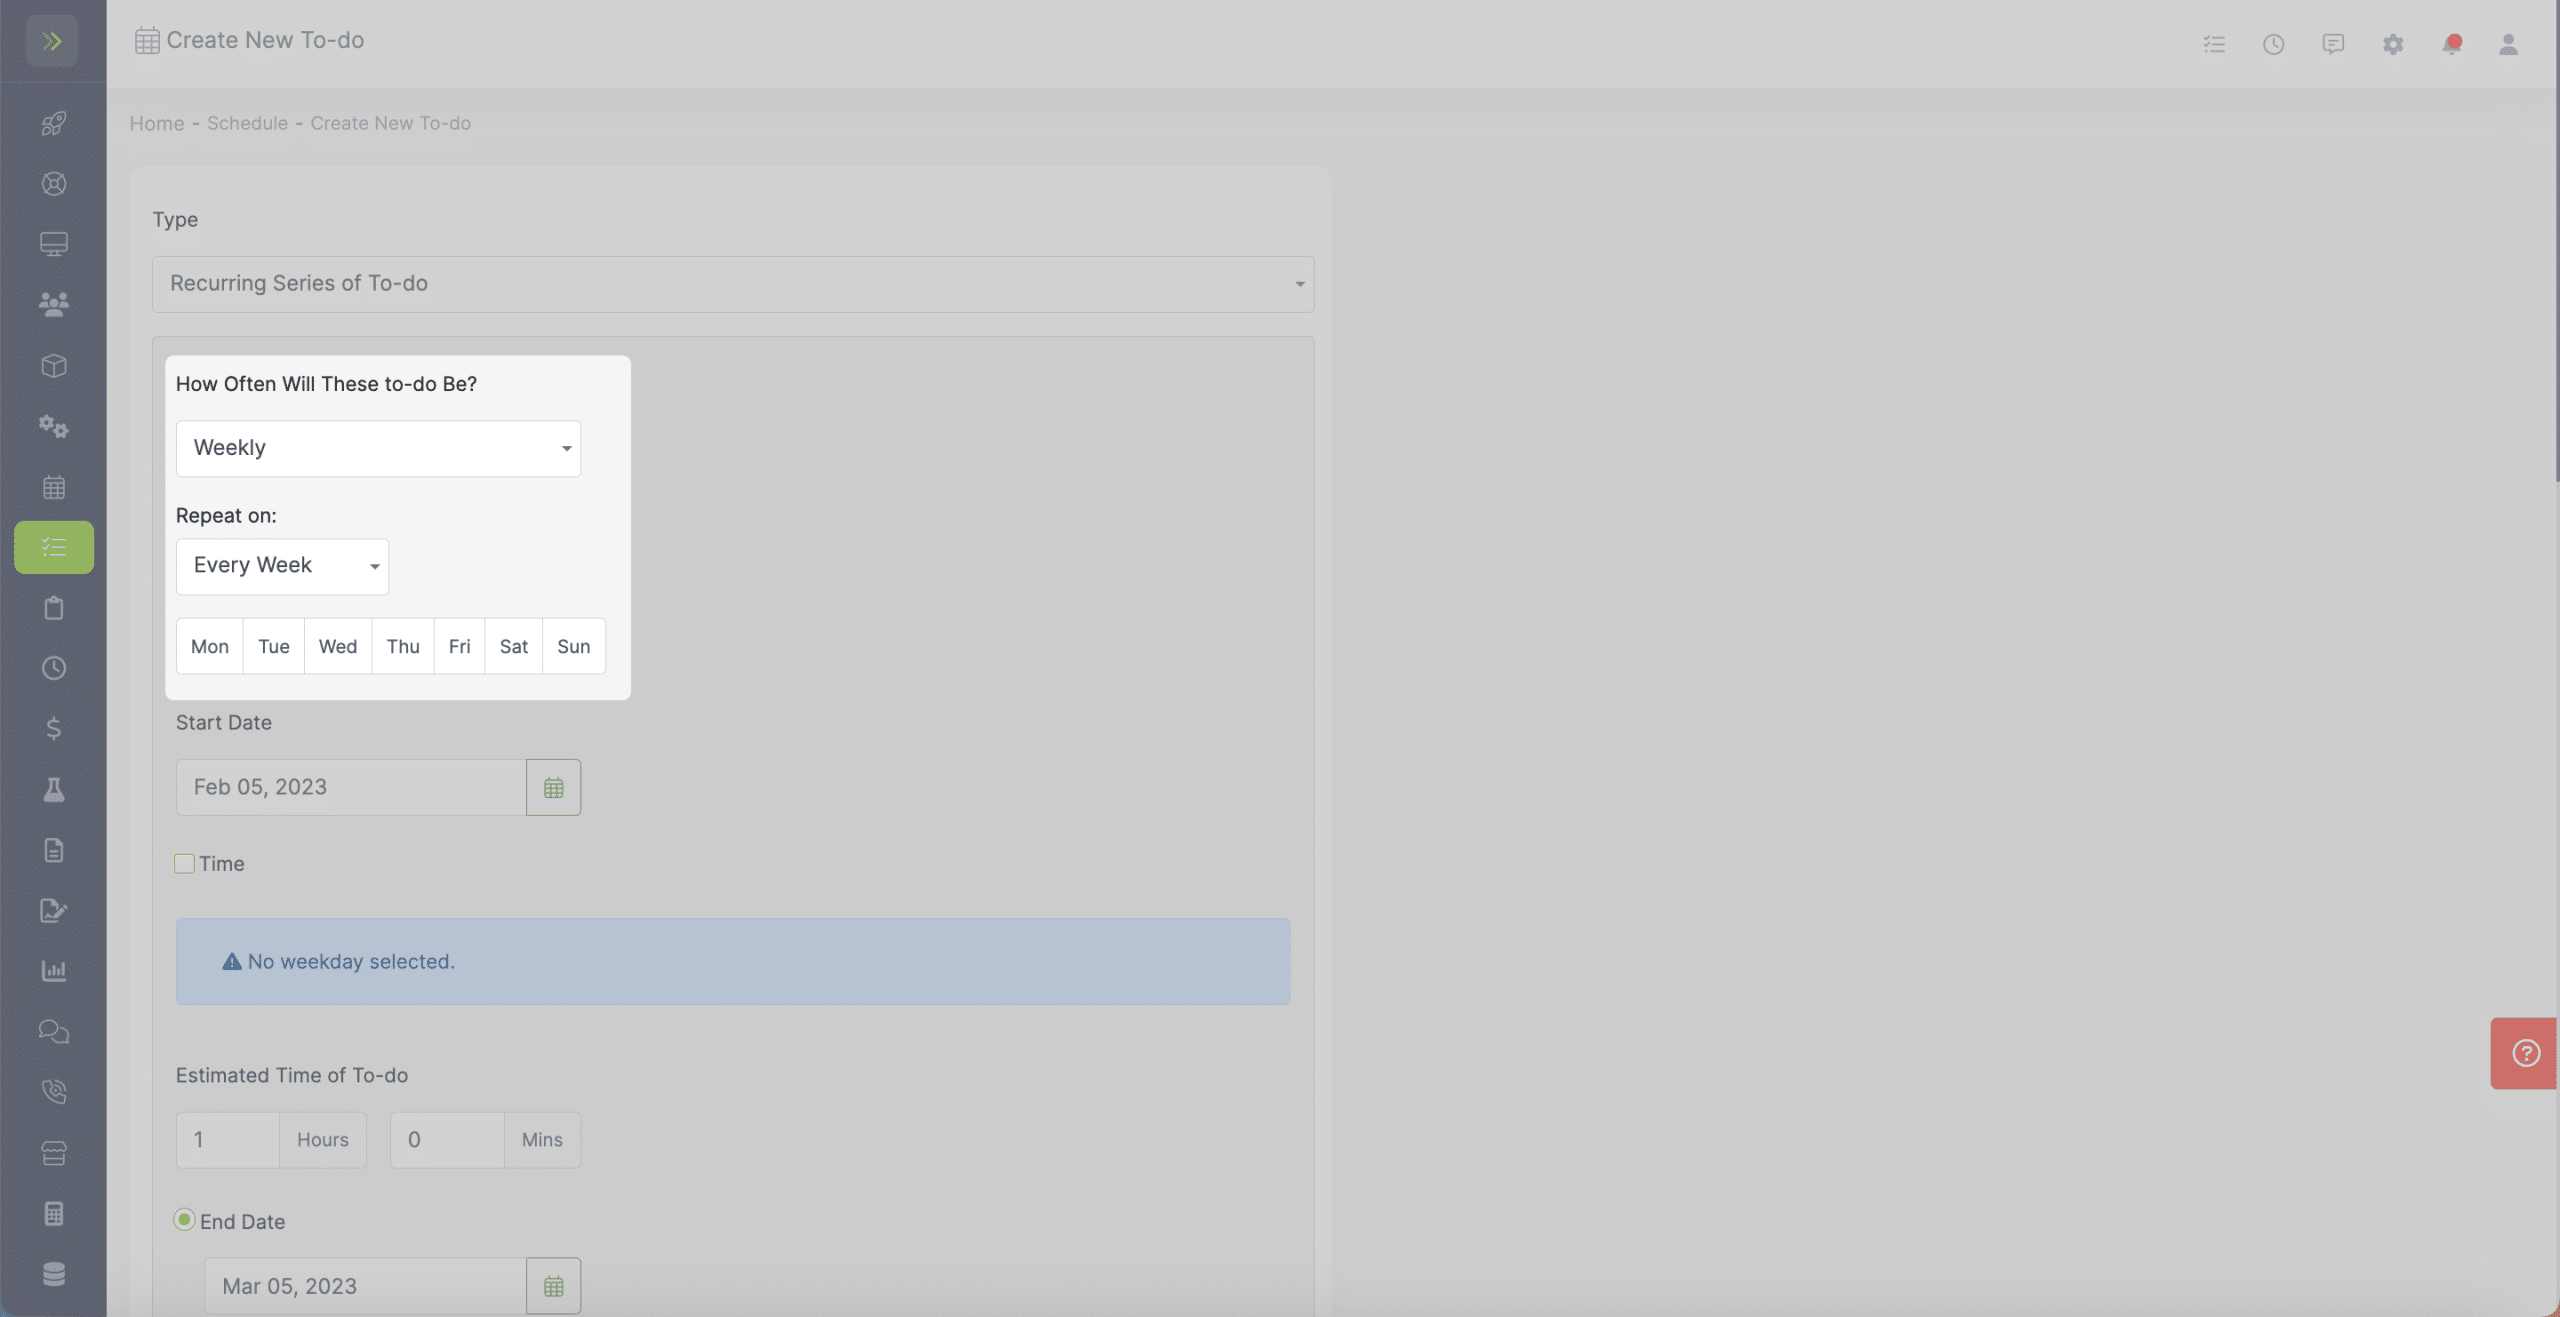
If you select Weekly, you will see the options to select if you want the To-do to occur every week, every two weeks, etc
You can also choose with day(s) of the week you want the To-do on.
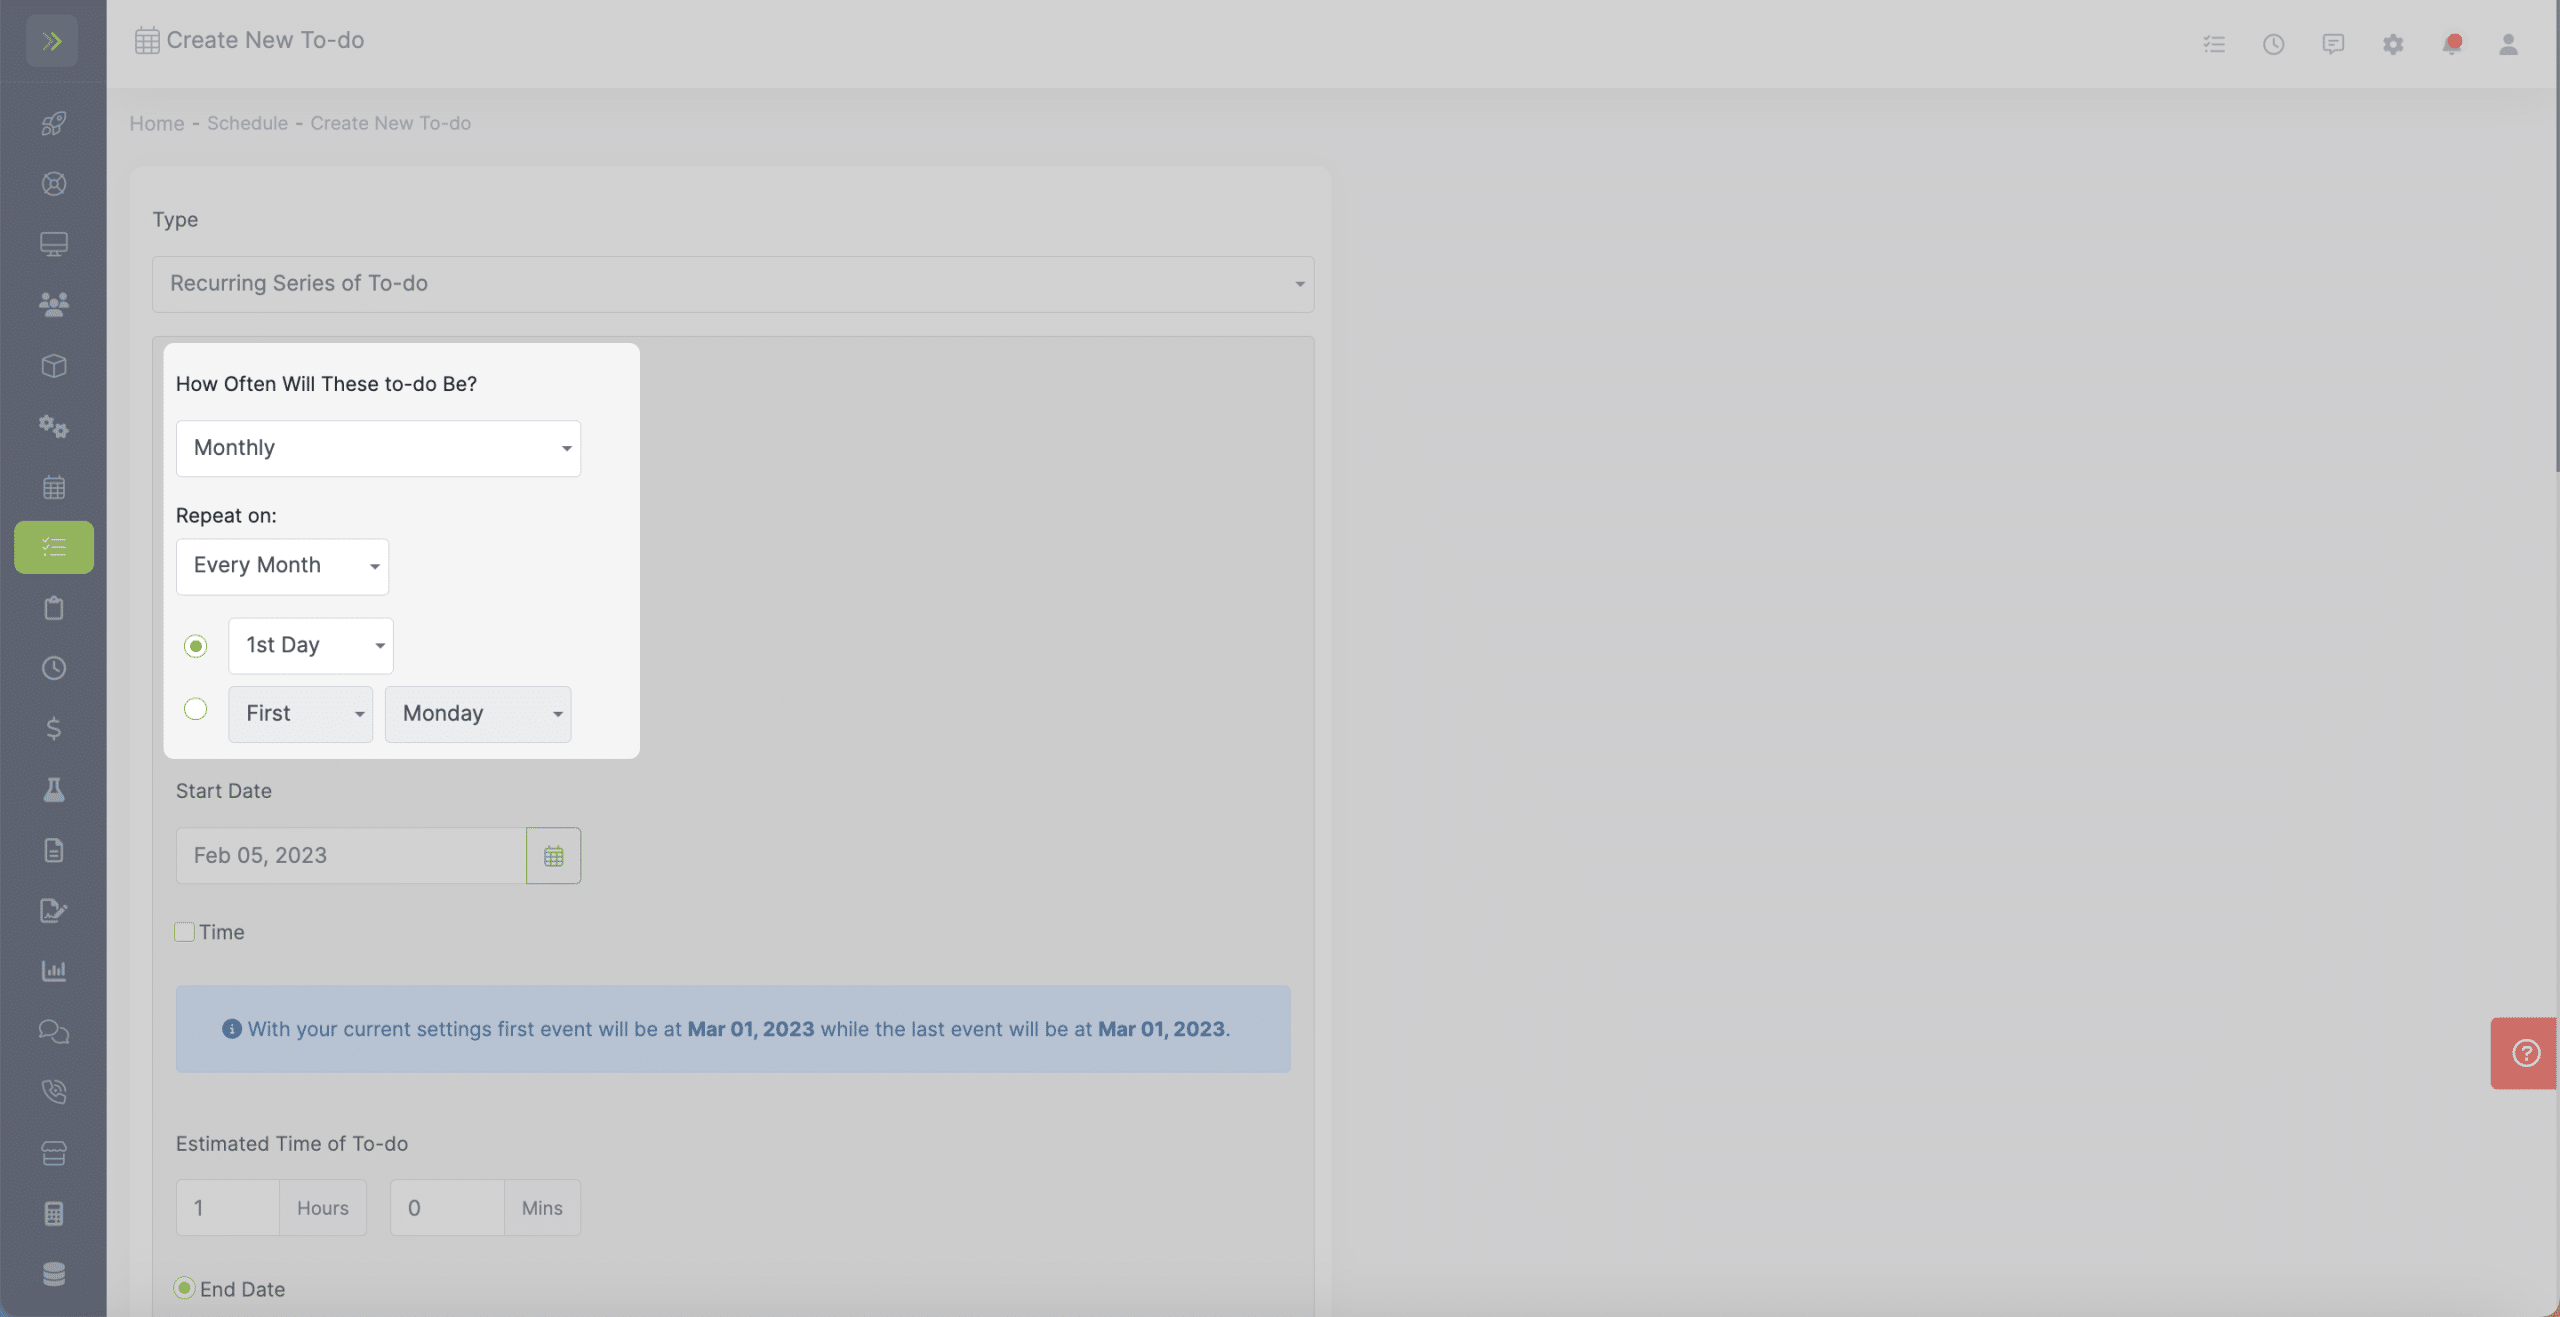
If you select Monthly, you can choose from every month, every two months, etc and then choose which day of the month.
You can also choose to have the recurring To-do on the first, second, third, fourth, or last specific day of each month.
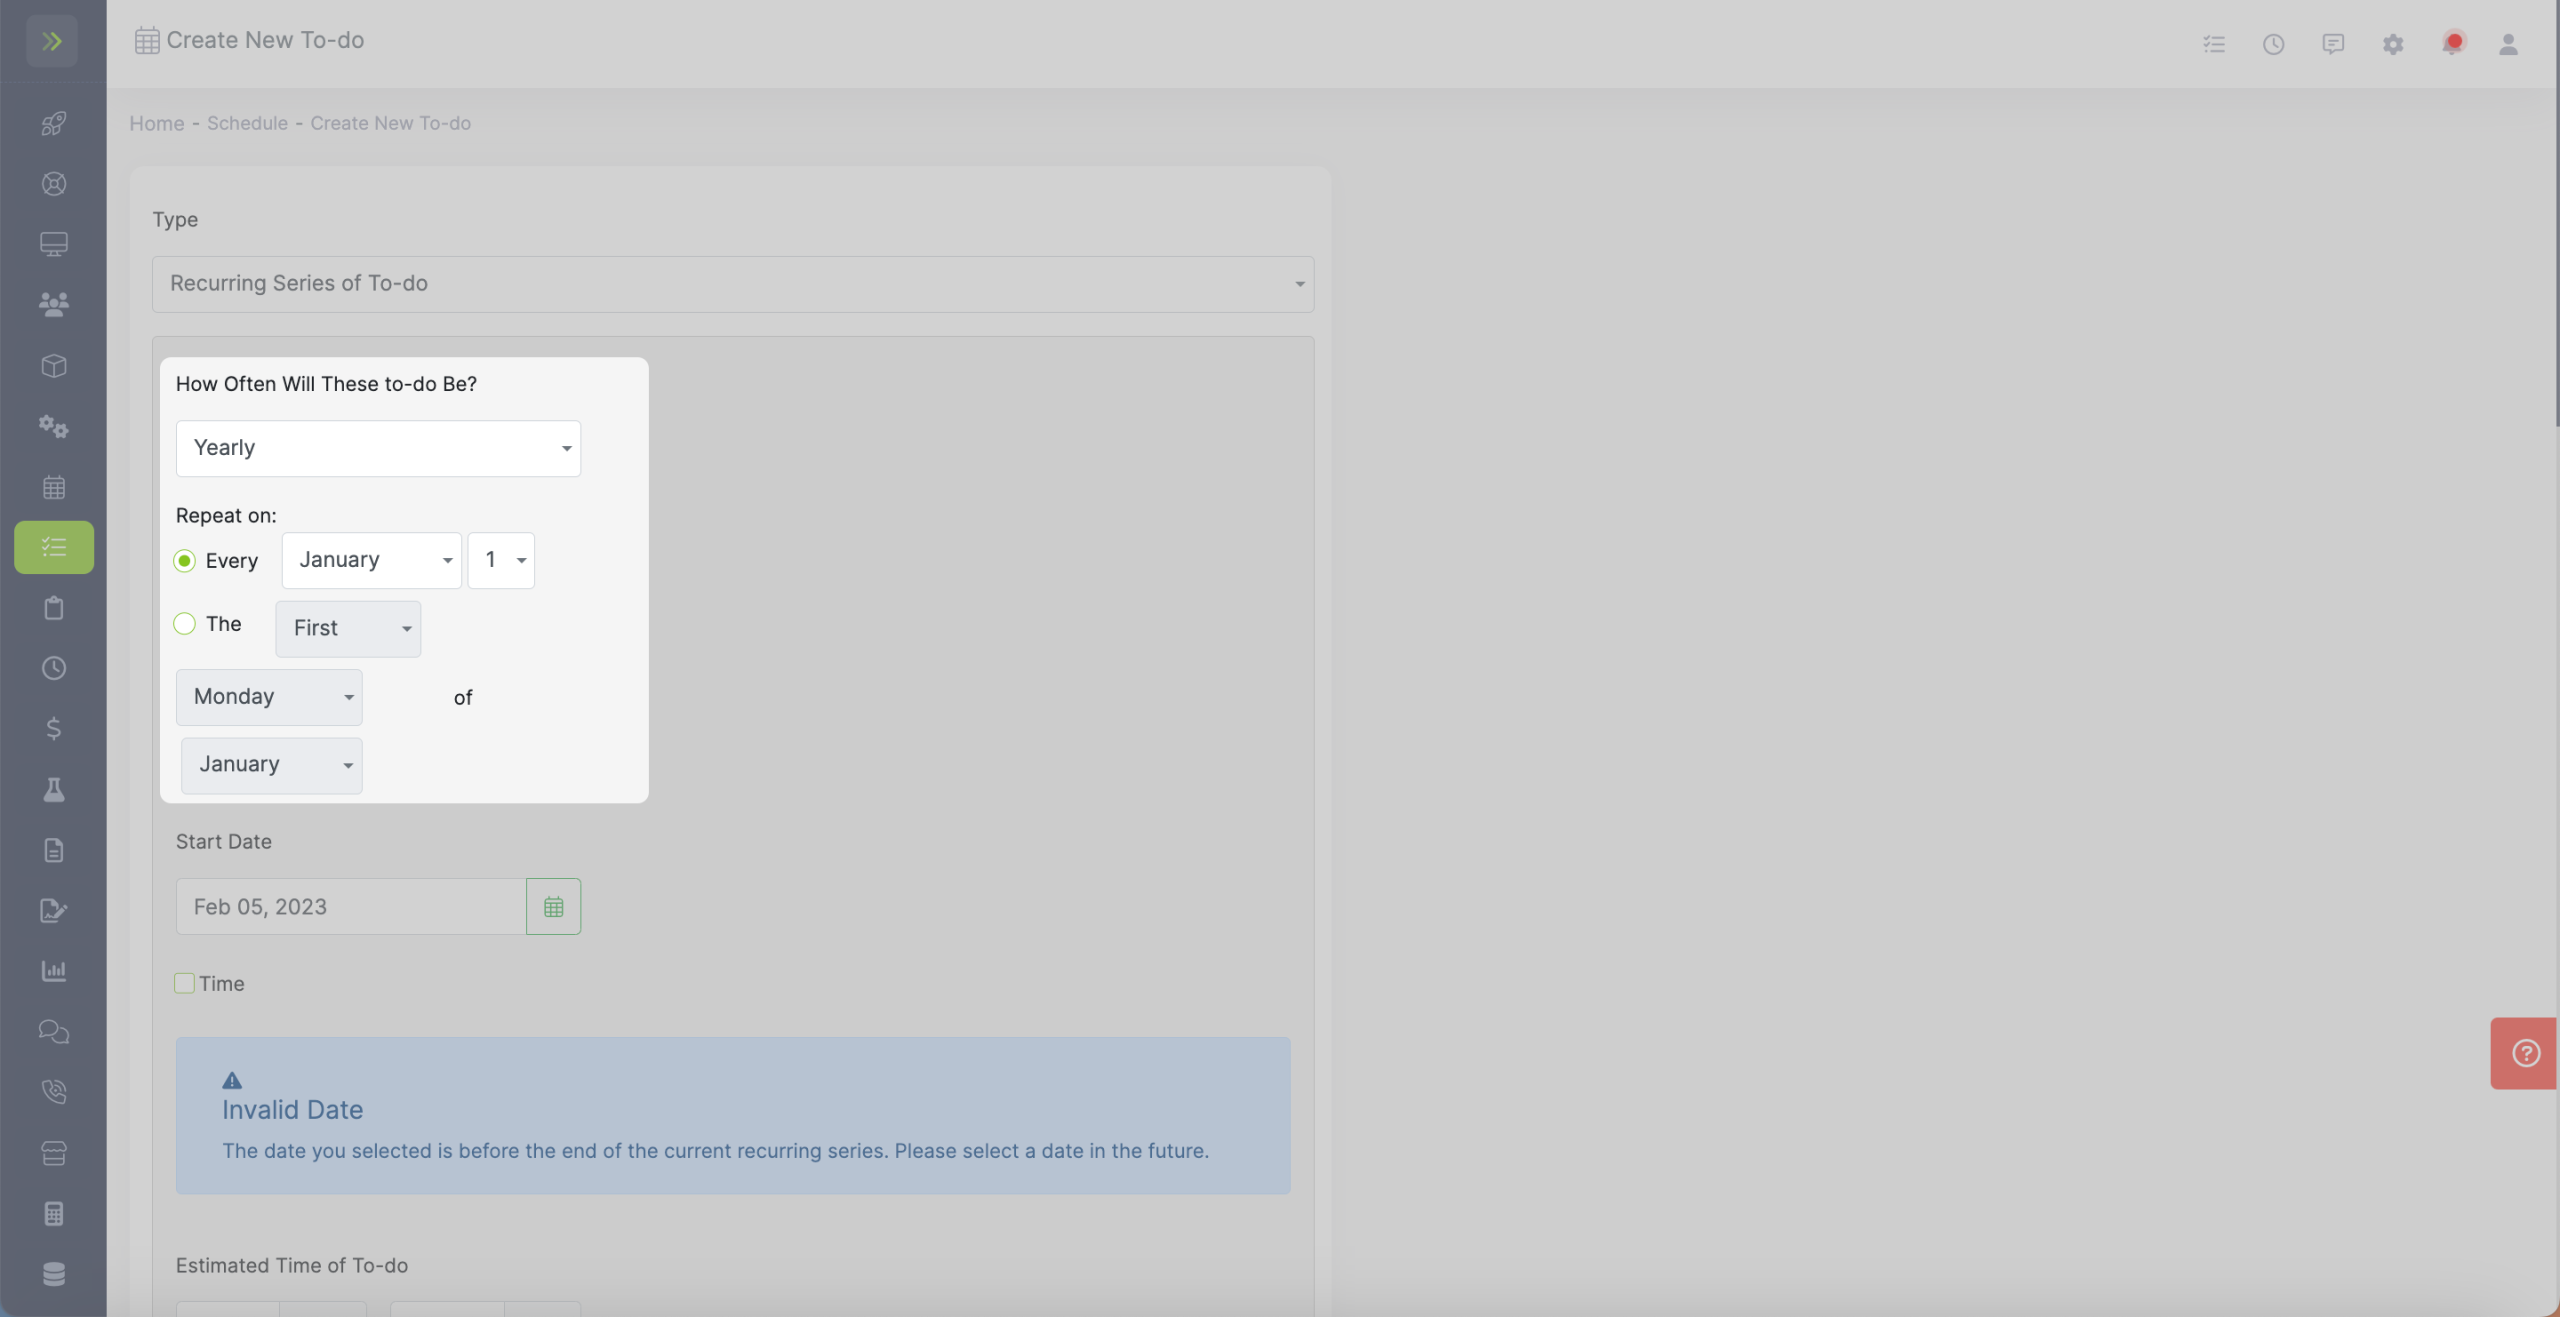
The last option is Yearly. You can choose to have the recurring To-do on a certain day of a specific month or on the first through last certain day of the week in a specific month.
Once you are finished selecting how often your To-do will happen, you can select a start date.
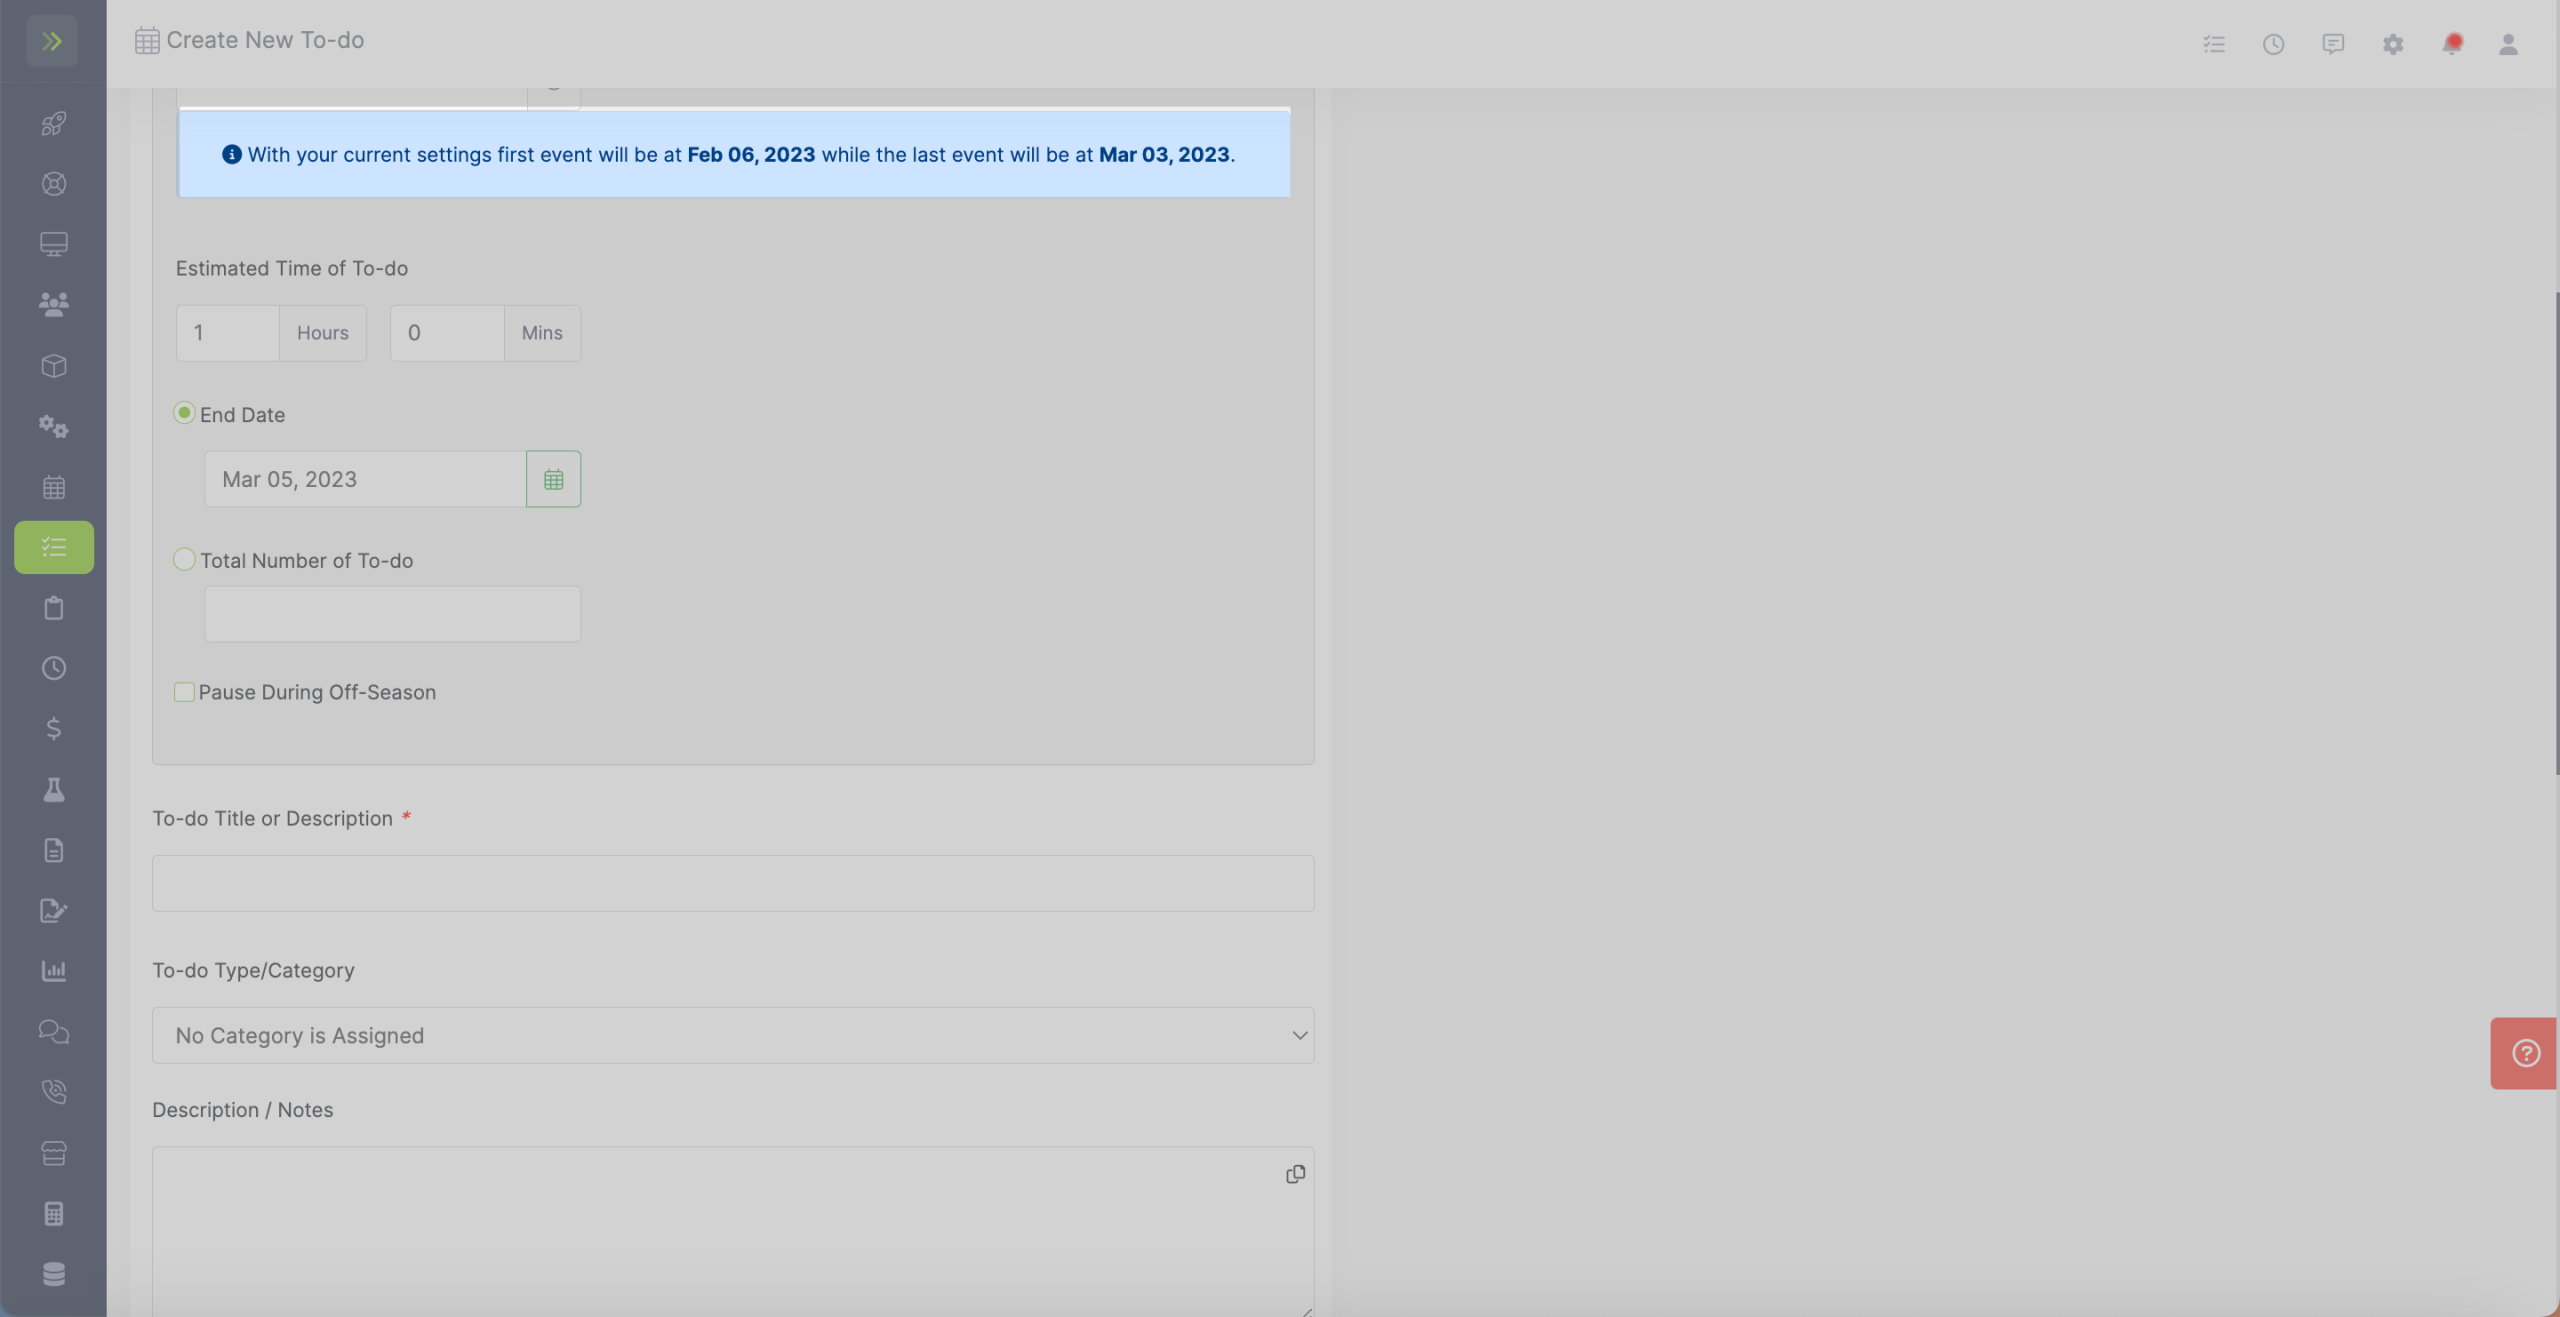
You will see message in the blue box telling you when the first and last To-do will appear on your schedule based on your settings.
You then have the option to select a time for this to-do. This will put this To-do in that time slot on your daily schedule. This is how long you expect the to-do to take.
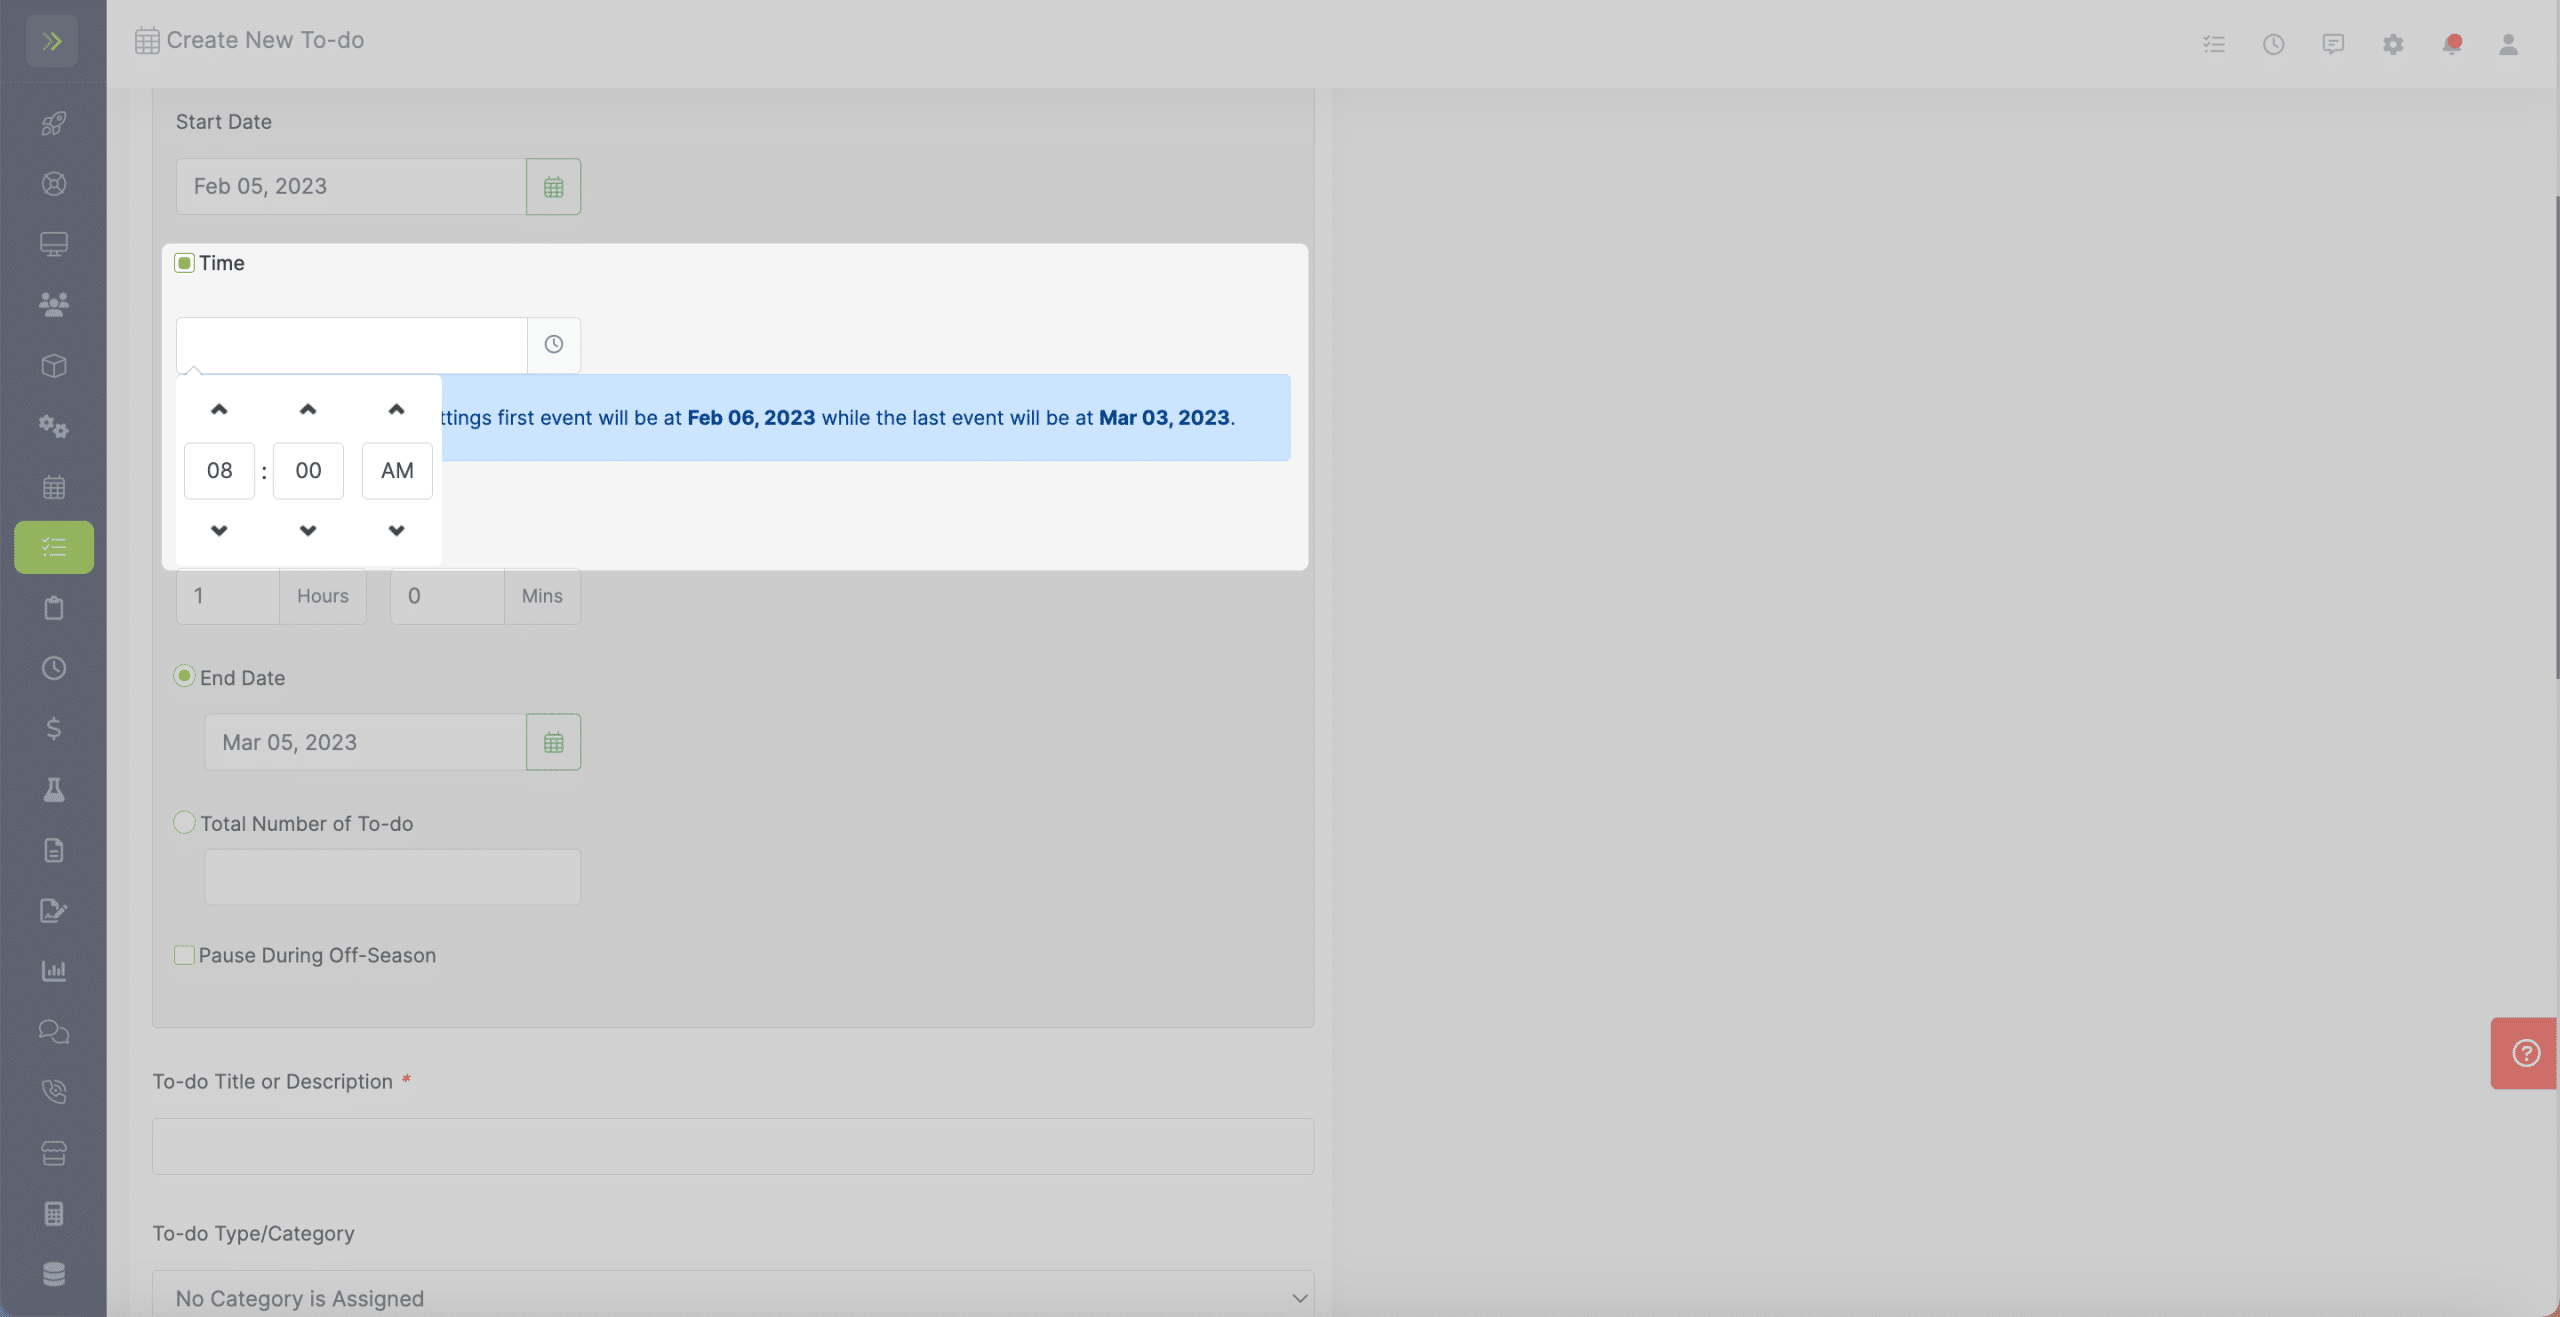
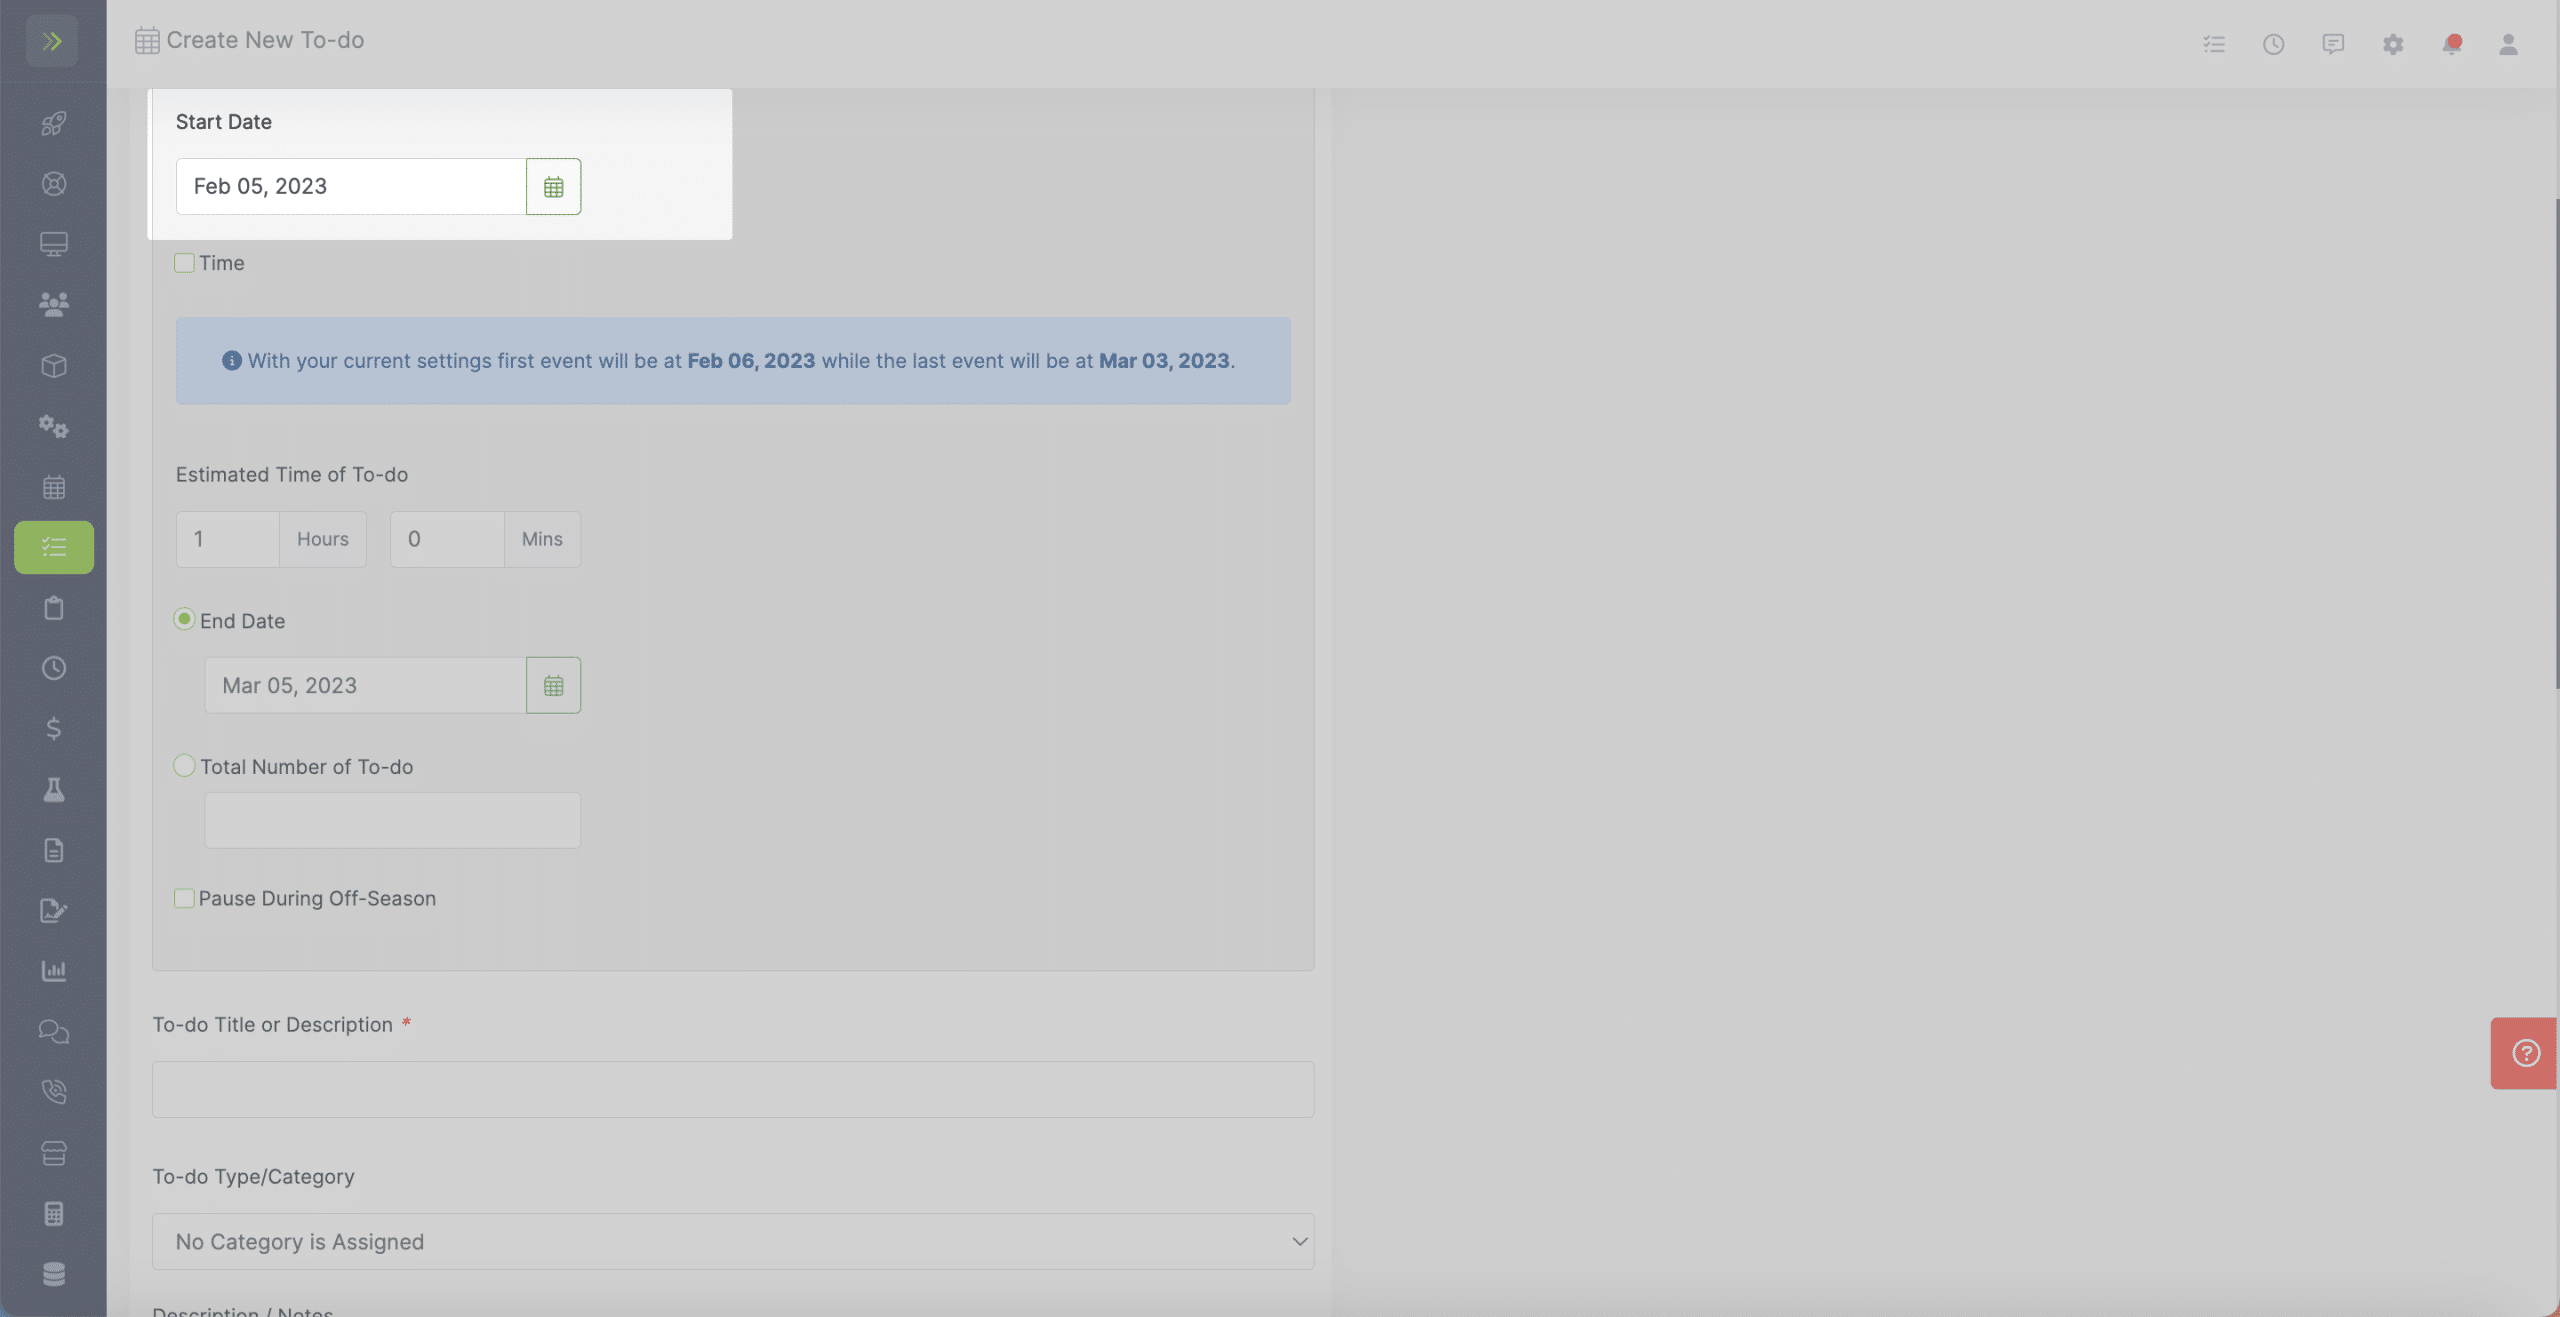
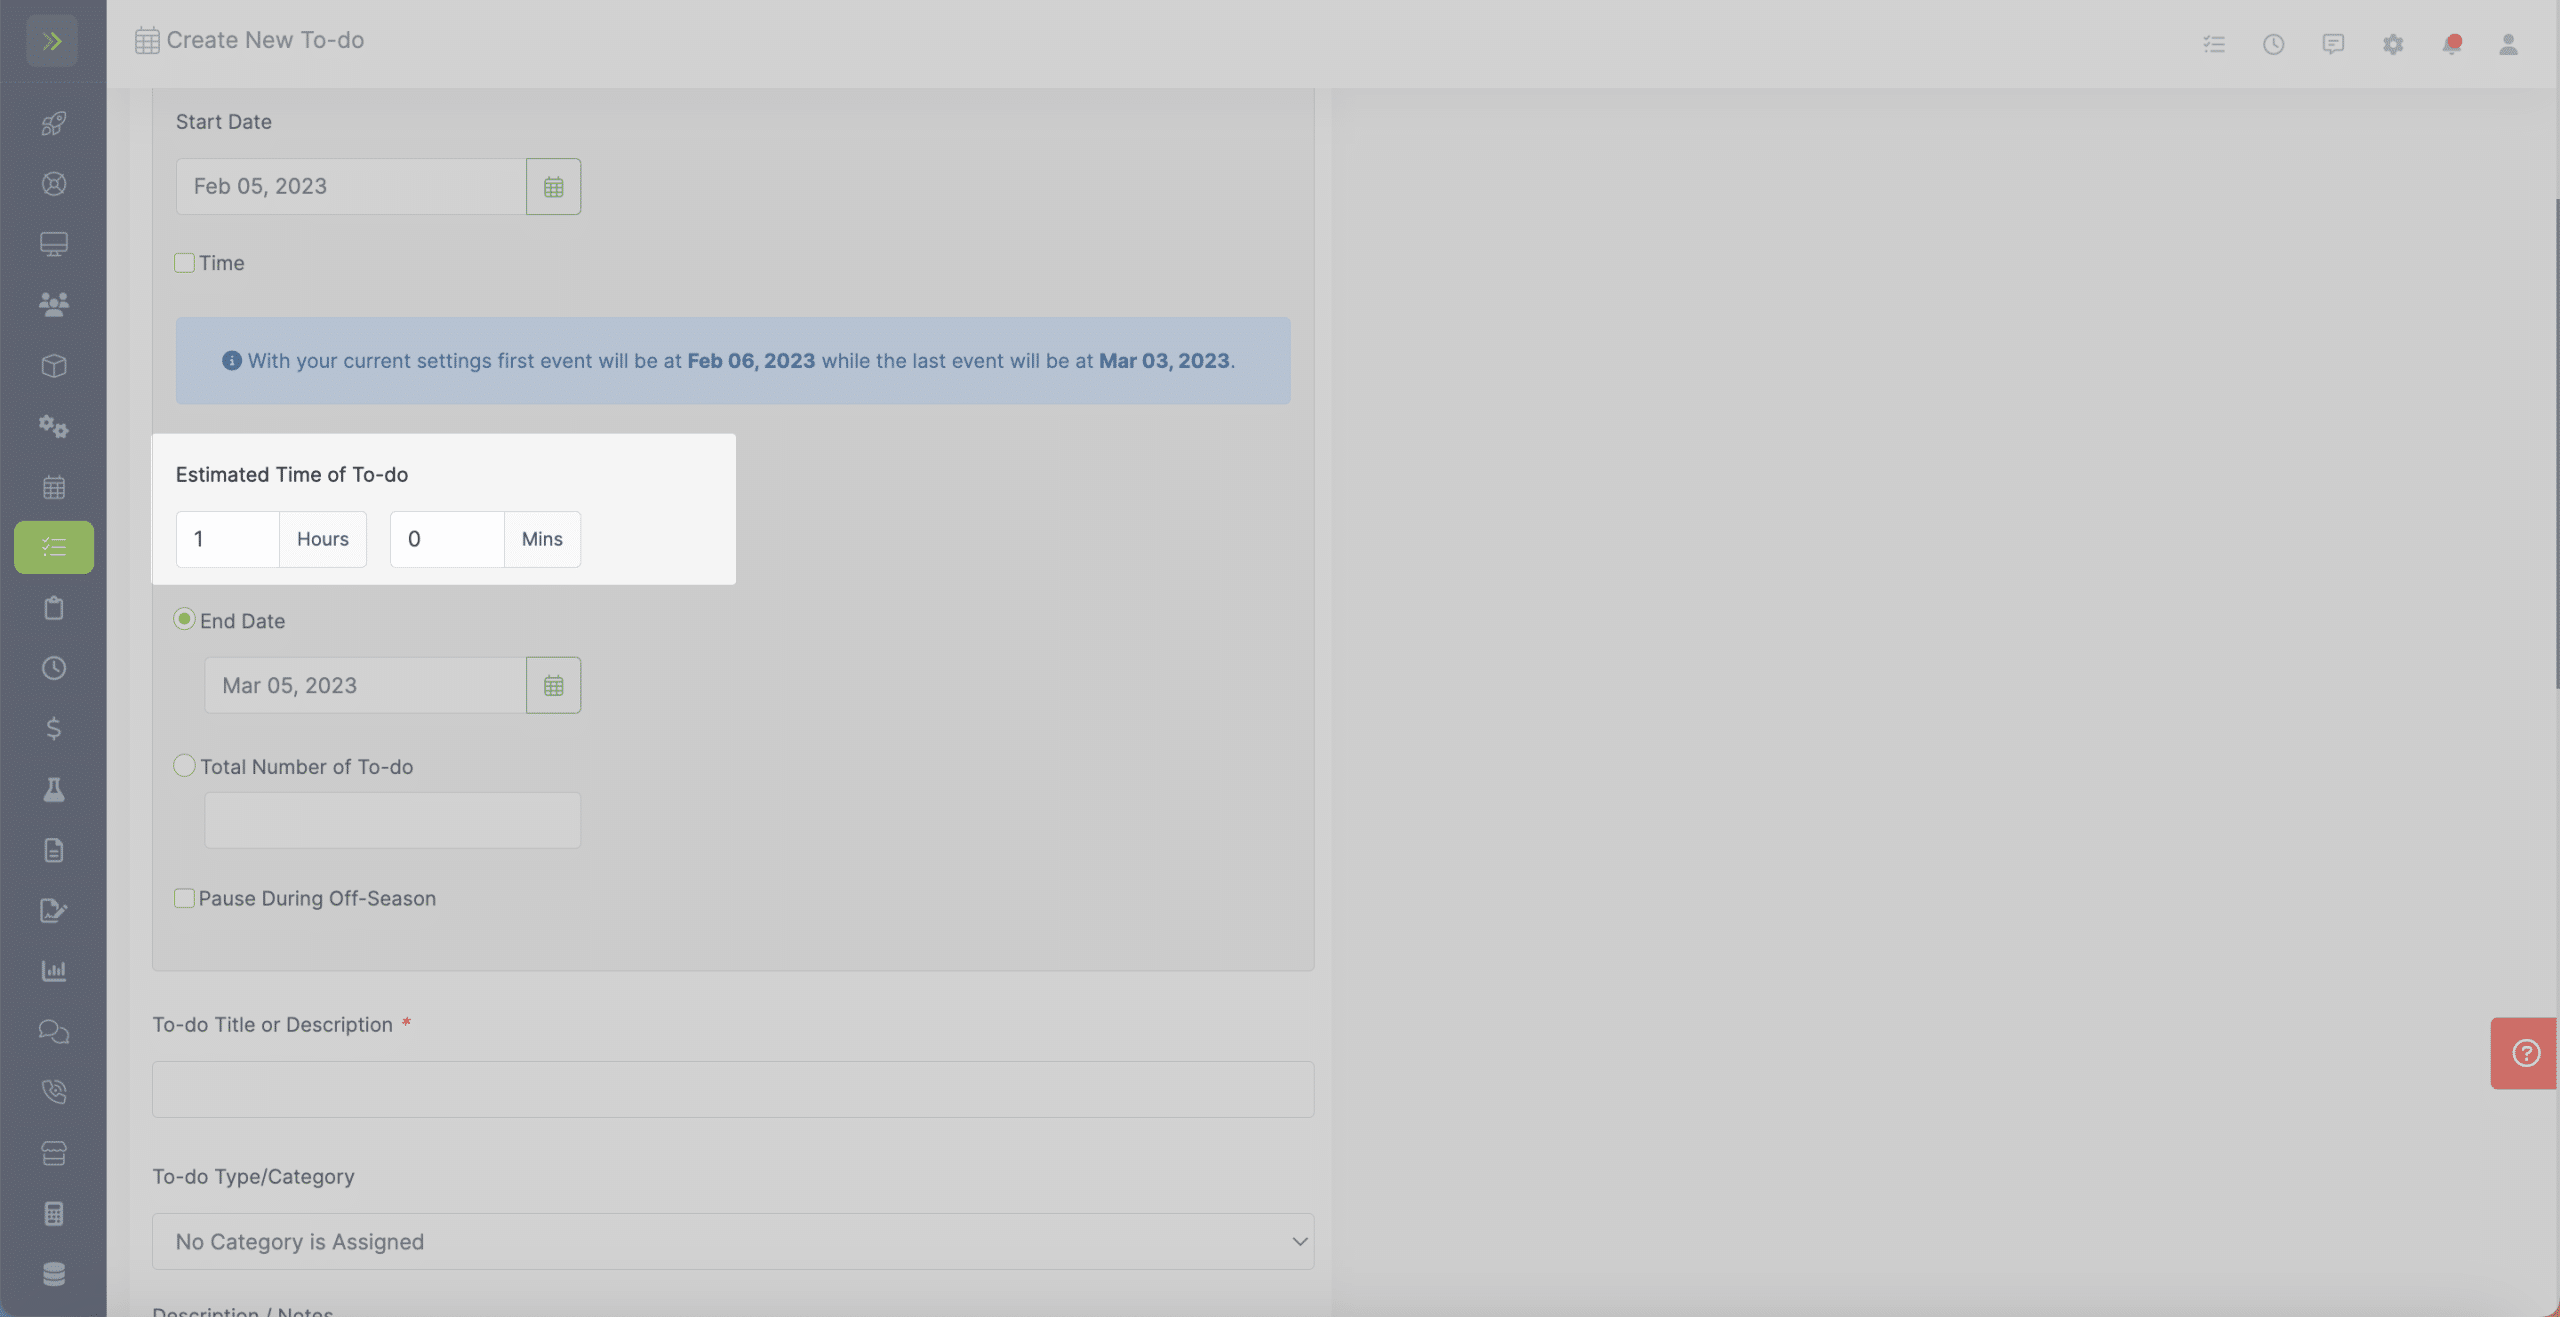
You can select an estimated time for your To-do. This is how long you expect the to-do to take.
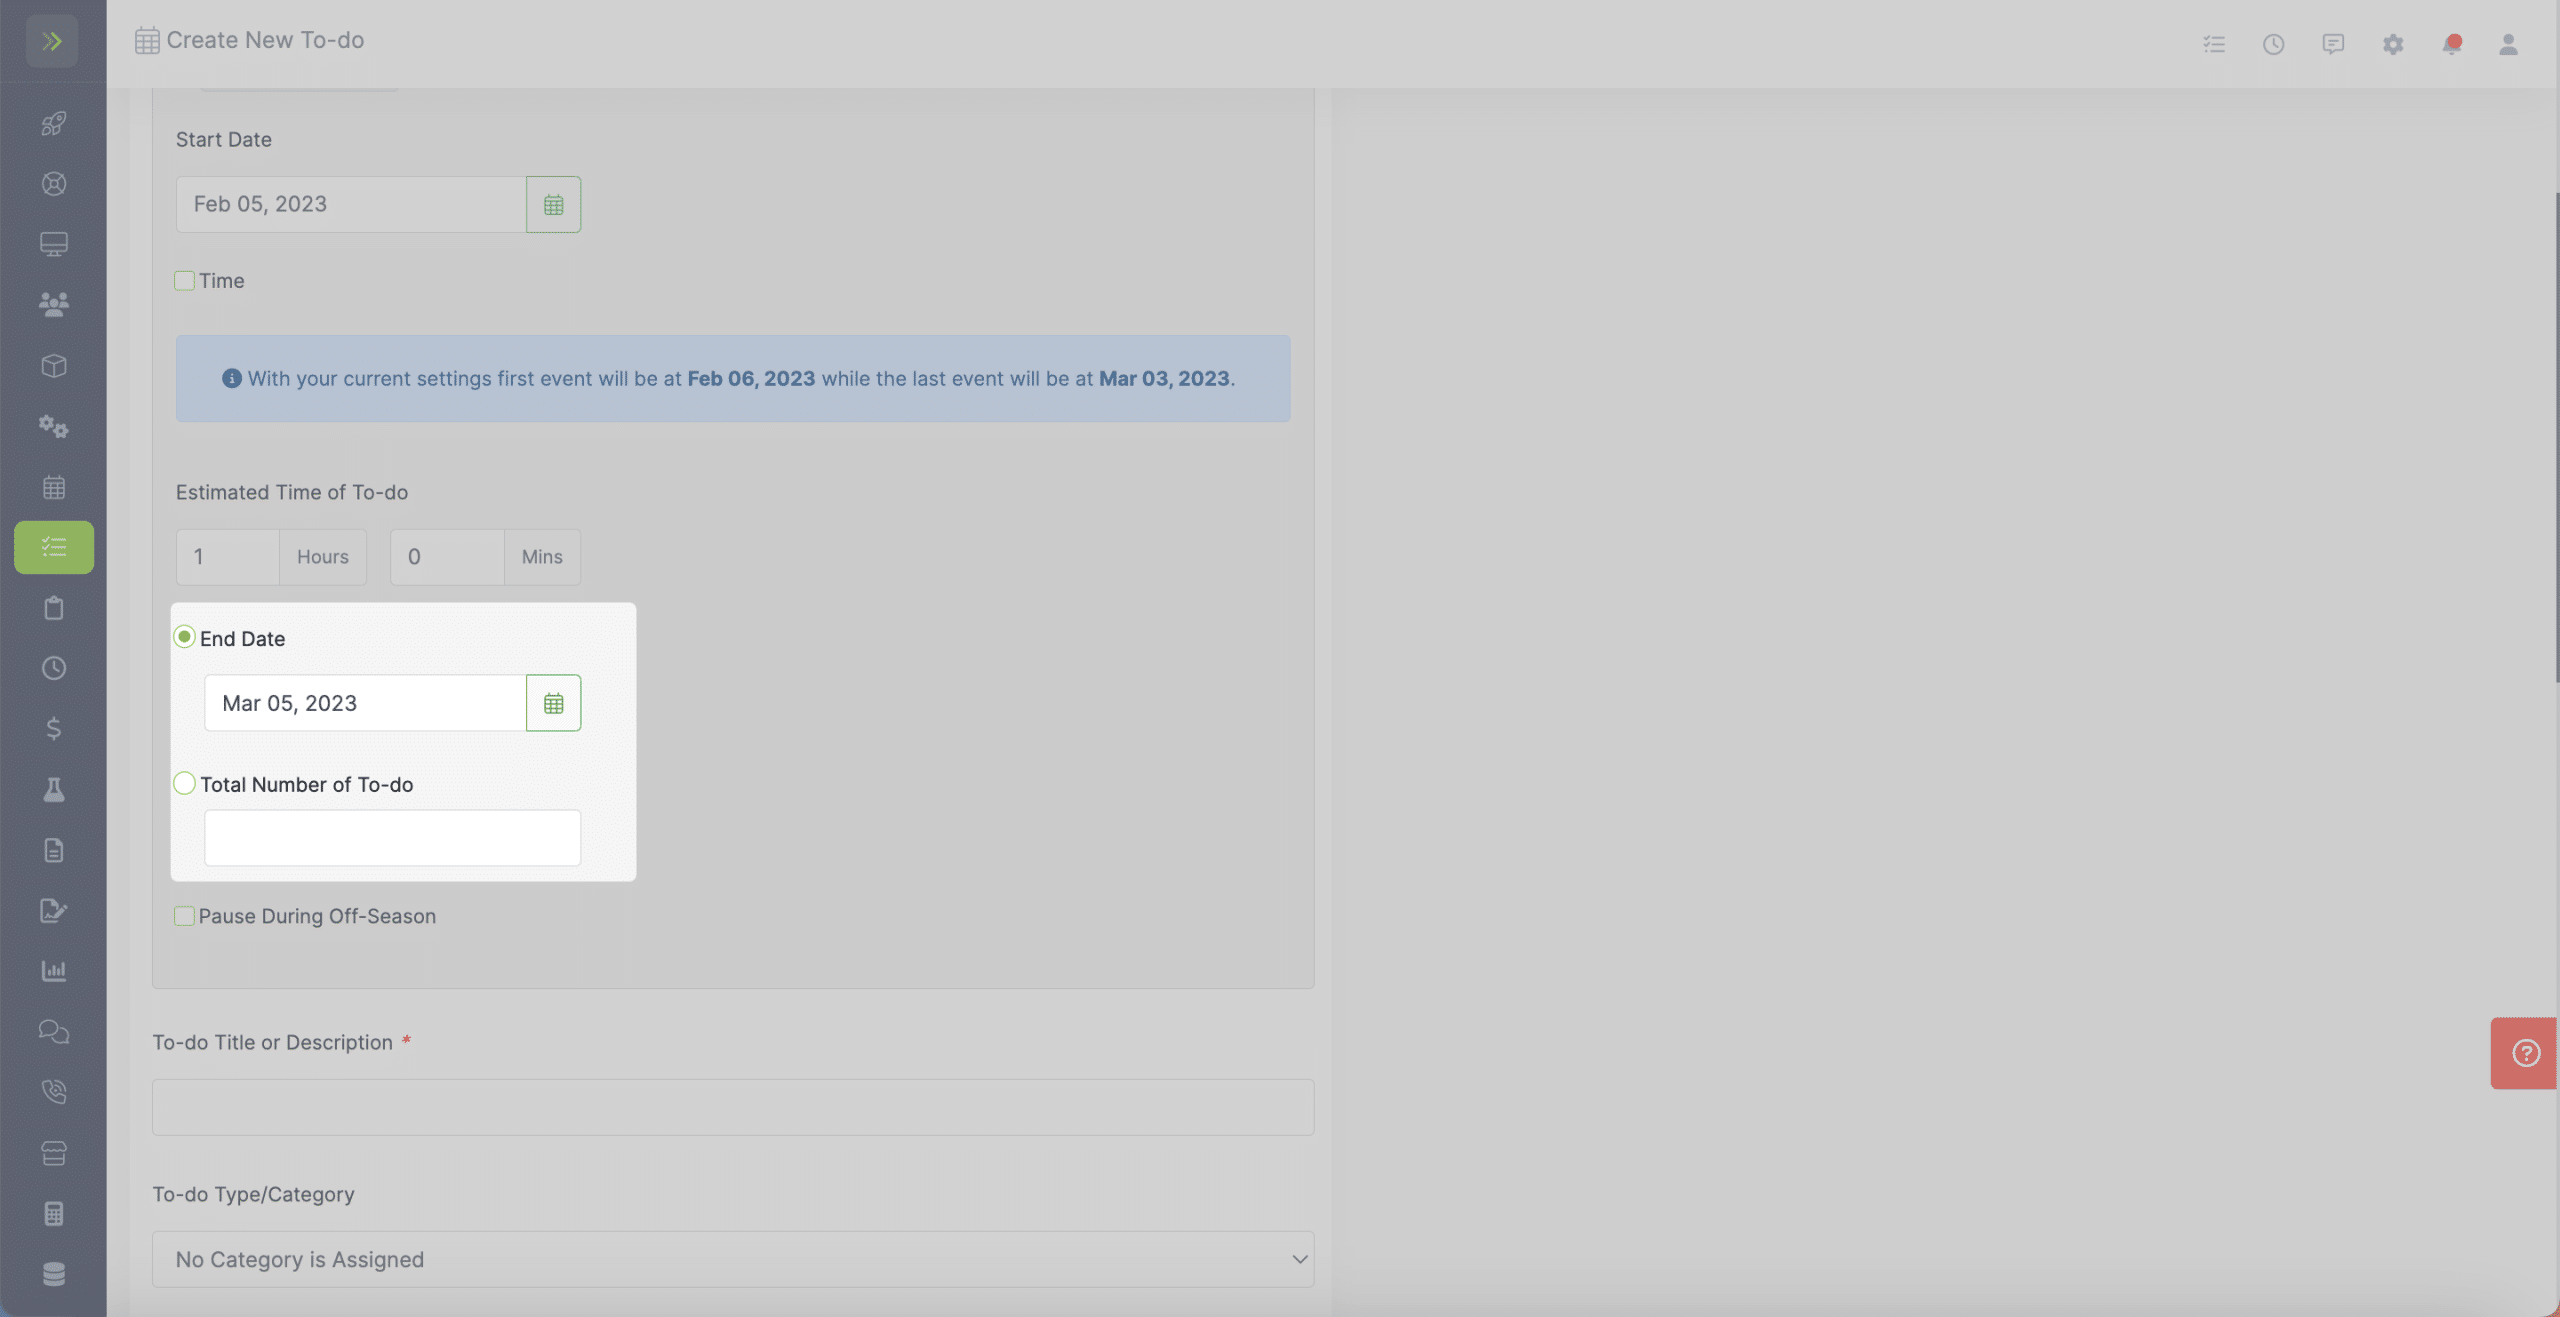
You will select the end date for this To-do. You can choose a specific date or select the number of To-dos and the system will calculate when the last To-do will occur.
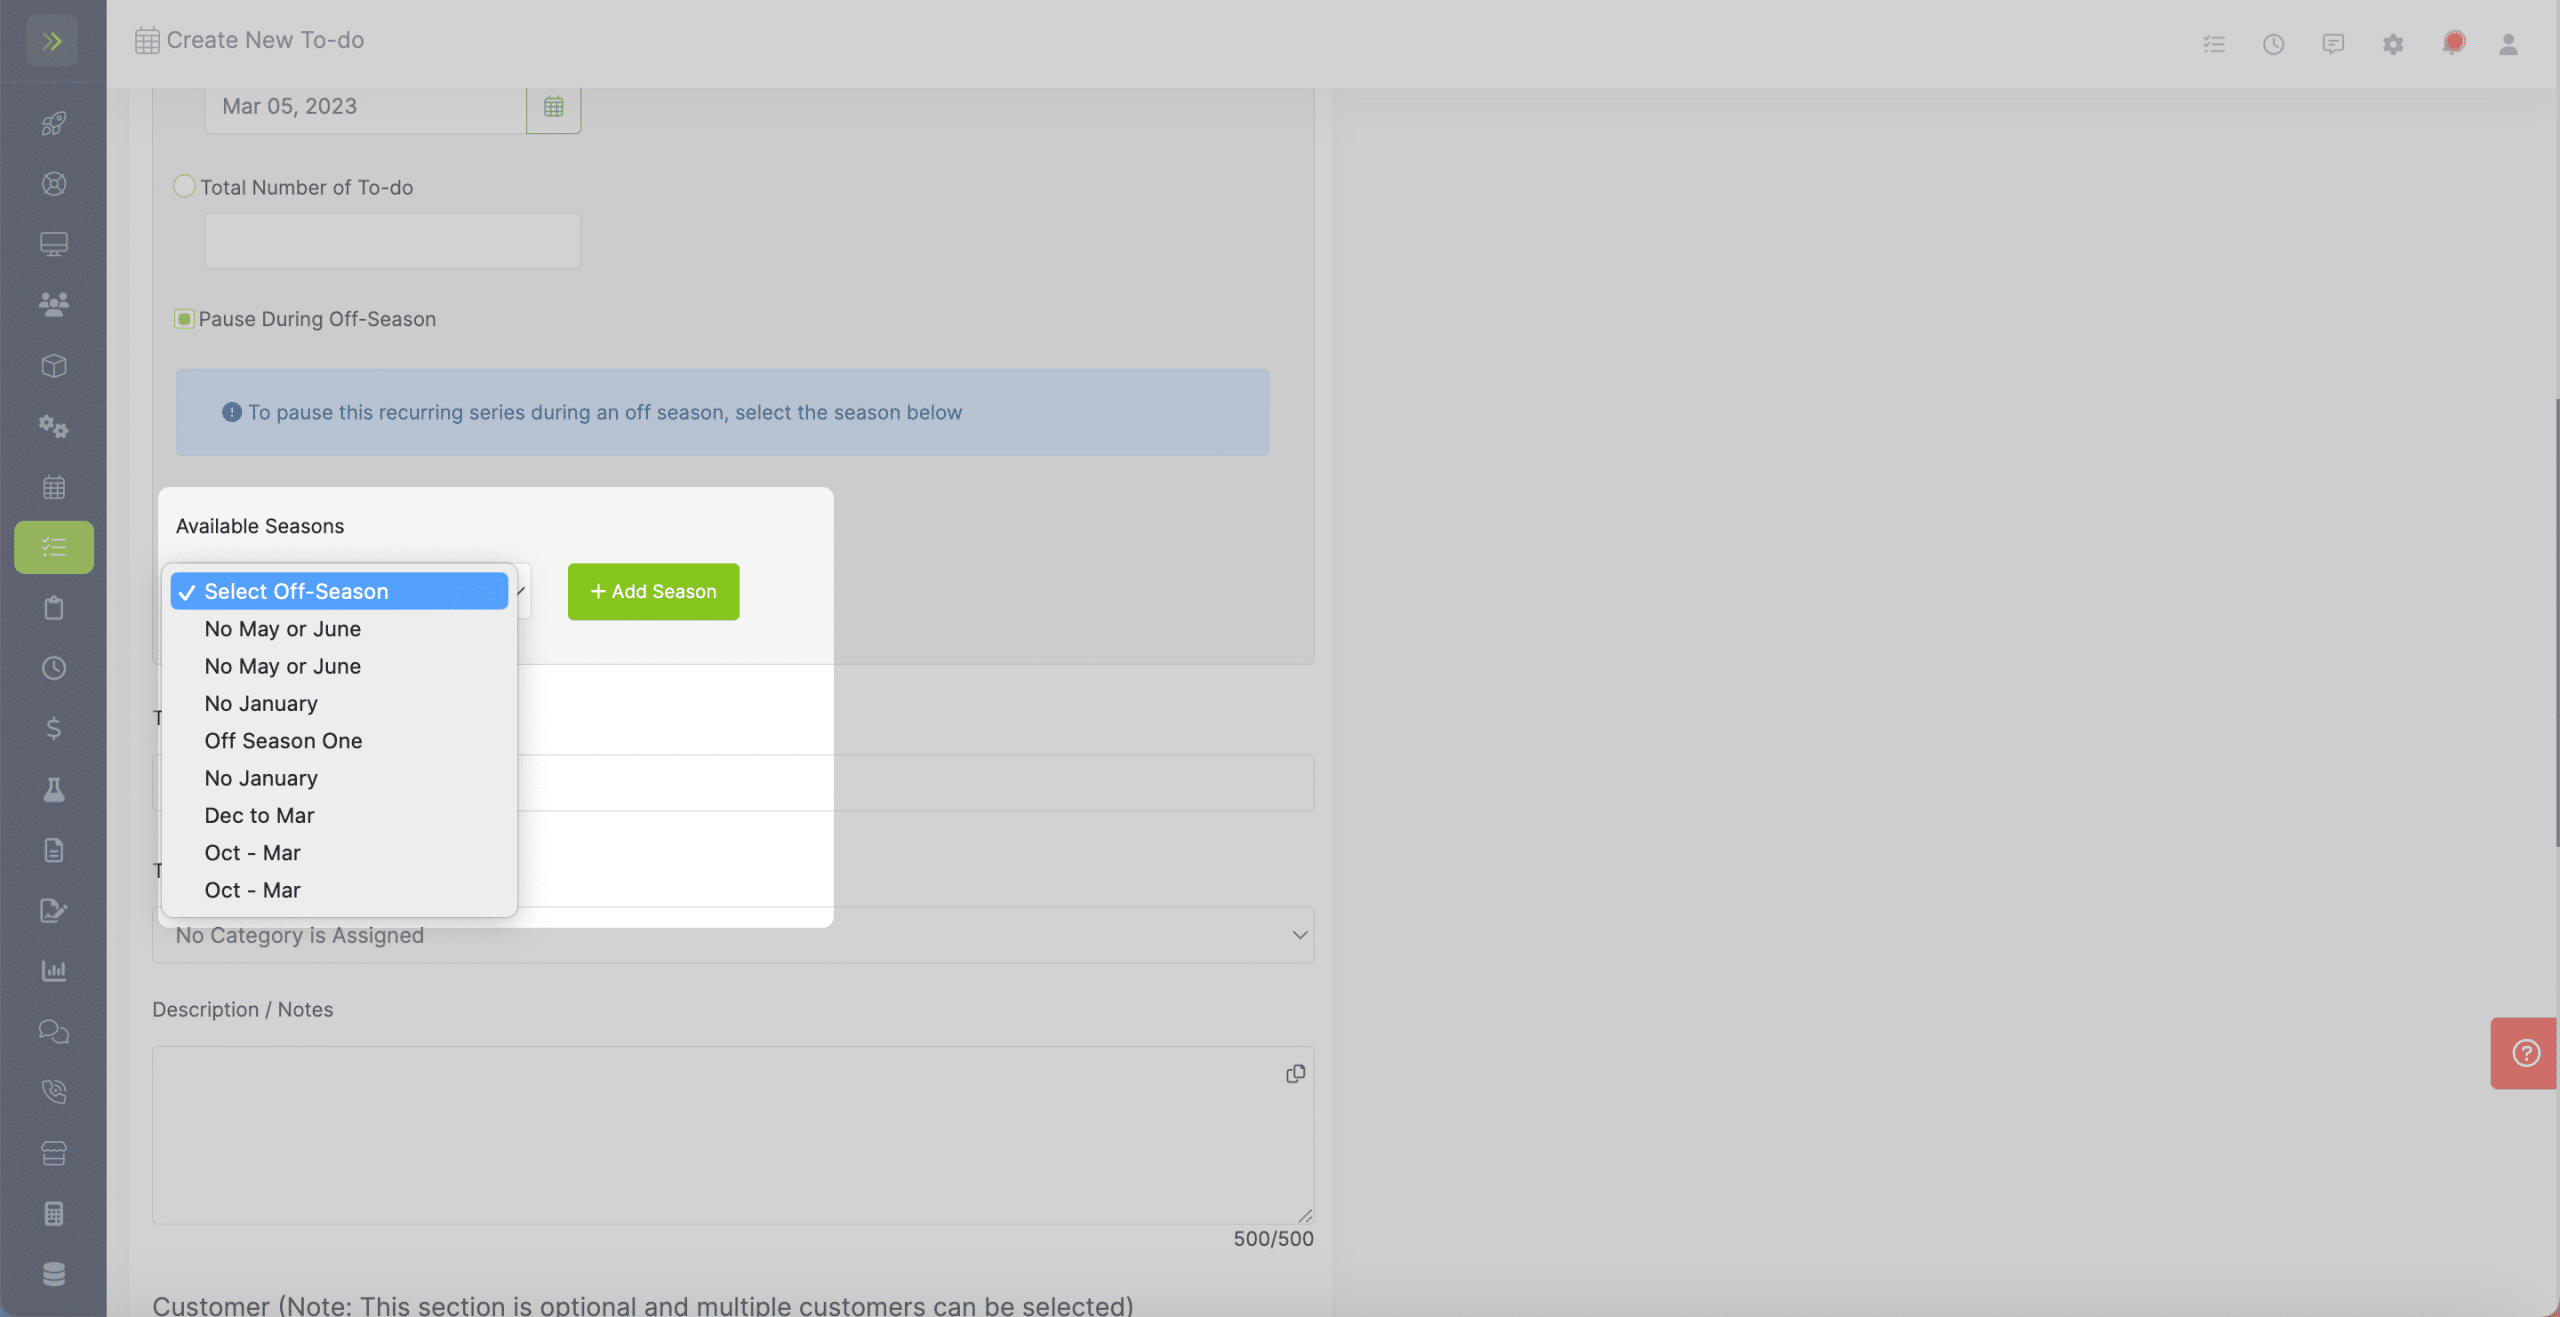
Next, you can choose to have this recurring To-do to be paused during a certain time period.
You can select from one of the off seasons you have previously created or you can create a new one by clicking the “+ Add Season” button.
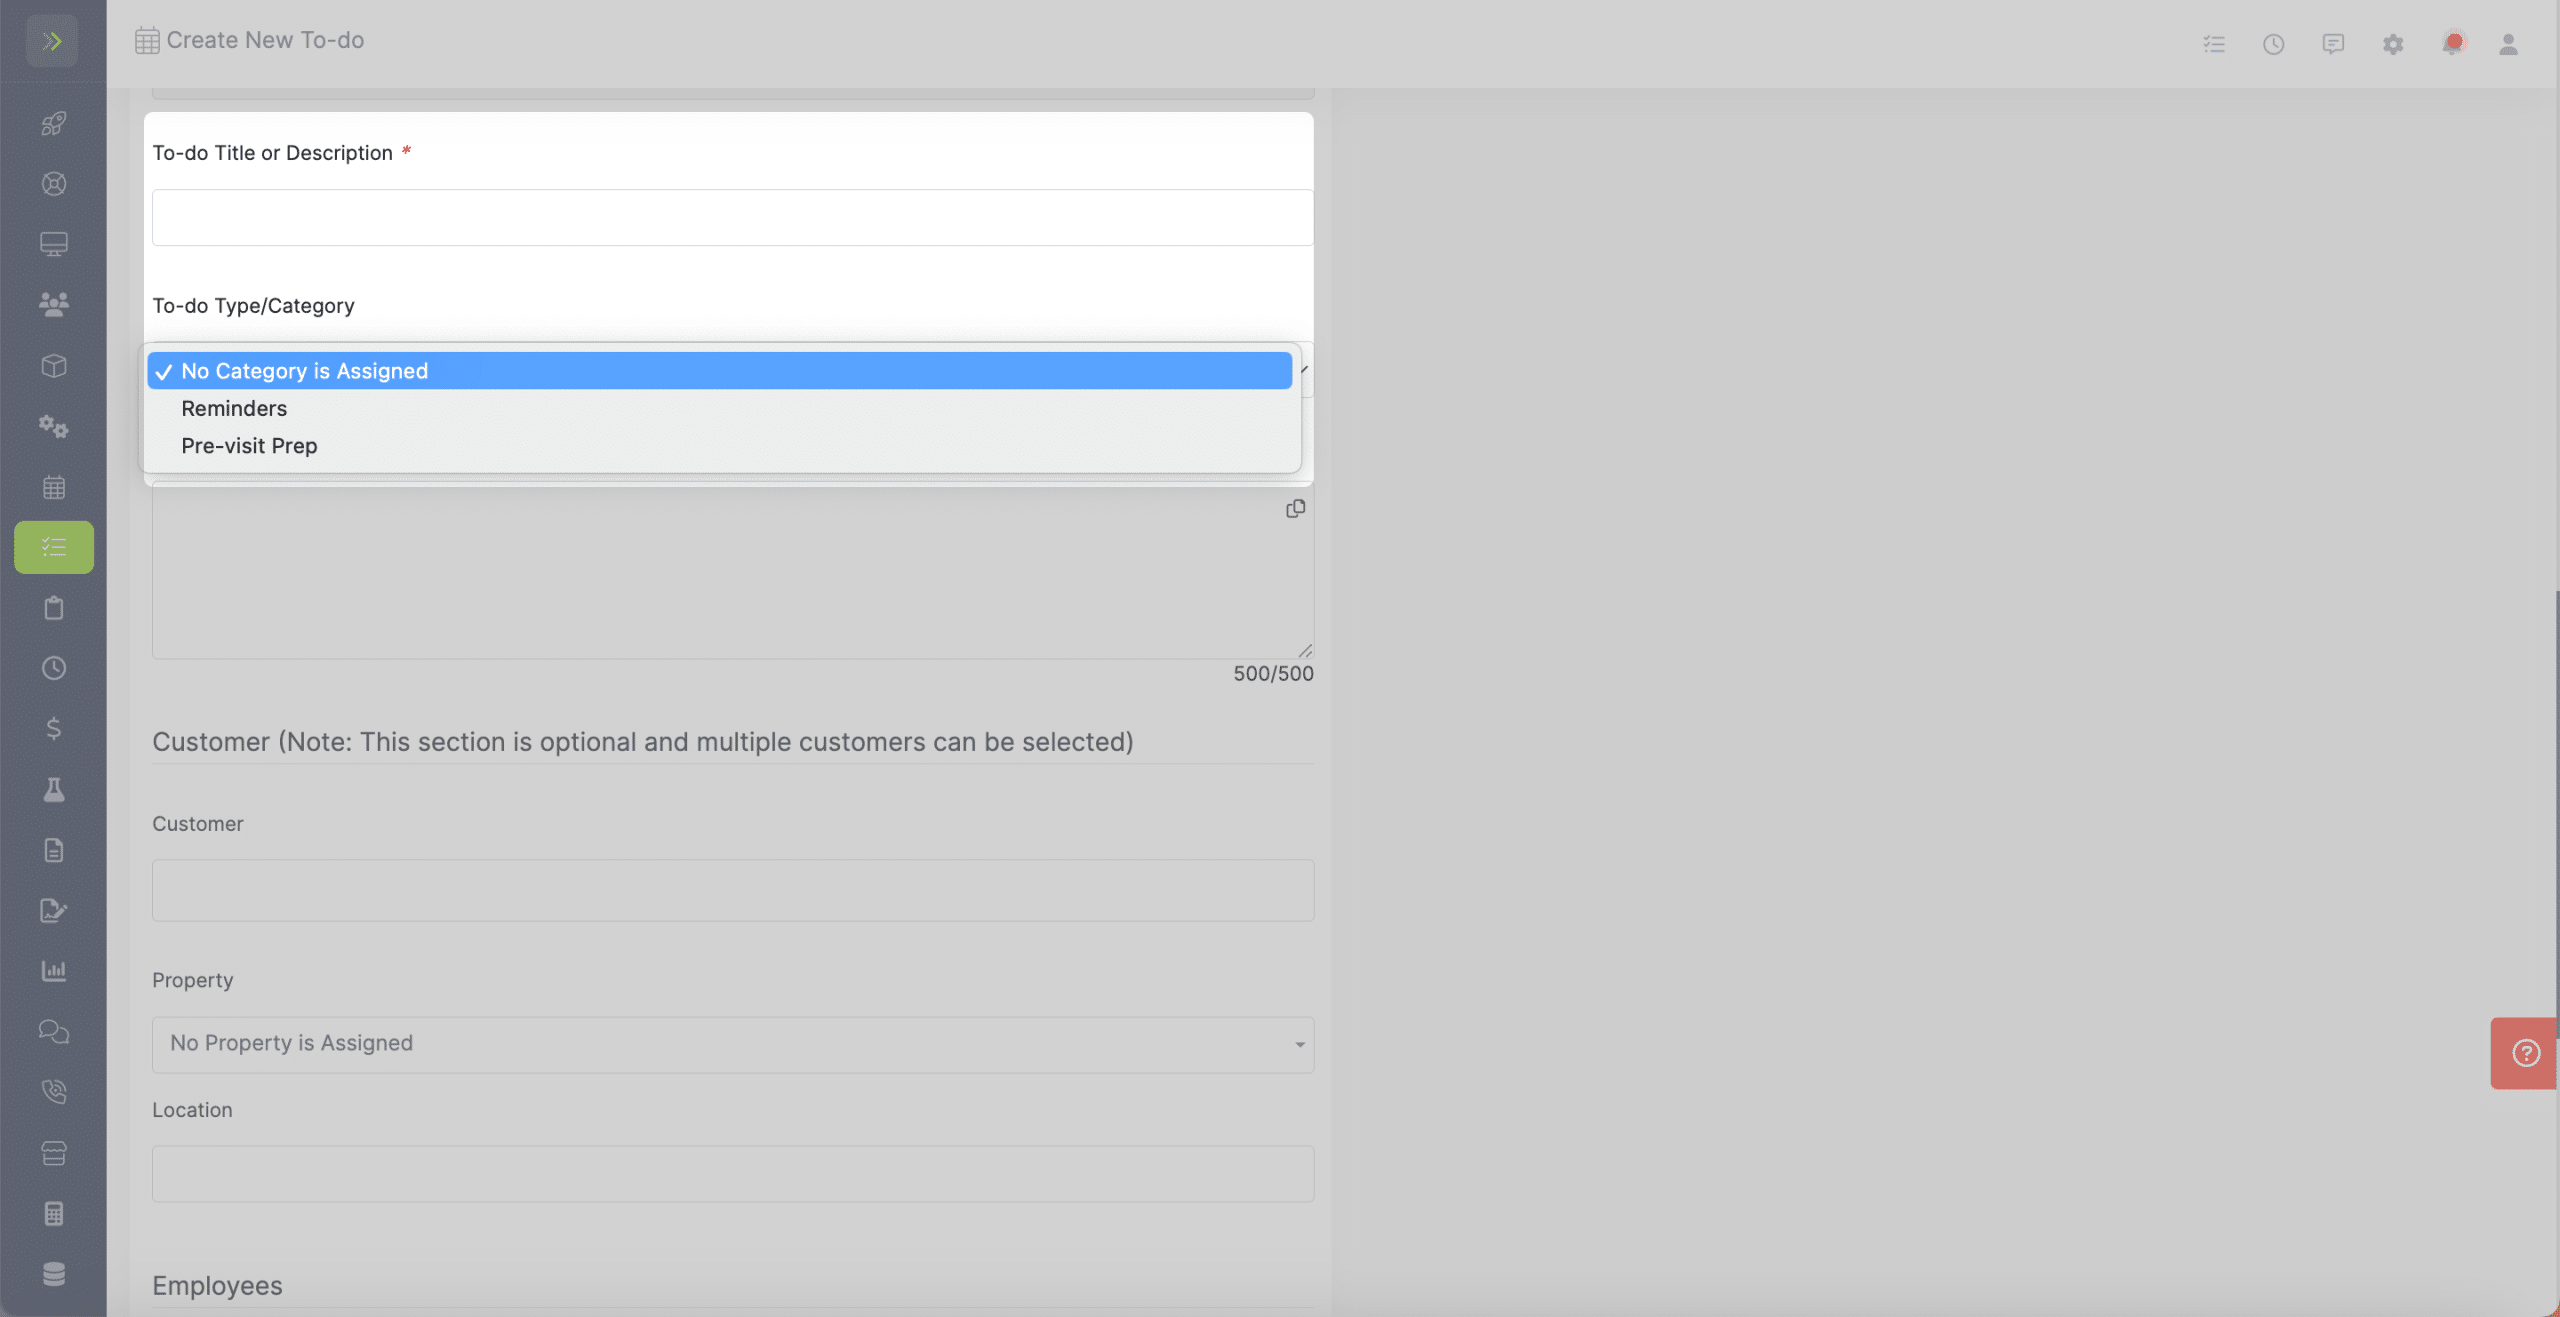
You will then fill out the Title and Type/Category of this To-do. If you want to create a new Type/Category you can learn how to do that here.
You can then add a Description and notes for this To-do.
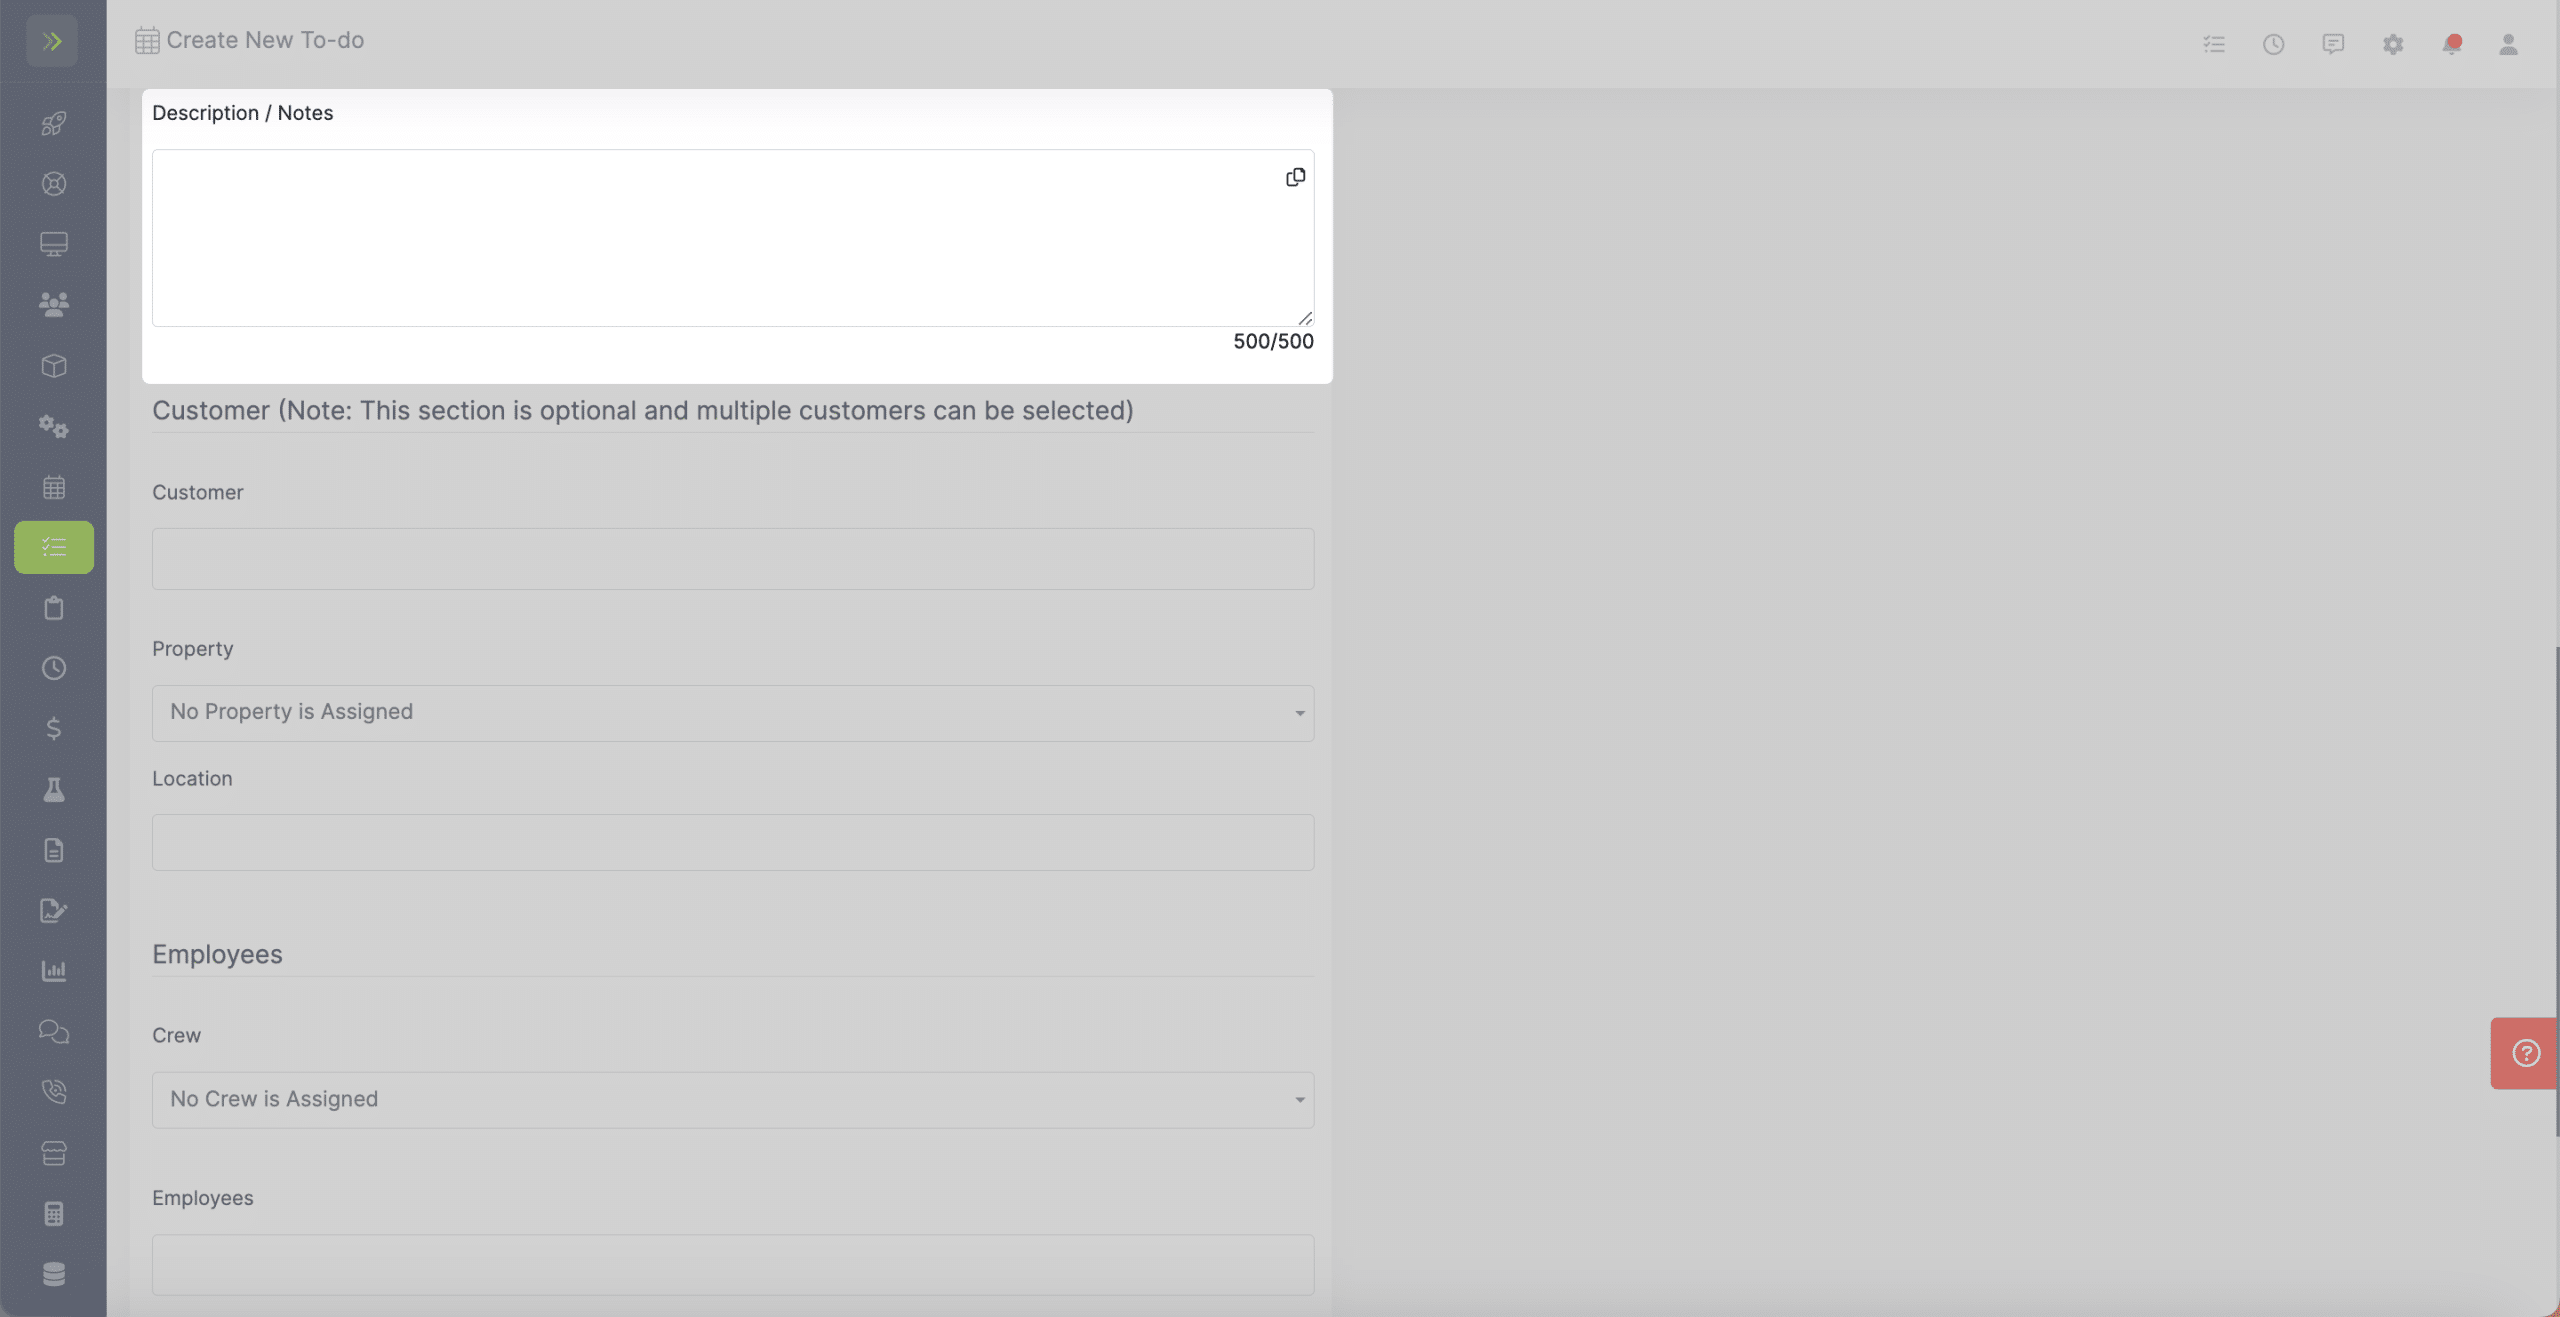
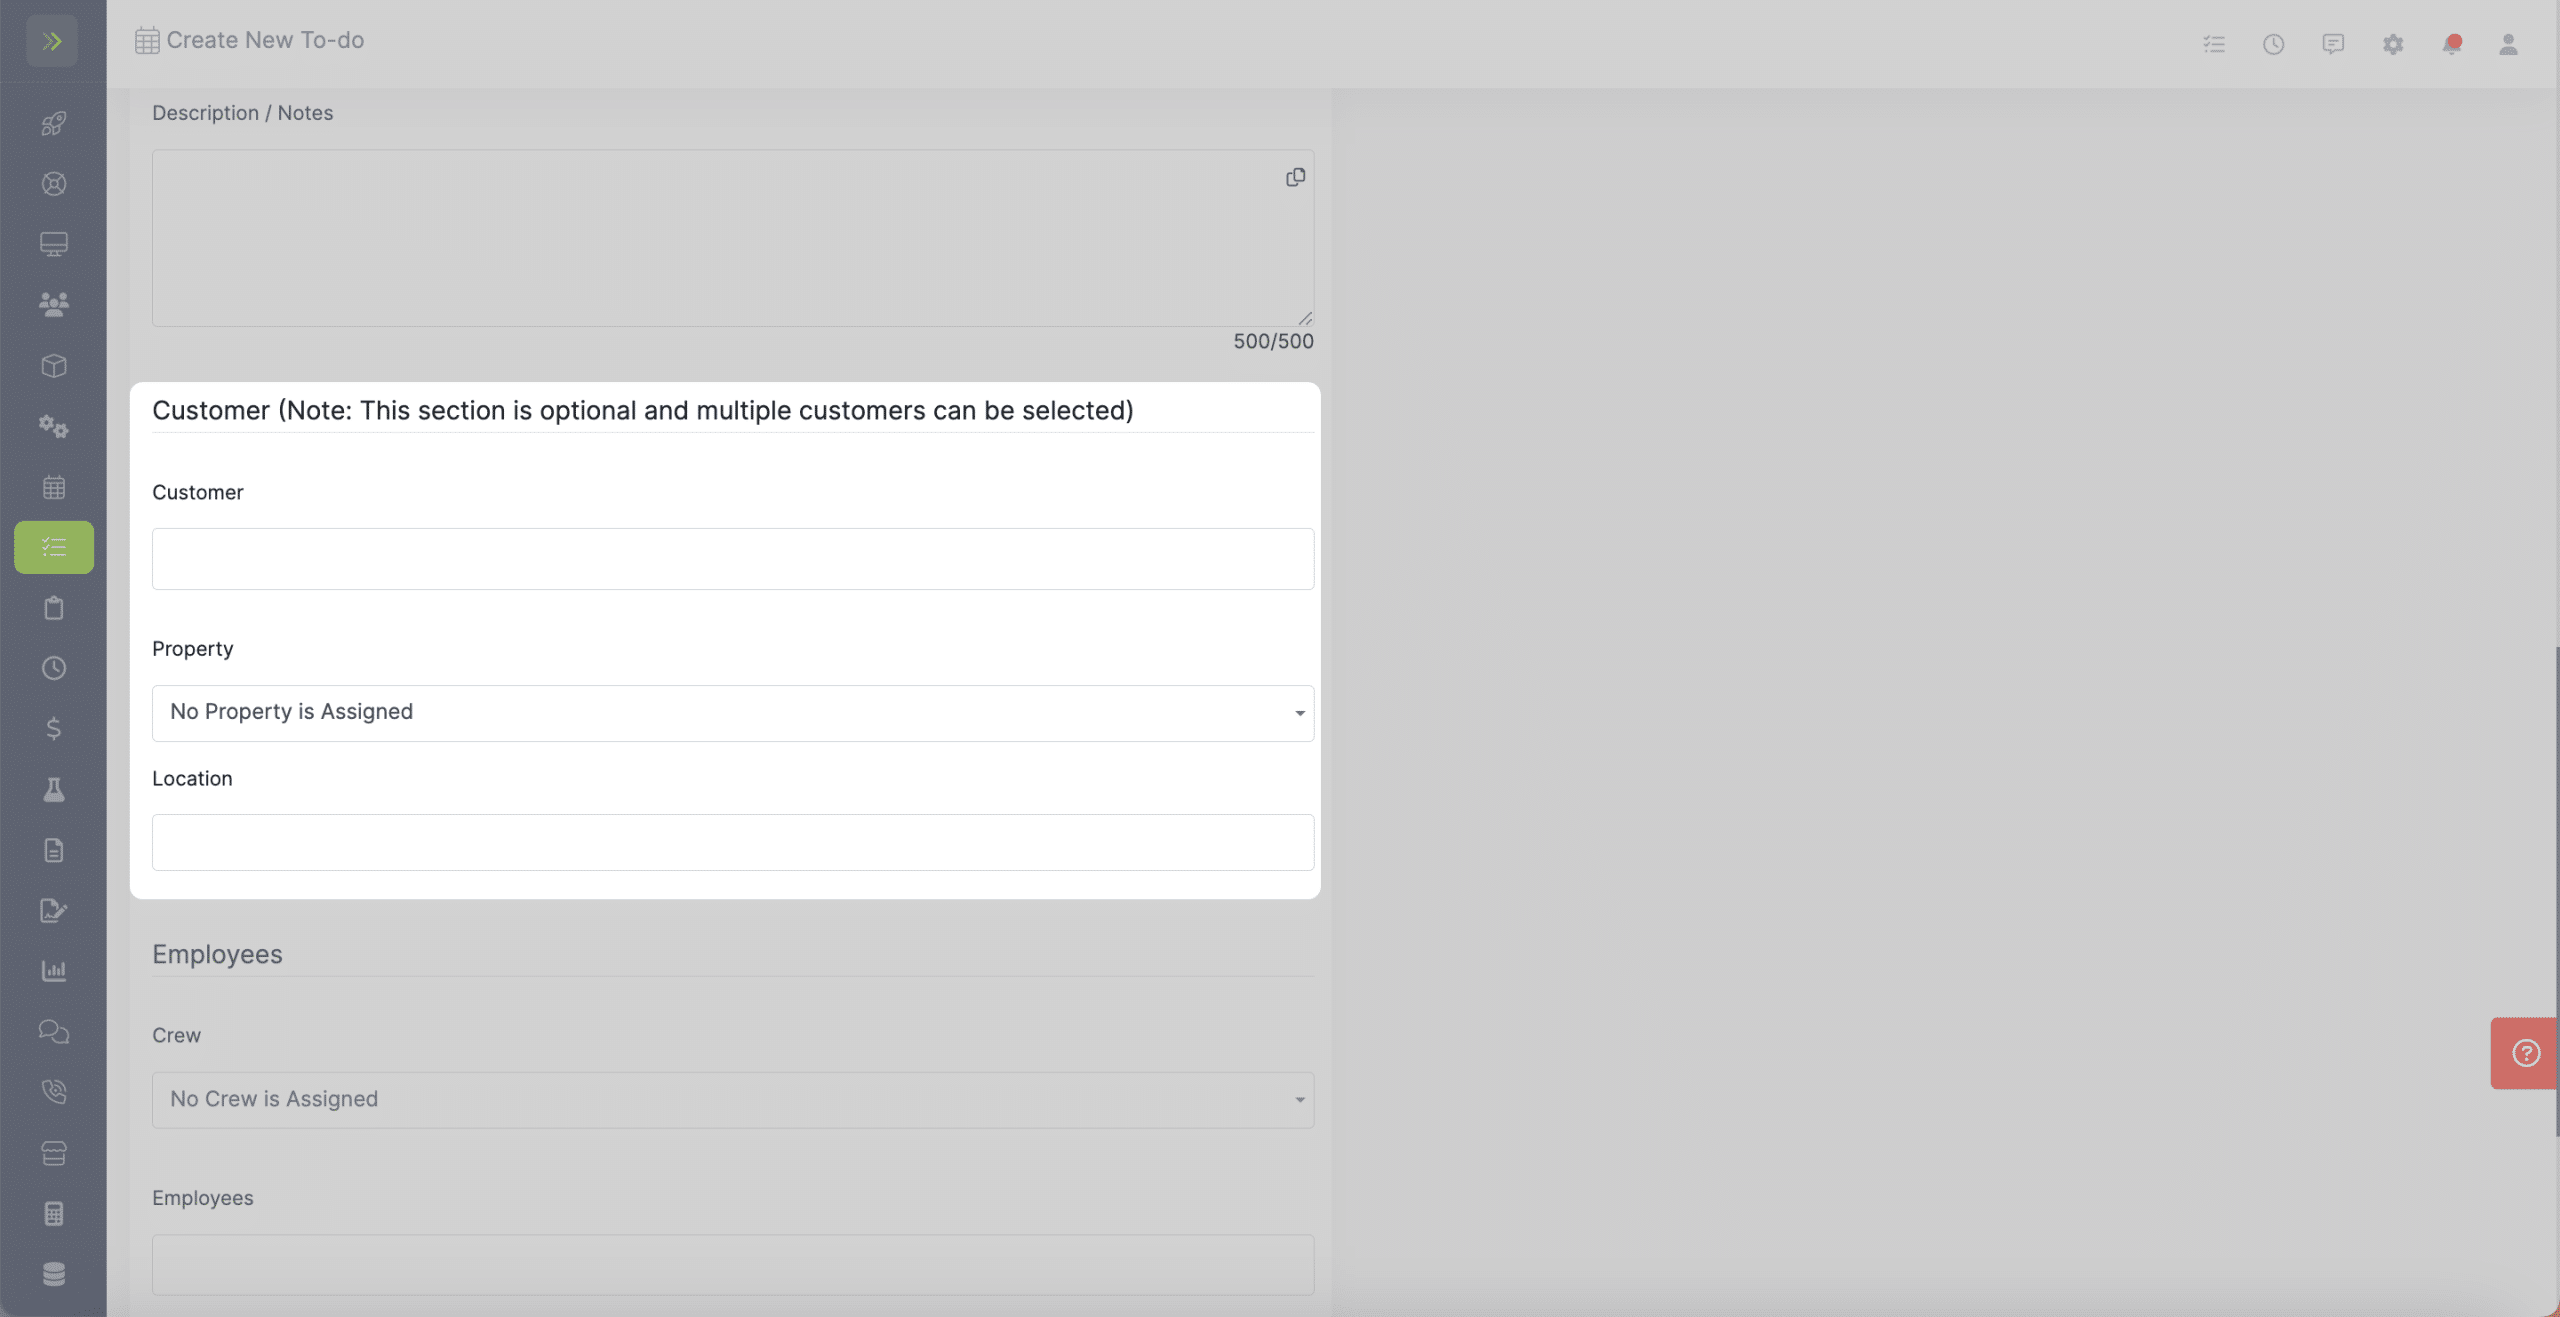
You can tie this To-do series to a customer/property. This part is optional.
The last few options include choosing to assign a crew/employees and selecting a color for this To-do to appear on your calendar.
When you are finished making all of your selections, don’t forget to click the green “Create To-do” button to save the To-do.
3 Different Ways to Create a New To-do
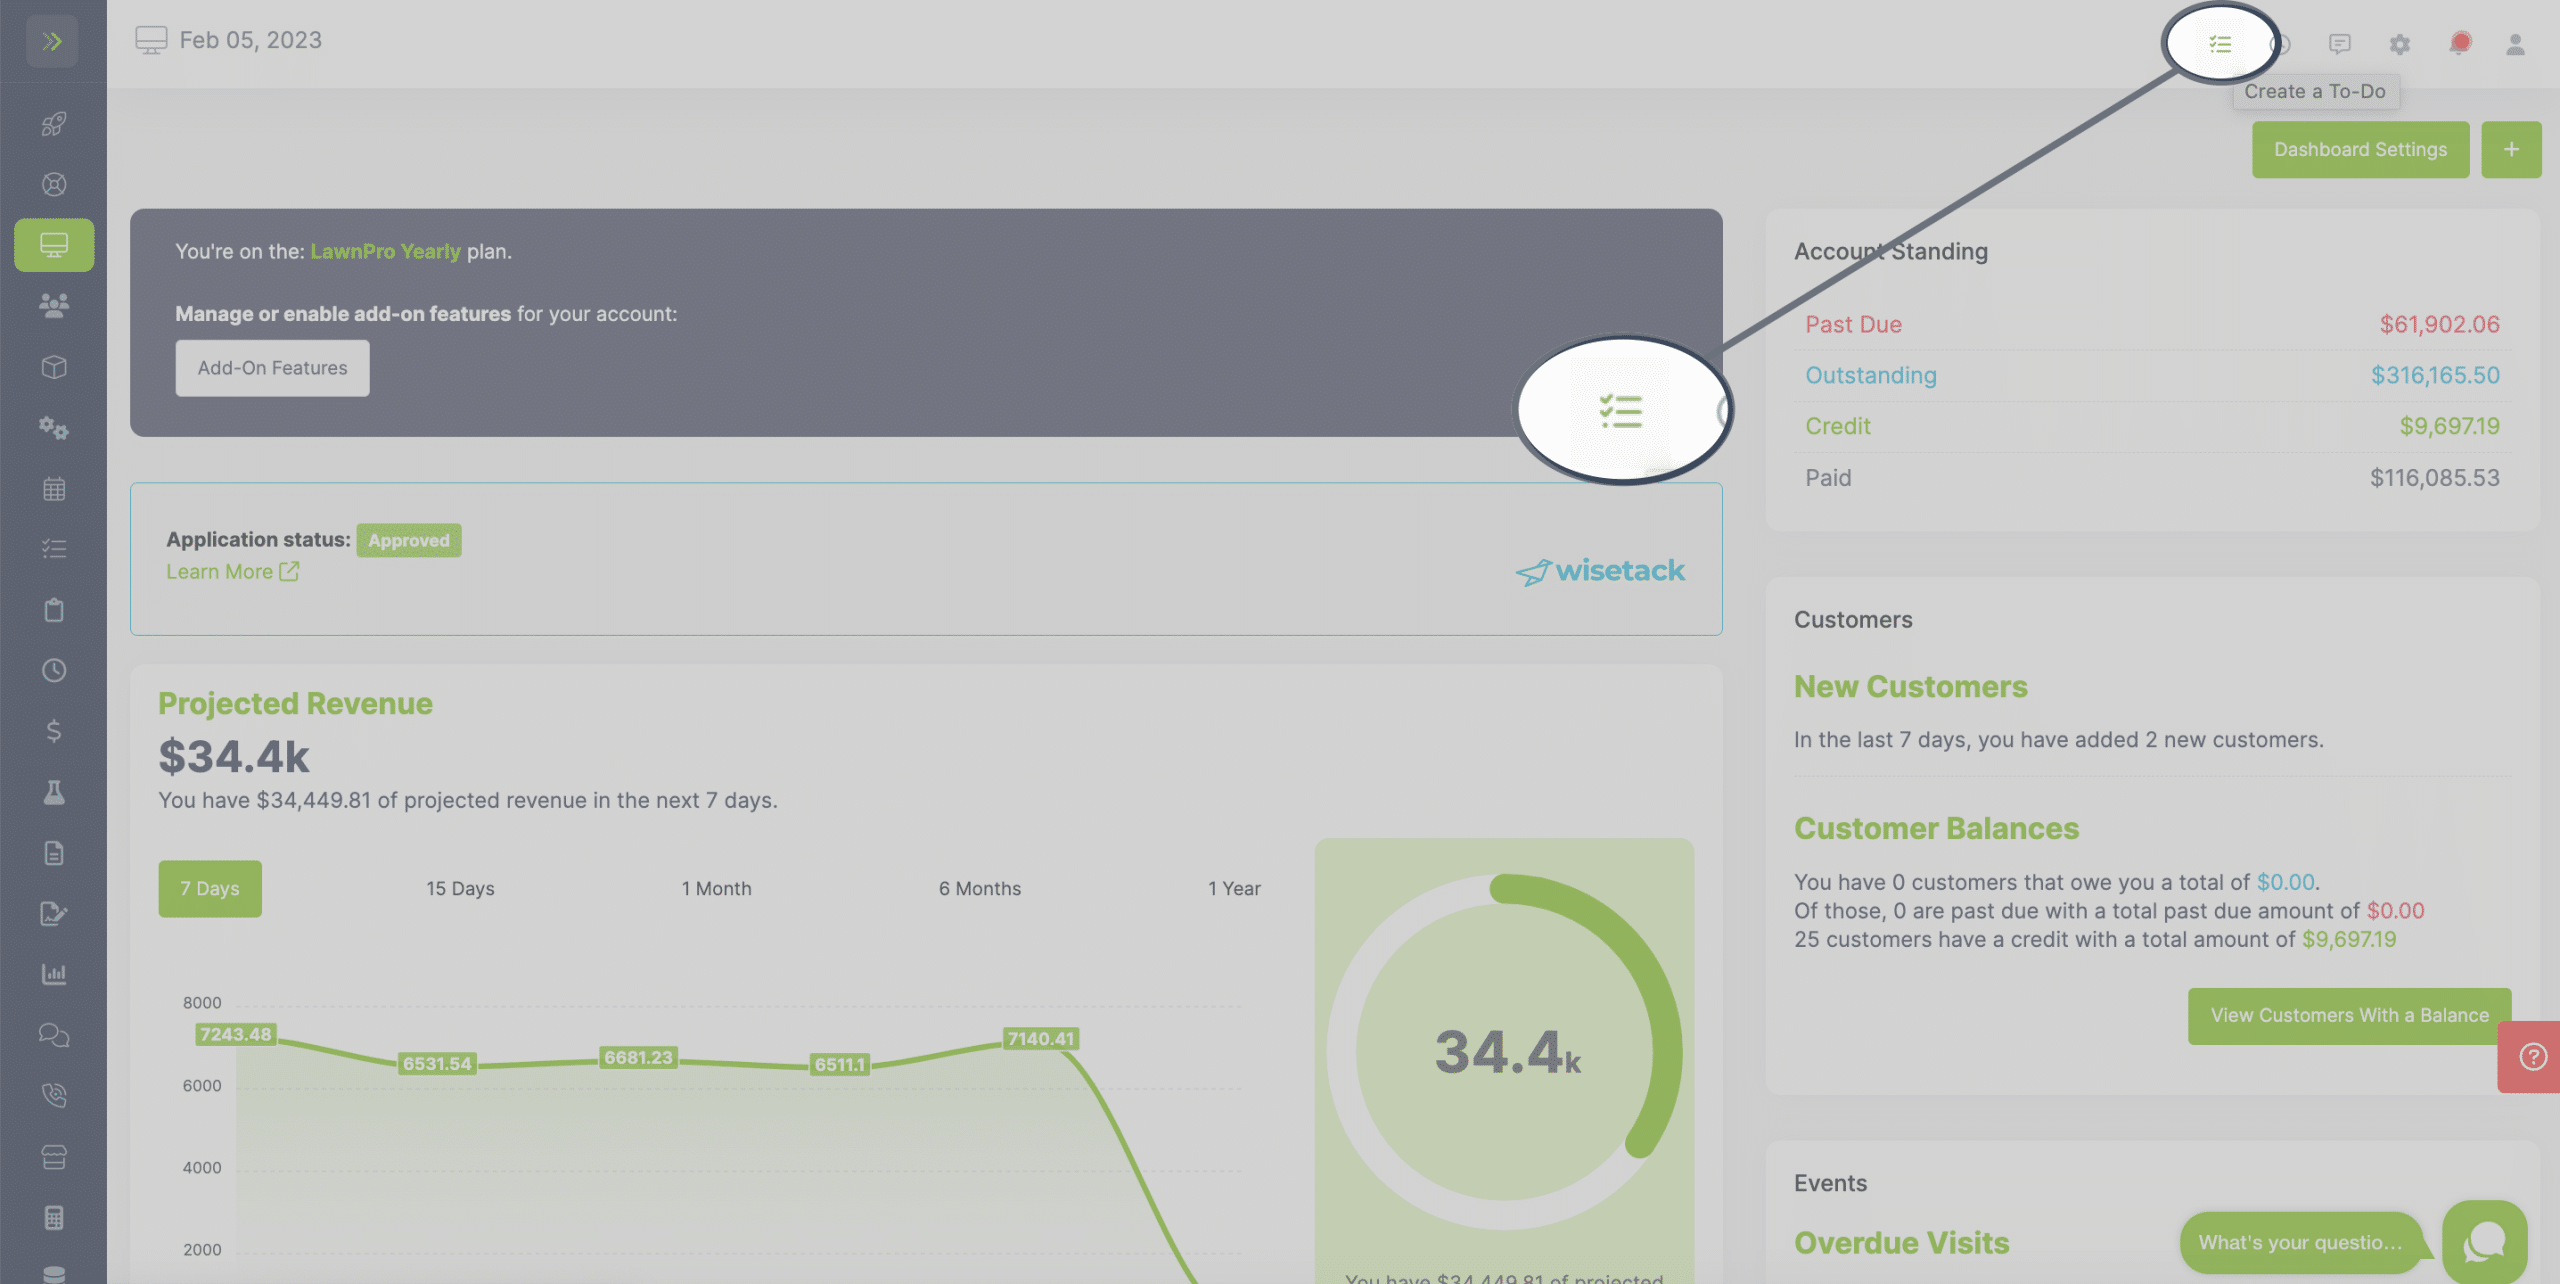
The first way to create a new To-do is from the icon on the top right of your screen.
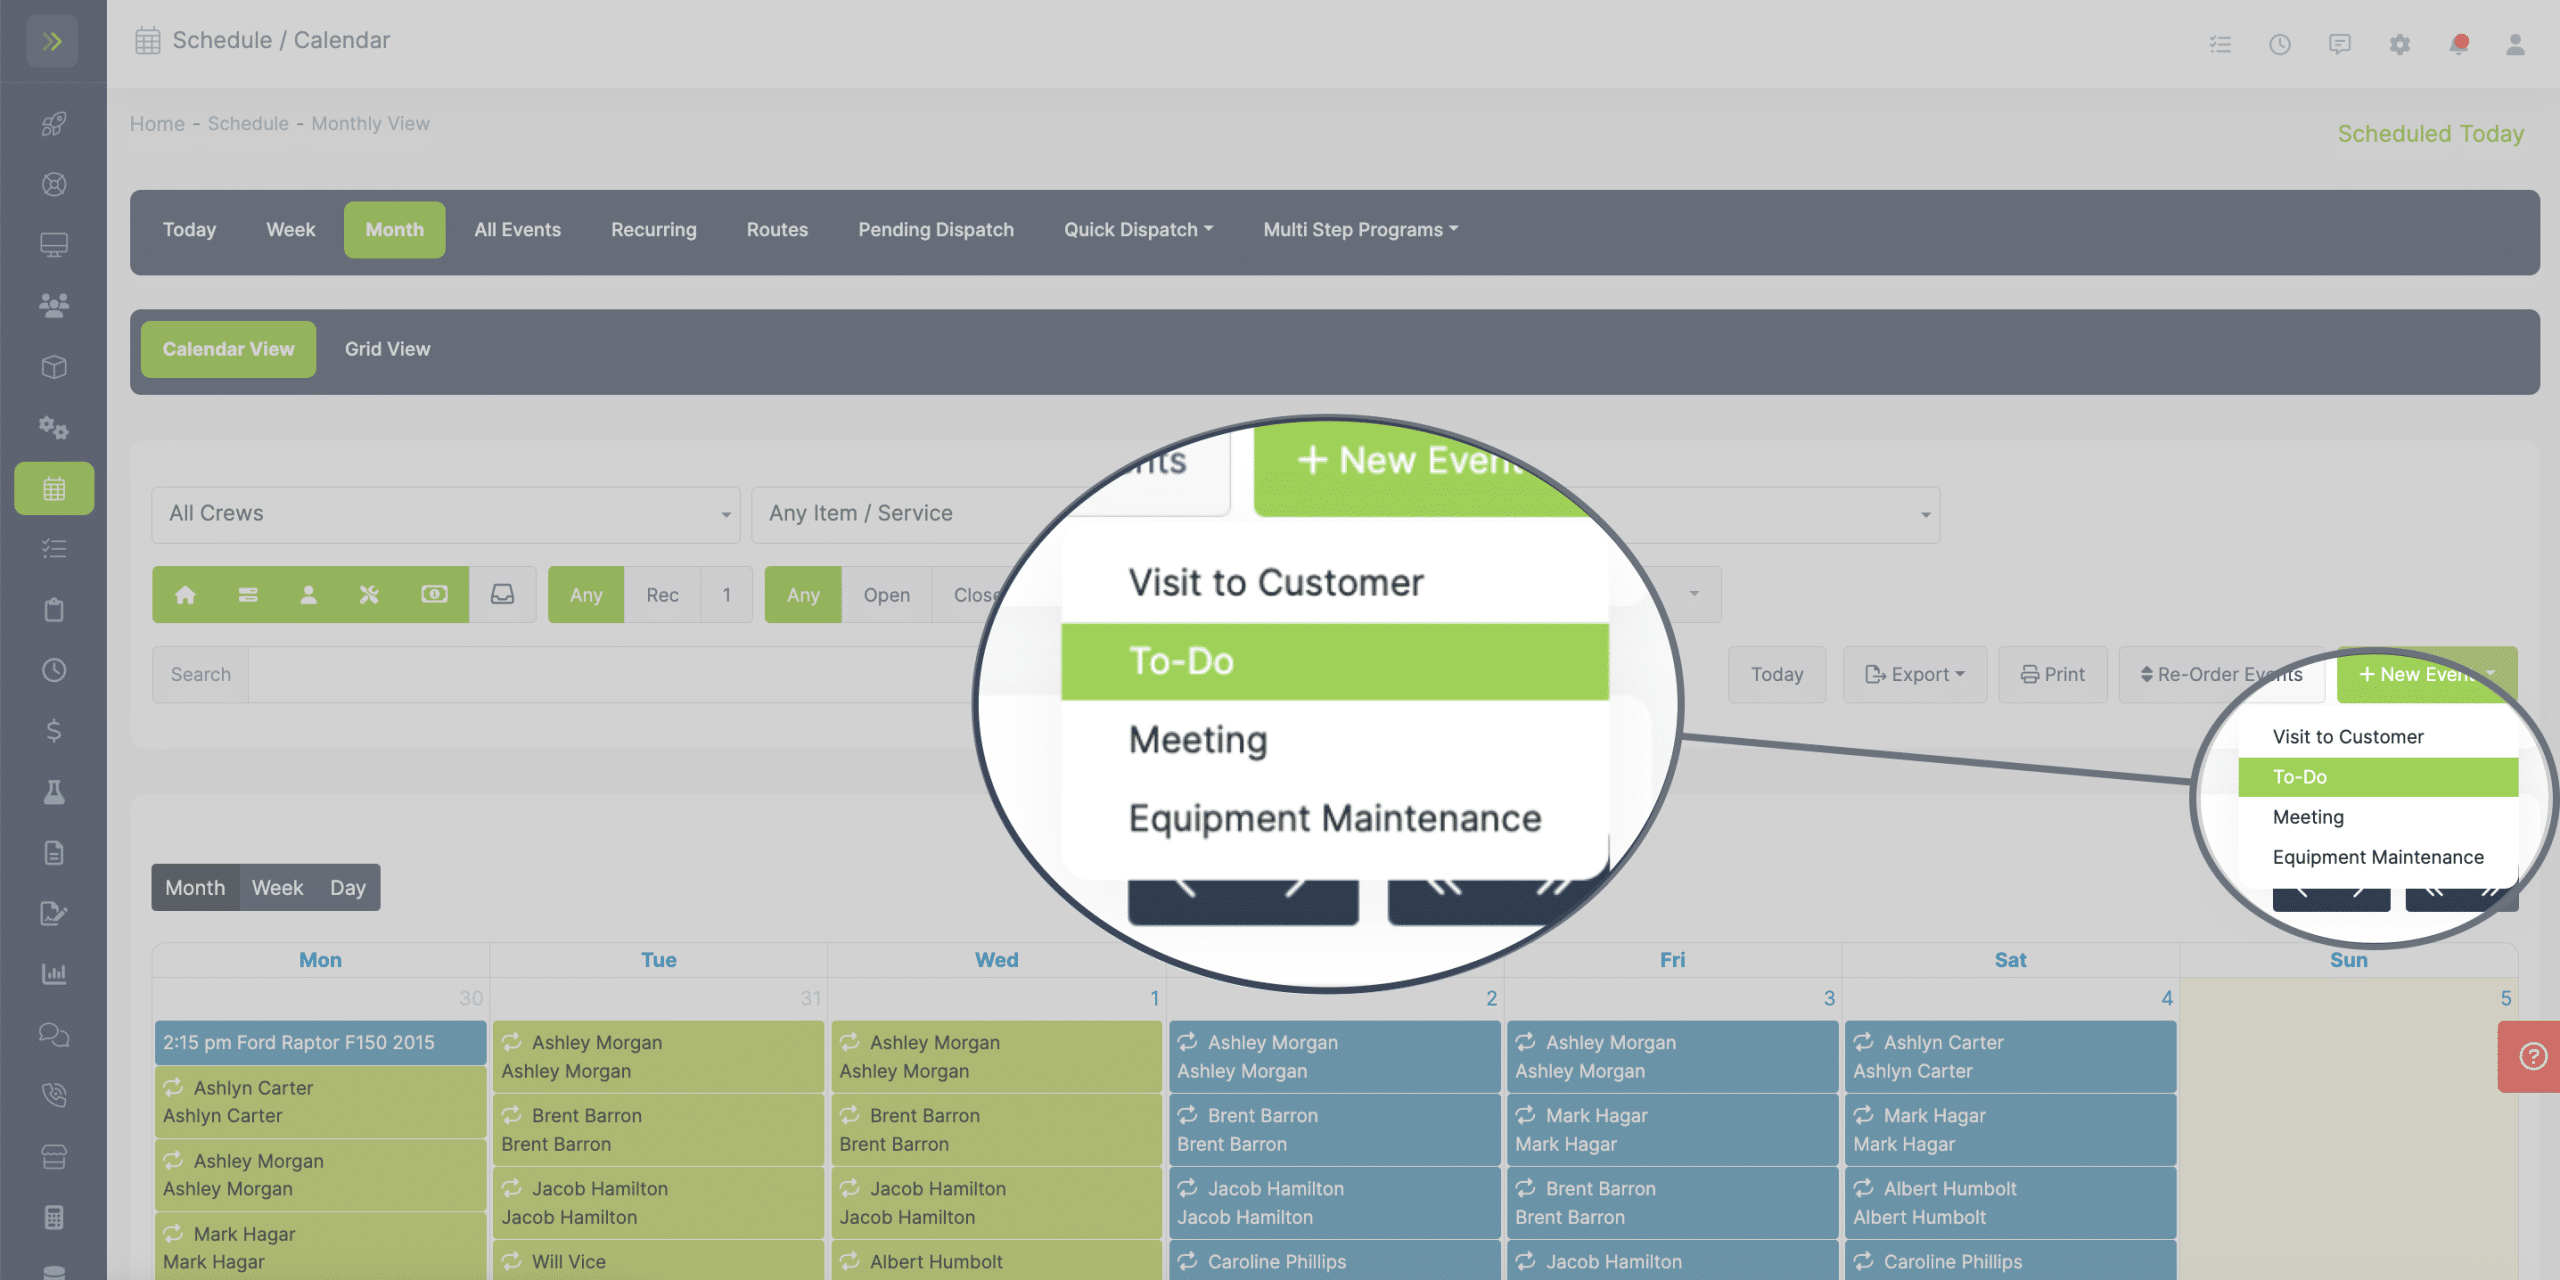
Another way to create a new To-do is from the Schedule Tab.
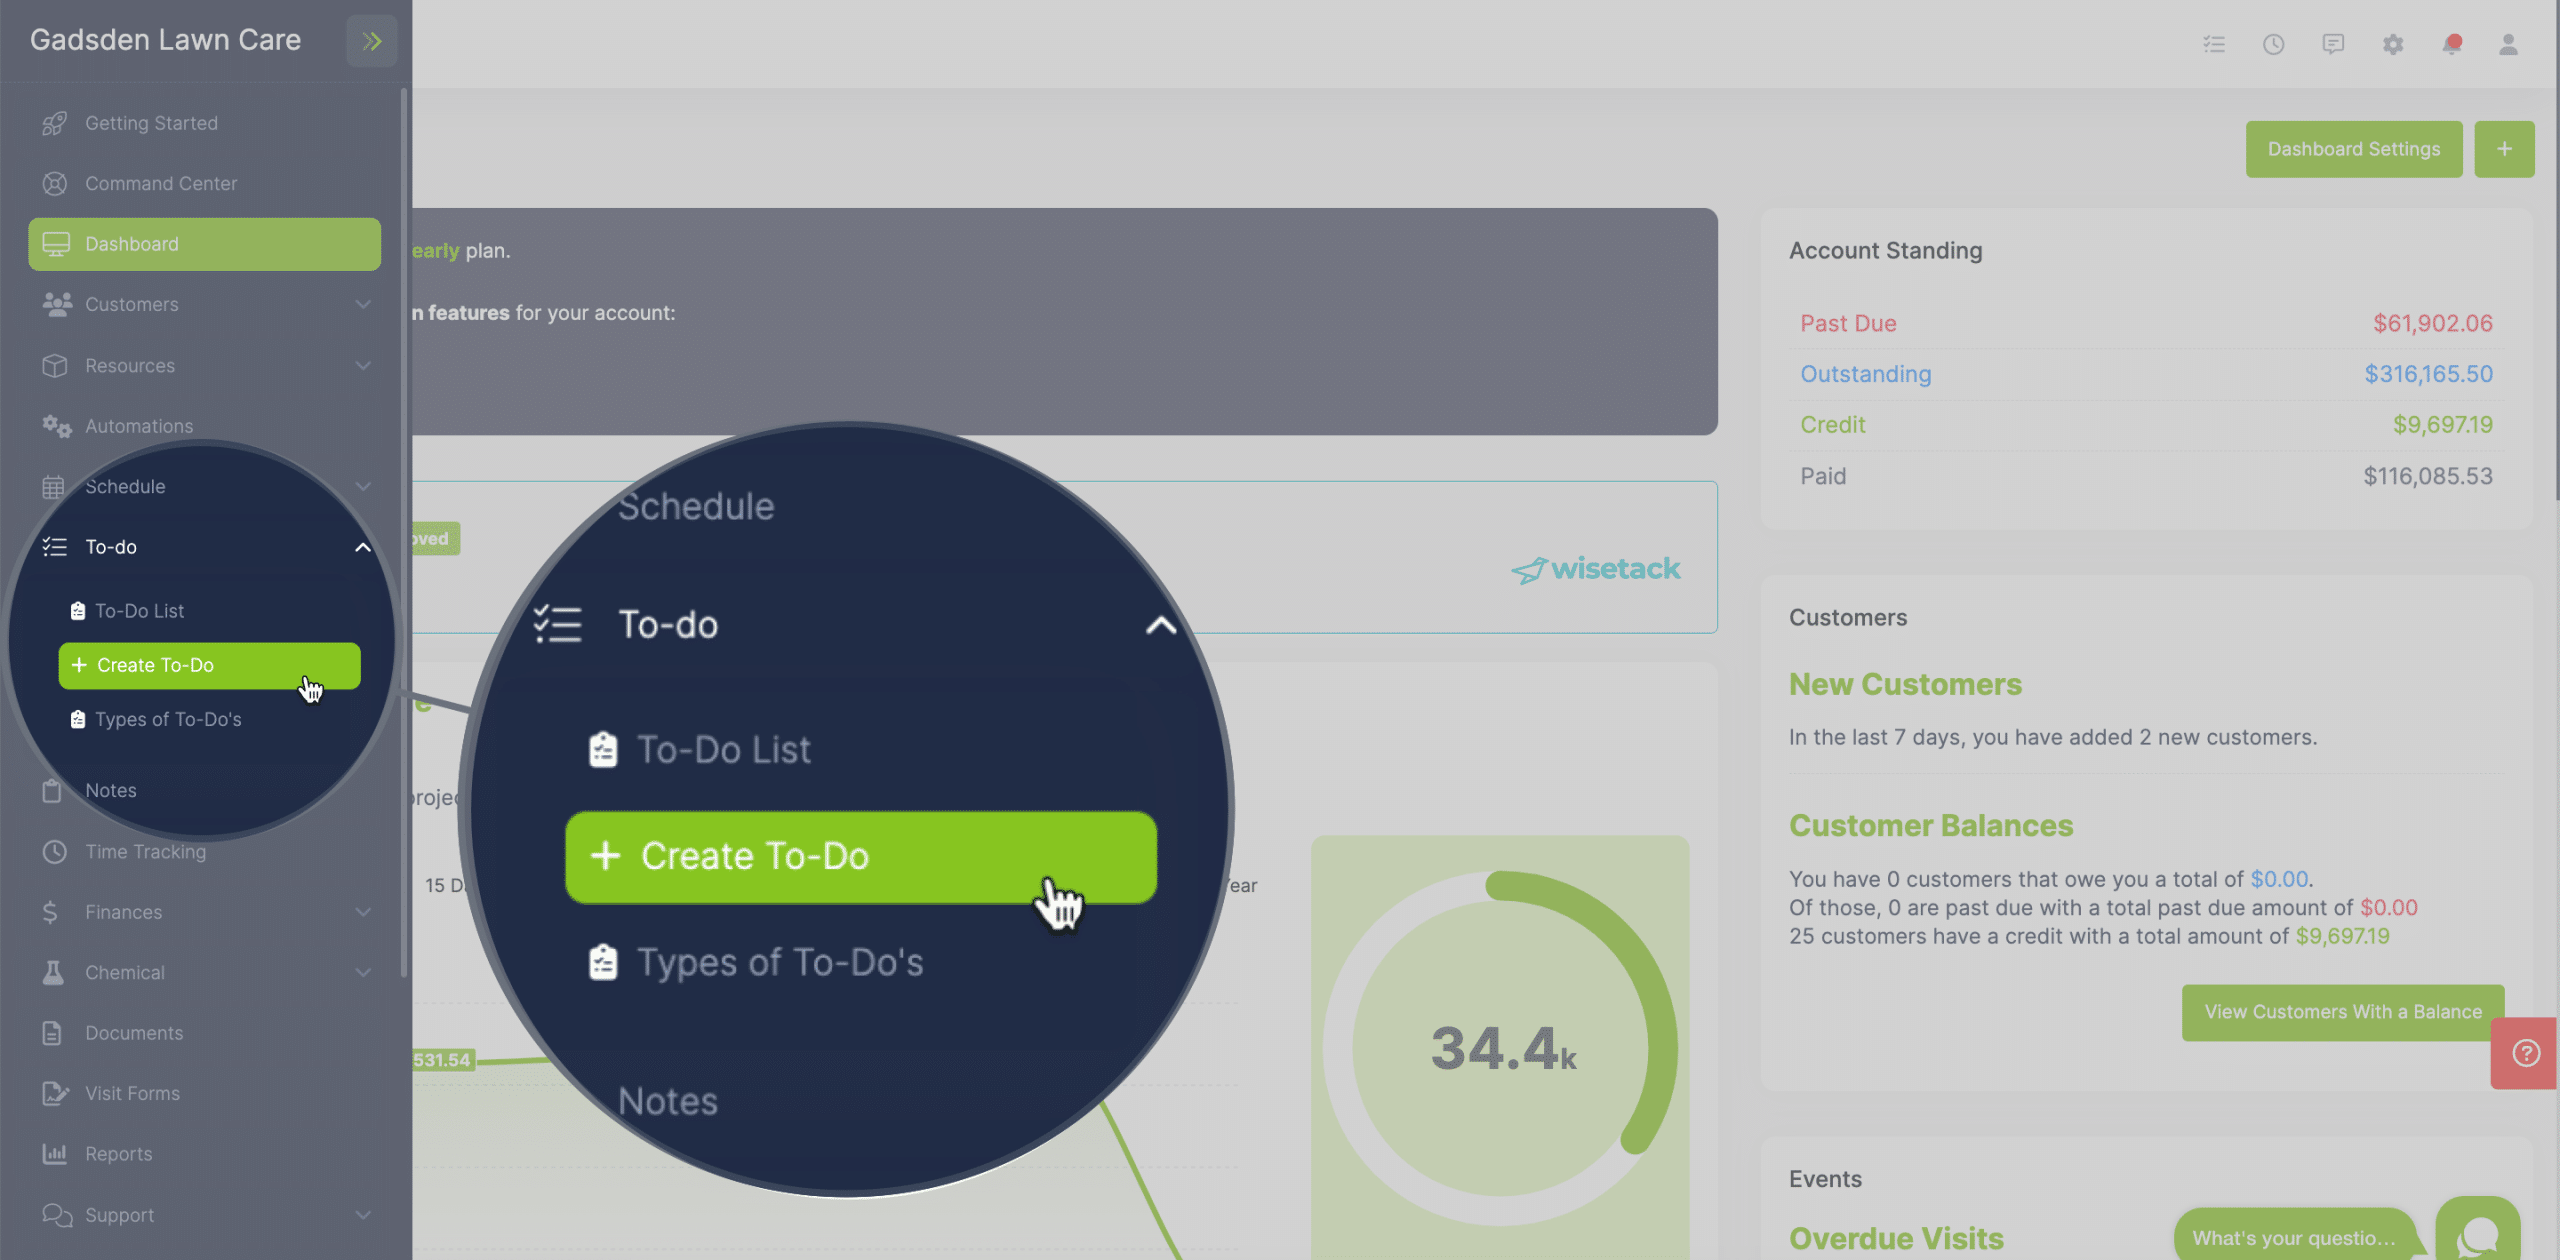
The last way is from the side menu by going to the To-do Tab.