Adding a Single Visit
Table of Contents
- Overview
- Opening the Create New Visit Page
- Date, Time, and Budgeted Hours
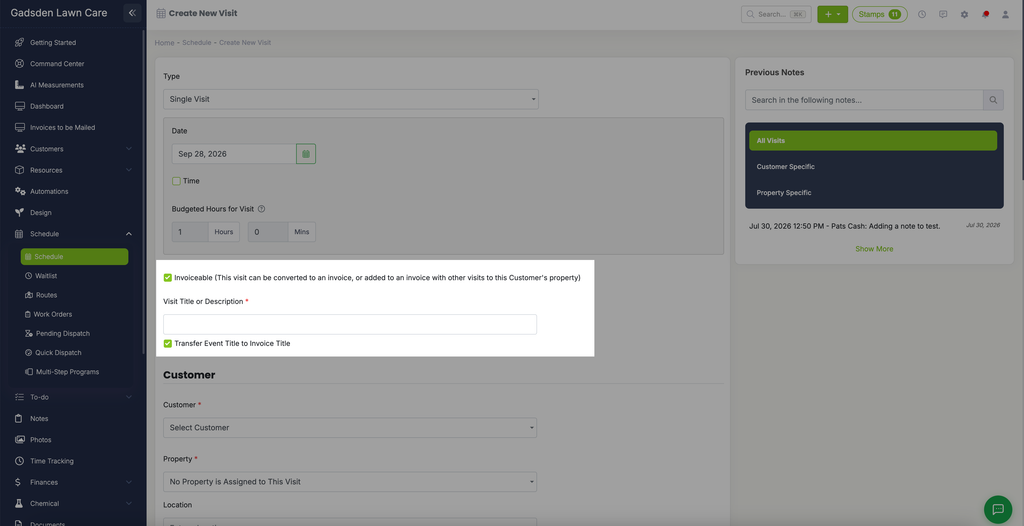
- Invoiceable and Visit Title
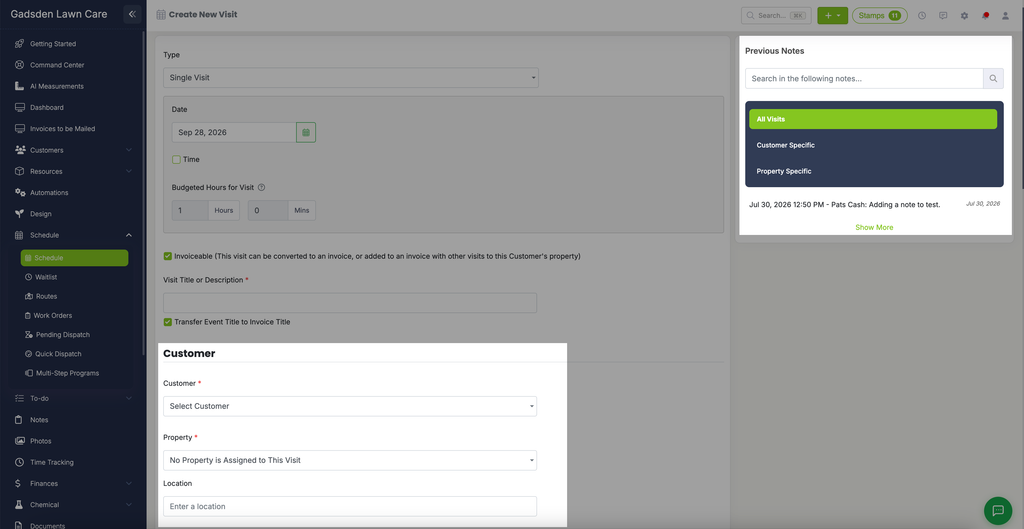
- Customer and Property
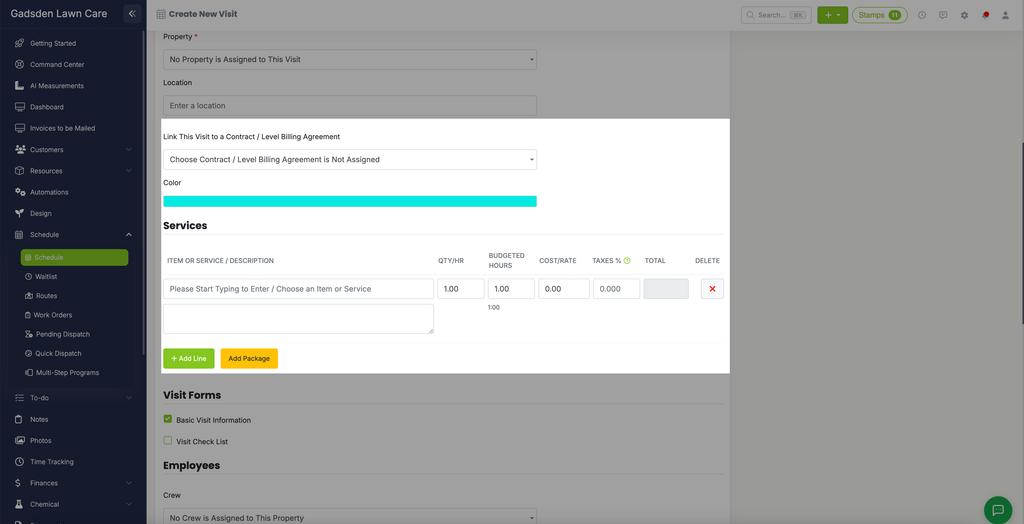
- Contract, Color, and Services
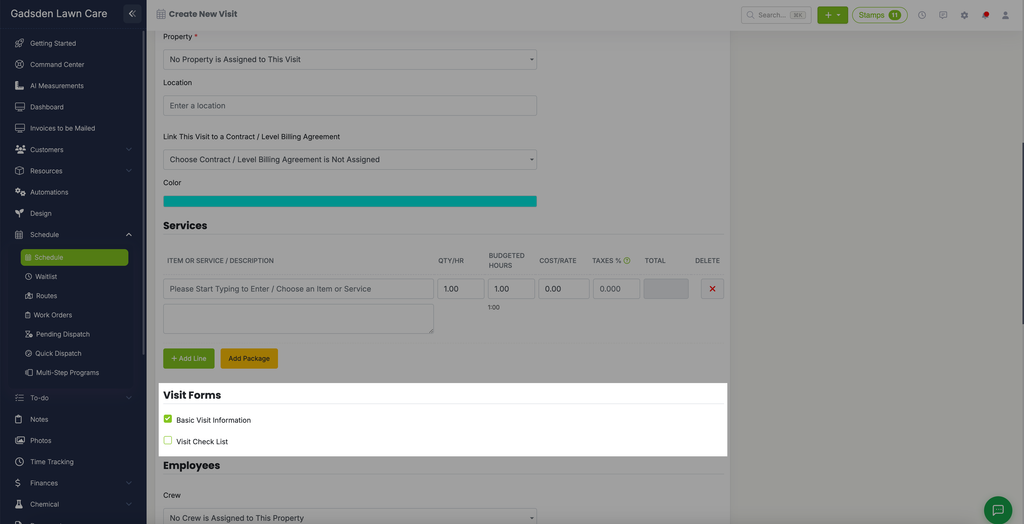
- Visit Forms
- Crew and Employees
- Tags and Notes
- Custom Fields and Photos
- Transferring Notes and Photos to the Invoice
- Creating the Visit
Overview
A single visit is a one-time job on your schedule, such as a cleanup or a one-off service call. This article walks through each part of the Create New Visit page.
Opening the Create New Visit Page
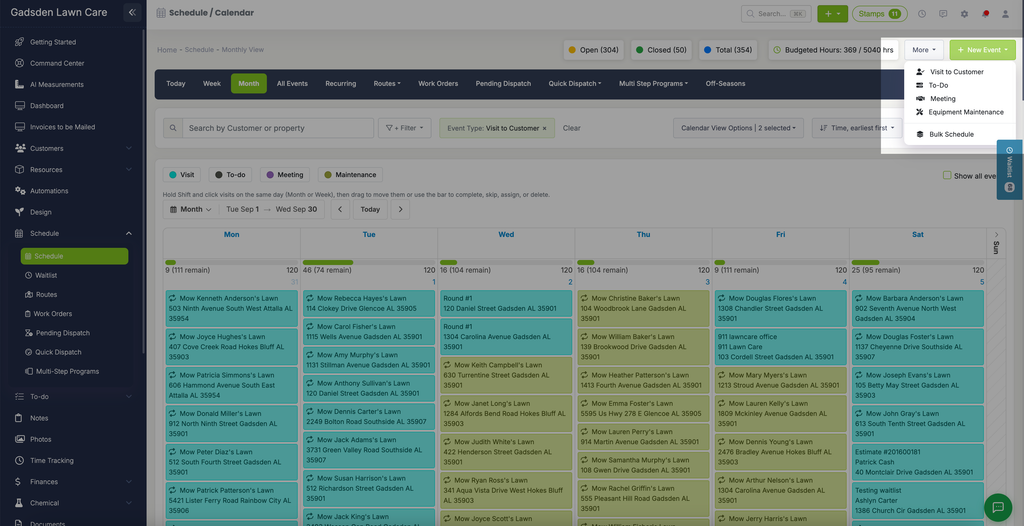
Go to the Schedule tab, click the green “New Event” button in the top right corner, and choose “Visit to Customer.”
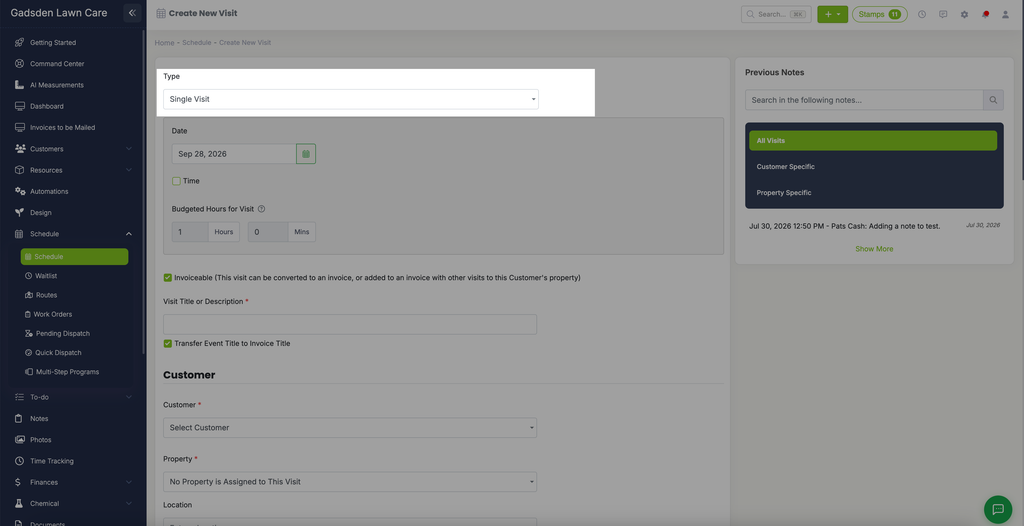
On the Create New Visit page, leave Type set to Single Visit.
Date, Time, and Budgeted Hours
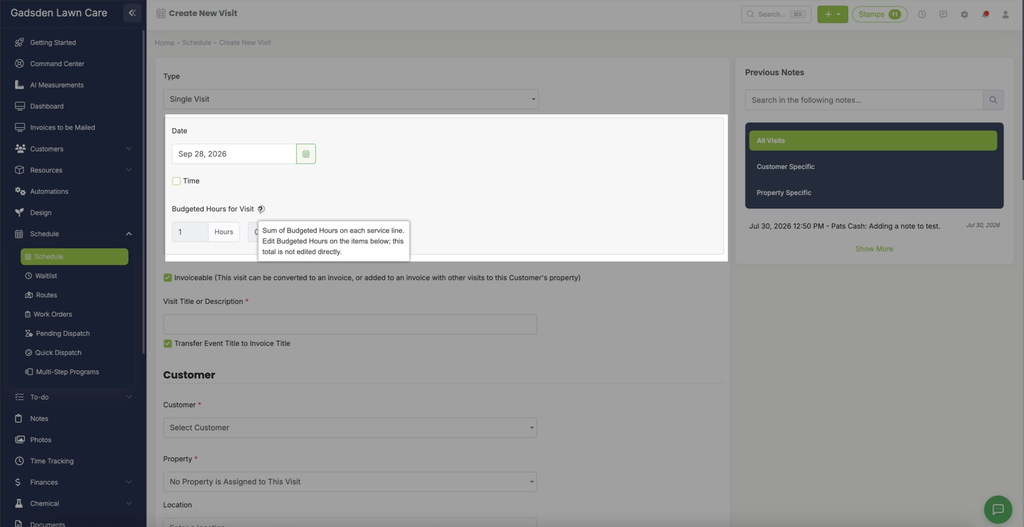
Select the Date for the visit. To schedule it at a specific time, check the Time box and a field appears to enter the time.
Budgeted Hours for Visit is calculated for you — it’s the total of the budgeted hours on each service line further down the page. To change it, edit the budgeted hours on the services rather than on this field. Hover over the ? icon next to it for a reminder.
Invoiceable and Visit Title
- Invoiceable — checked by default. This means the visit can be converted to an invoice, or added to an invoice with your other visits to that customer’s property.
- Visit Title or Description — required. Enter a name for the visit.
- Transfer Event Title to Invoice Title — checked by default. When checked, the visit title is used as the invoice title.
Customer and Property
Select the customer and property this visit is for — both are required. You can also enter a Location for the visit.
As soon as you choose a customer or property, the Previous Notes panel on the right fills in with notes from past visits. Use the search box to find a specific note, and switch between the All Visits, Customer Specific, and Property Specific tabs. Click Show More to see older notes.
Contract, Color, and Services
Contract / Level Billing — To link the visit to a contract or level billing agreement, use the “Link This Visit to a Contract / Level Billing Agreement” dropdown. You can learn more about those here.
Color — Open visits show as teal on your calendar by default. To use a different color for this visit, click the teal bar and choose one.
Services — Add the items and services for the visit. If you’ve already added items and services to your account, start typing in the Item or Service / Description box and matching items fill in with the prices you’ve set. Each line has:
- Qty/Hr
- Budgeted Hours
- Cost/Rate
- Taxes %
- Total
- A red X to delete the line
Click the green “+ Add Line” button to add another line, or the yellow “Add Package” button to add a package of items.
Note: If the property has default items or services, they fill in automatically once you select the property.
Visit Forms
The Visit Forms section lists your visit forms with a checkbox beside each one. Check the forms you want attached to this visit. To learn more, see Visit Forms.
Crew and Employees
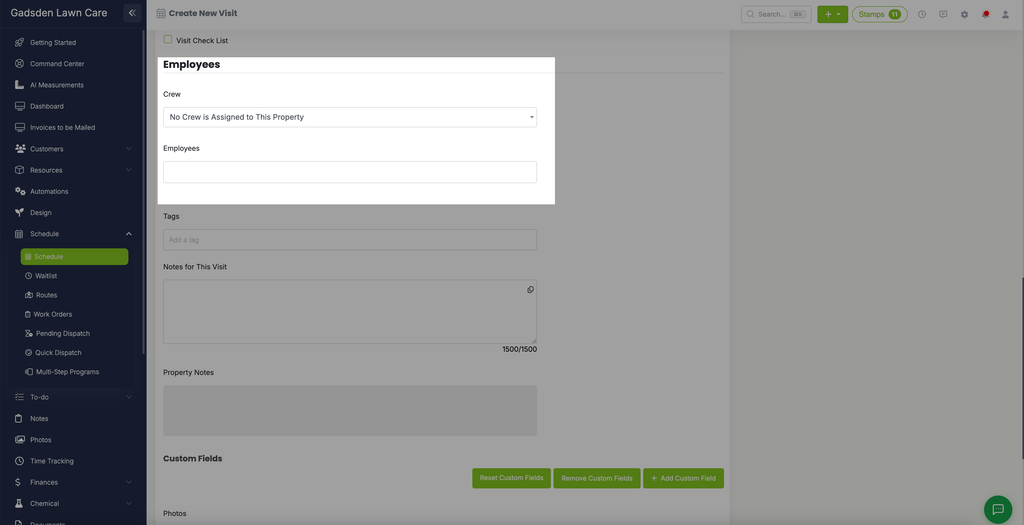
Choose a crew from the Crew dropdown, and the employees on that crew fill into the Employees box automatically. If you don’t want to assign a crew, just type the employee or employees into the Employees box.
Tags and Notes
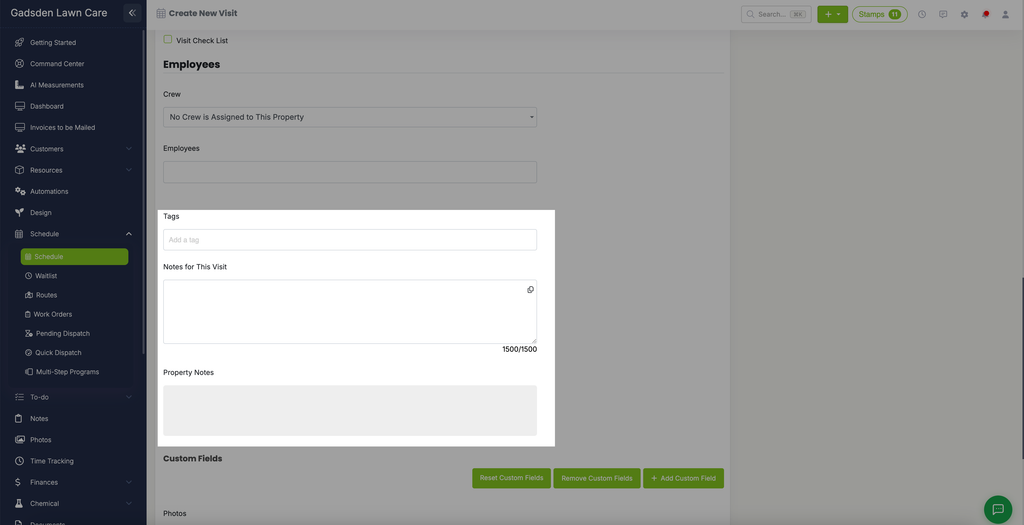
- Tags — add tags to the visit.
- Notes for This Visit — add notes of up to 1,500 characters. These notes are only seen on the company side. The customer will not see them.
- Property Notes — once you’ve selected a property, any notes saved on it appear here. They can’t be edited on this page. To change them, edit the property.
Custom Fields and Photos
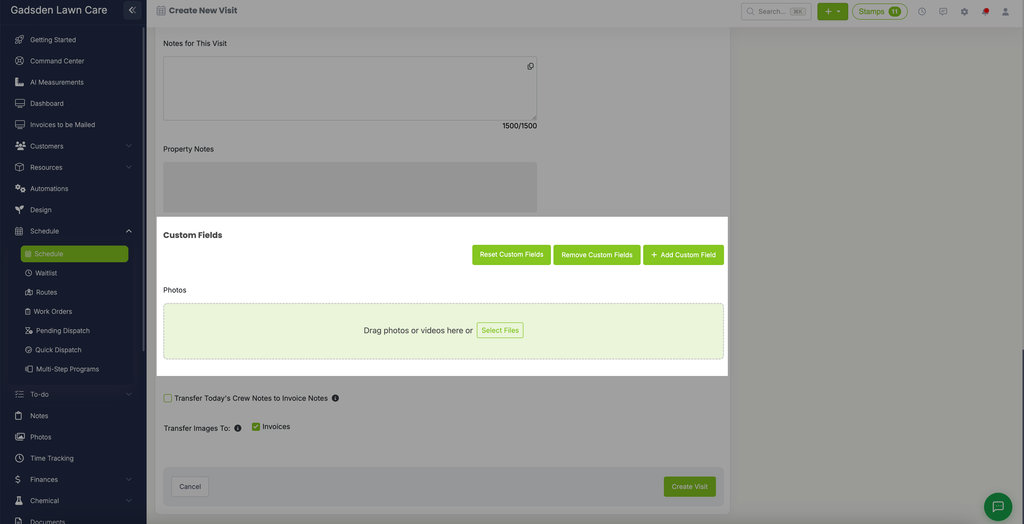
Custom Fields — Use “+ Add Custom Field” to add a custom field to the visit. “Reset Custom Fields” and “Remove Custom Fields” are there if you need to start over.
Photos — To add photos or videos to the visit, drag them into the upload area or click “Select Files.”
Transferring Notes and Photos to the Invoice
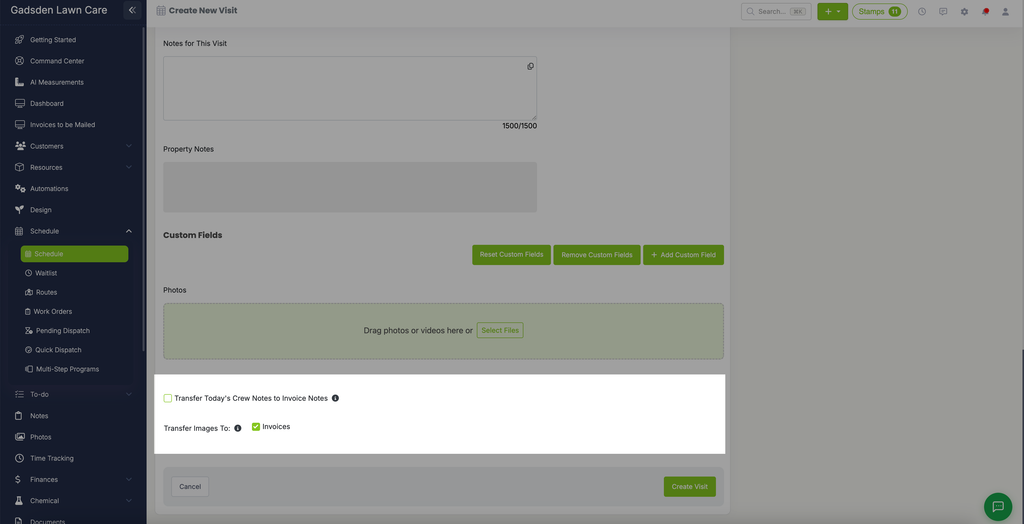
Two options near the bottom of the page control what carries over to the invoice:
- Transfer Today’s Crew Notes to Invoice Notes — unchecked by default. Check it to have the crew’s notes from the visit show up as notes on the invoice.
- Transfer Images To: Invoices — checked by default. Photos attached to the visit are added to the invoice.
Hover over the i icon next to either option for more detail.
Creating the Visit
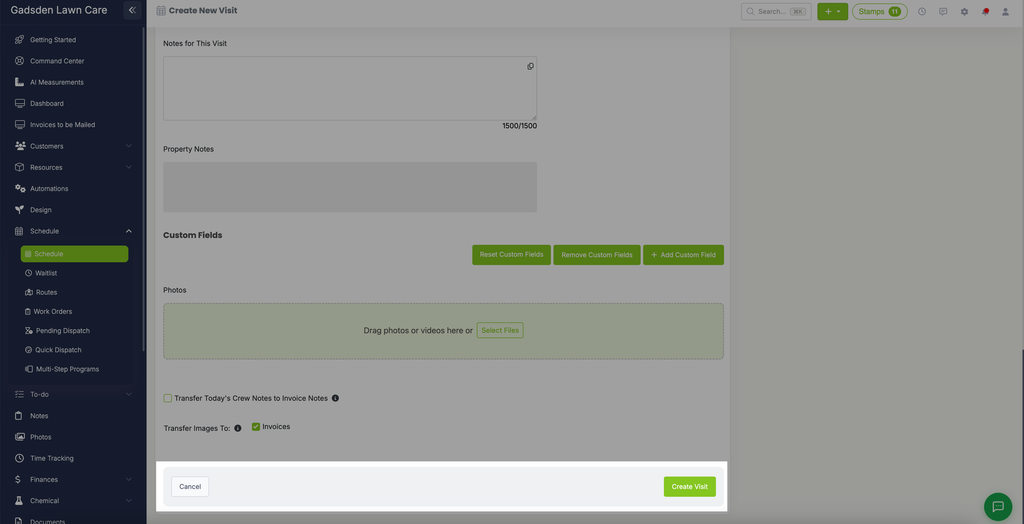
When everything is filled in, click the green “Create Visit” button to add the visit to your schedule. Click “Cancel” to leave without saving.