Table of Contents
- Overview
- Opening the Create New Visit Page
- Setting Your Frequency
- Start Date, Time, and Budgeted Hours
- Setting Your End Date
- Pause / Off-Season
- Invoiceable and Visit Title
- Customer and Property
- Contract, Color, and Services
- Visit Forms, Crew, and Employees
- Tags, Notes, Custom Fields, and Photos
- Creating the Series
Overview
If you have customers you service on a regular schedule, such as weekly, biweekly, or monthly, you don’t need to add each visit one by one. Set up a recurring series once and LawnPro will build your entire schedule automatically.
Opening the Create New Visit Page
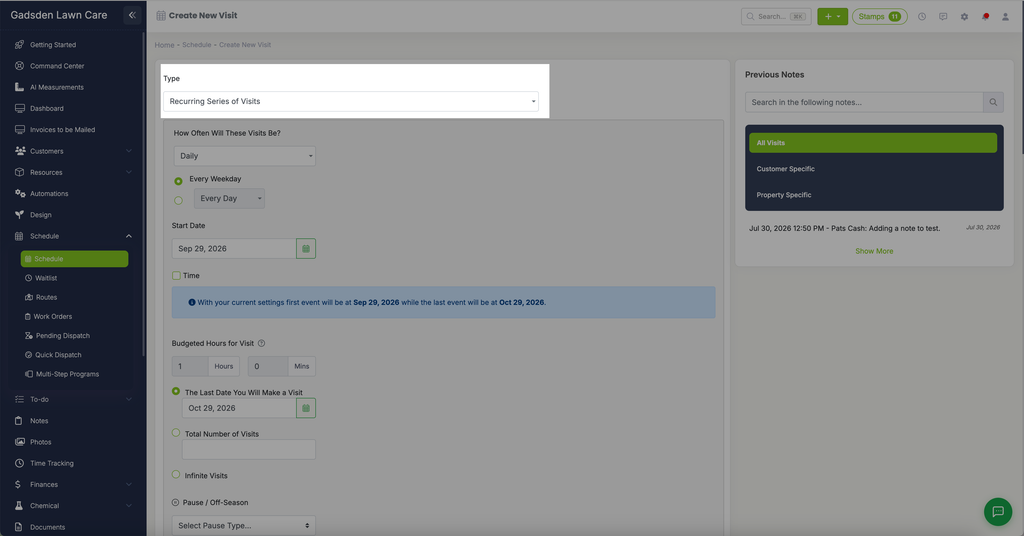
Go to the Schedule tab, click the green “New Event” button, and choose “Visit to Customer.” At the top of the page, click the Type dropdown and change it from Single Visit to “Recurring Series of Visits.”
Setting Your Frequency
Under “How Often Will These Visits Be?” choose one of five frequencies. Each one shows different fields:
- Daily — choose “Every Weekday,” or select the second option and set a specific number of days between visits.
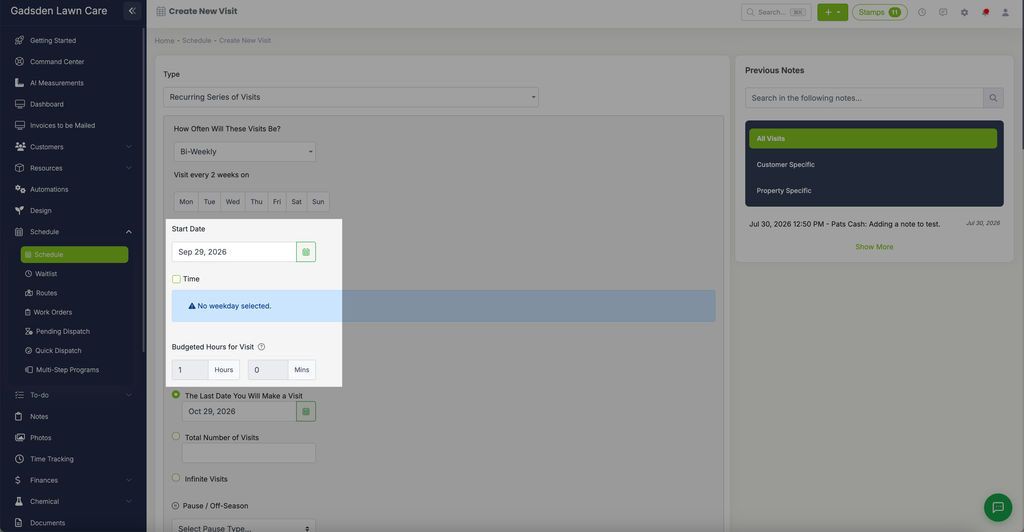
- Weekly — a “Repeat on: Every Week” dropdown, plus a day-of-week selector (Mon–Sun) to choose which day the visit falls on. If no day is selected, a warning reads “No weekday selected.”
- Bi-Weekly — a “Visit every 2 weeks on” day-of-week selector (Mon–Sun). Like Weekly, it warns if no day is selected.
- Monthly — a “Repeat on: Every Month” dropdown, then choose either a specific day of the month (for example, “1st Day”), or a relative day such as “First Monday.”
- Yearly — choose either a specific month and day (for example, “Every January 1”), or a relative day within a month, such as “The First Monday of January.”
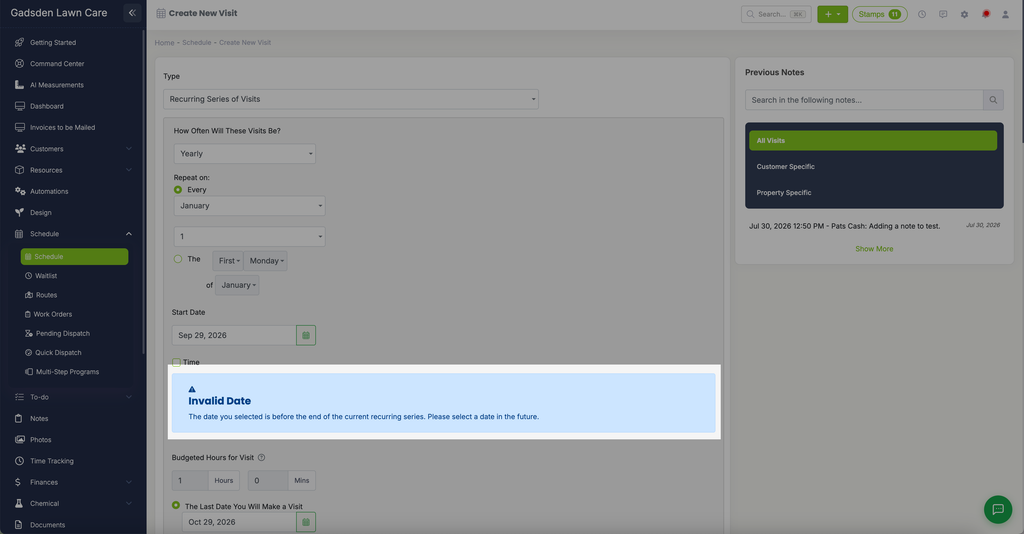
Once you’ve set a frequency and start date, a blue banner shows a preview: “With your current settings first event will be at [date] while the last event will be at [date].” If your settings would produce an invalid schedule (for example, an end date before the series would actually begin), you’ll see an “Invalid Date” warning instead.
Start Date, Time, and Budgeted Hours
Select the start date for the recurring series. If you need visits at a specific time, check the Time box and enter the time. Add Budgeted Hours for Visit — this is calculated from the budgeted hours you set on each service line further down the page.
Setting Your End Date
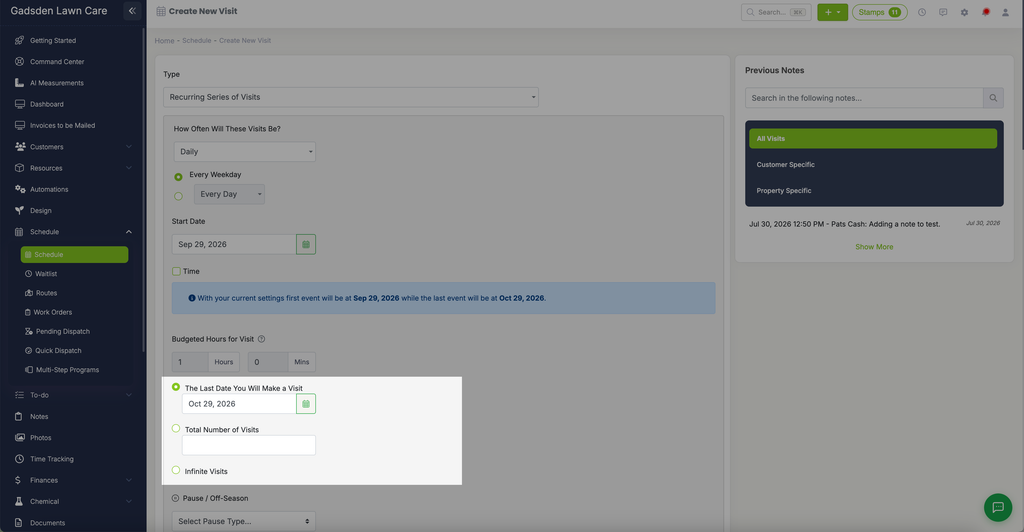
Choose when you want the series to end. You have three options:
- The Last Date You Will Make a Visit — a specific end date
- Total Number of Visits — a total count of visits
- Infinite Visits — schedules a year out, and automatically schedules the next year once that year has ended
Pause / Off-Season
If there are months you don’t service, such as winter, use the Pause / Off-Season dropdown to choose between two options:
- Use Off-Season Schedule — assign one or more existing off-seasons to this series, or click “+ Create a new off season” to set one up.
- Pause This Series — temporarily stop generating future visits for a one-time situation, like a customer on vacation. Set an optional resume date (leave blank for an indefinite pause) and an optional reason.
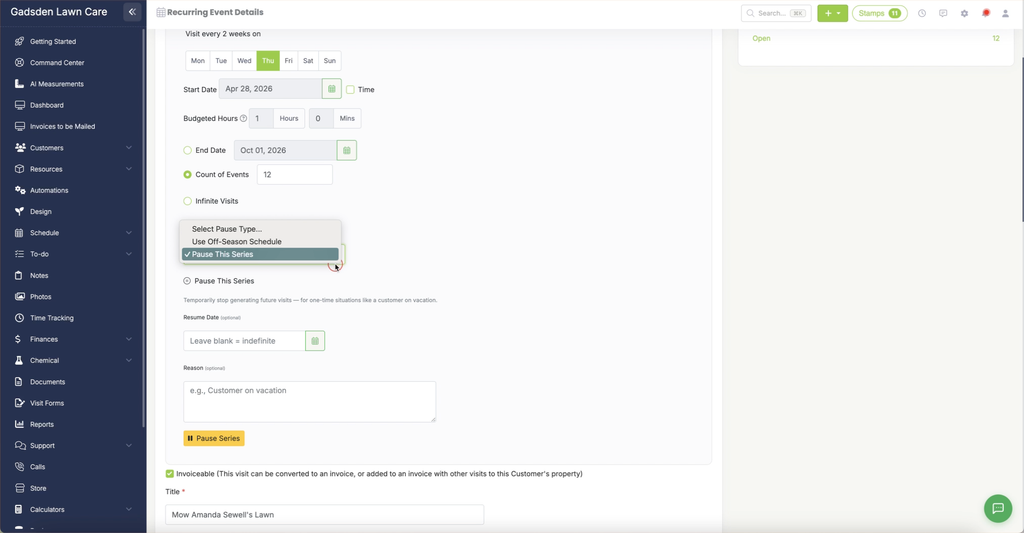
See Seasonal Pause for the full walkthrough of both options.
Invoiceable and Visit Title
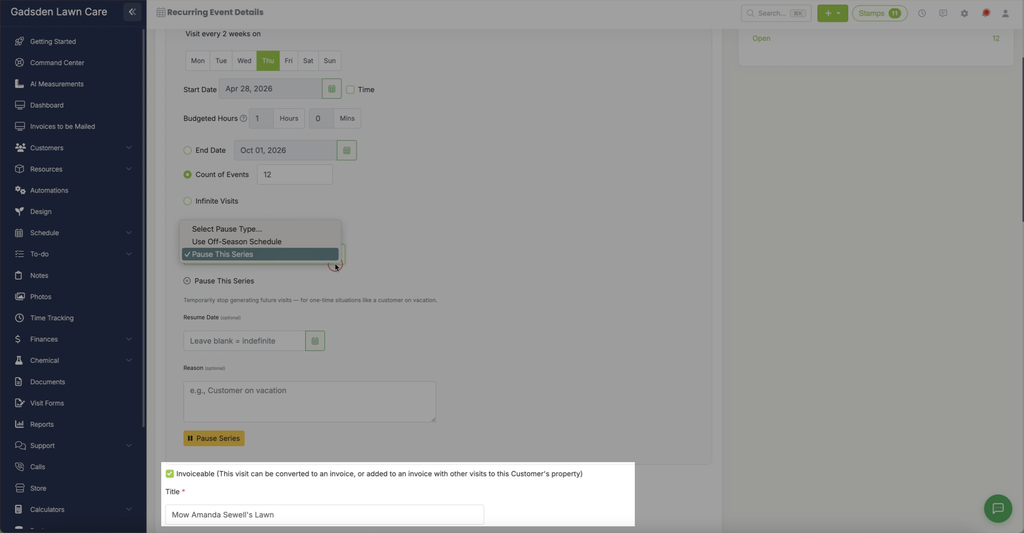
Check “Invoiceable” if you want these visits to be invoiceable. If this box isn’t checked, you won’t have the option to close and invoice these visits.
Name the recurring series in Visit Title or Description.
Customer and Property
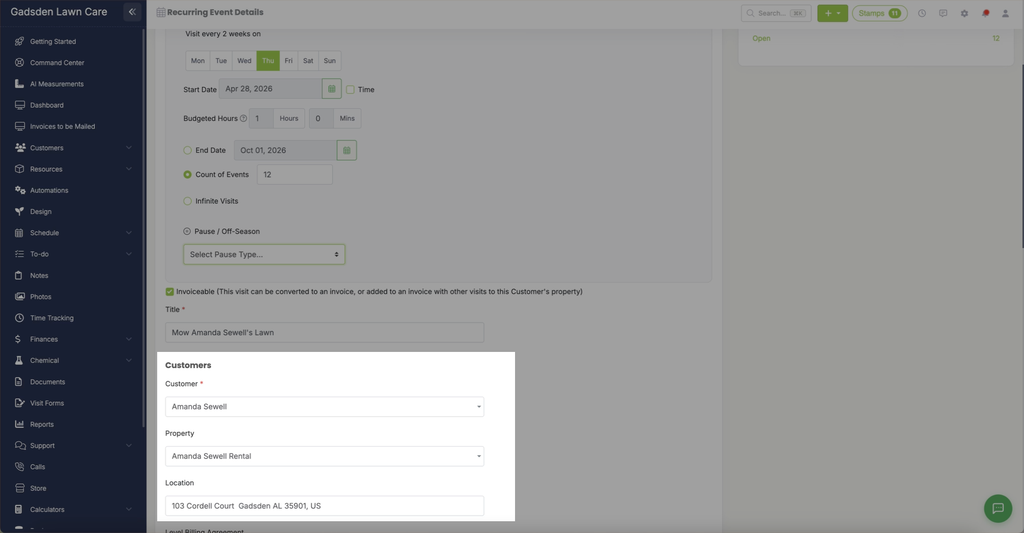
Select the customer and property for the series — if the property has default items or services set up, they’ll automatically populate.
Contract, Color, and Services
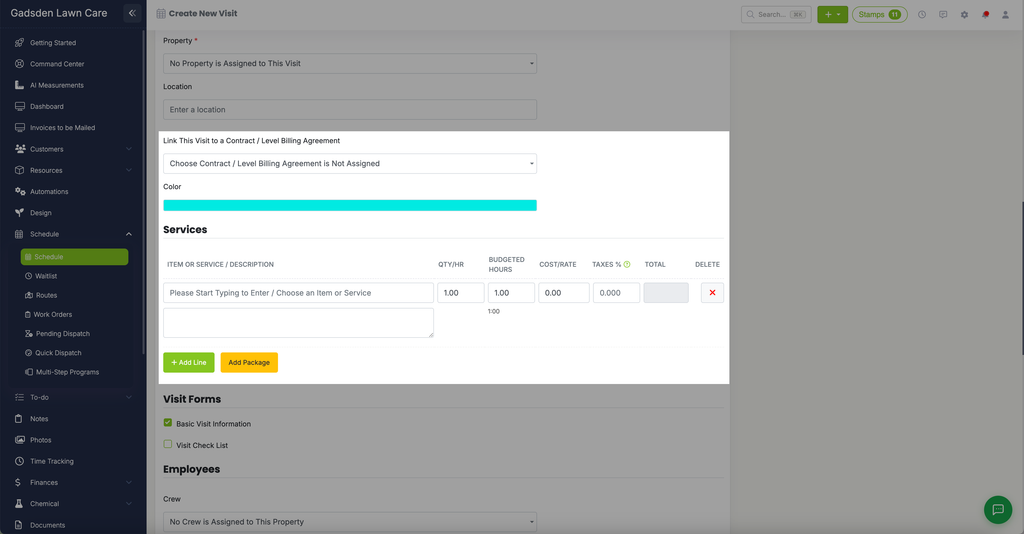
If the series is tied to a contract or level billing agreement, link it using the dropdown.
By default, visits appear as teal on your calendar. Click the teal bar to choose a different color.
Add your items and services by typing in the description box — your items will auto-populate from your account. Use the green “Add Line” button to add multiple services, or the yellow “Add Package” button to add a bundle at once.
Note: If the selected property has default items or services, they’ll auto-populate.
Visit Forms, Crew, and Employees
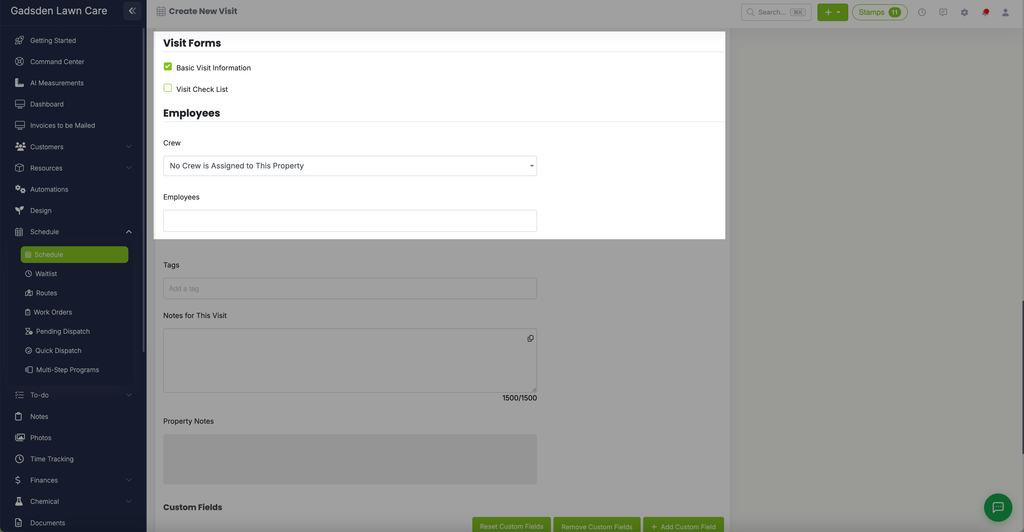
Attach any visit forms that need to be completed for these visits.
Assign a crew or employees — selecting a crew automatically populates the employees on that crew. You can also assign individual employees by typing their name directly into the Employees box.
Tags, Notes, Custom Fields, and Photos
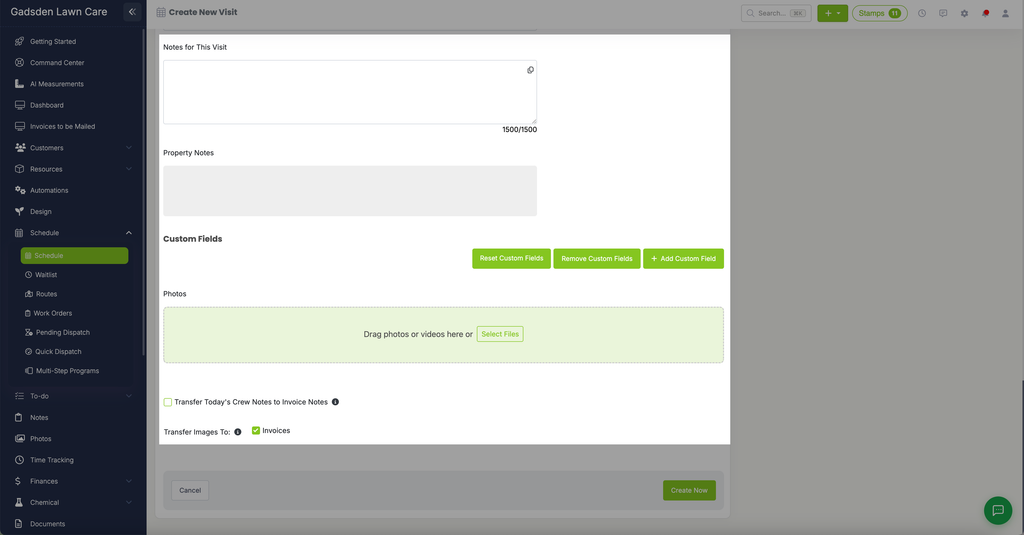
Add any tags and internal notes for your team — these aren’t visible to the customer. Any existing property notes also appear here for reference but can’t be edited from this page.
Fill in any custom fields if needed.
Upload any photos or videos by dragging them into the upload area or clicking “Select Files.” Choose whether to transfer the event title to the invoice, and whether uploaded images transfer to the invoice as well.
Creating the Series
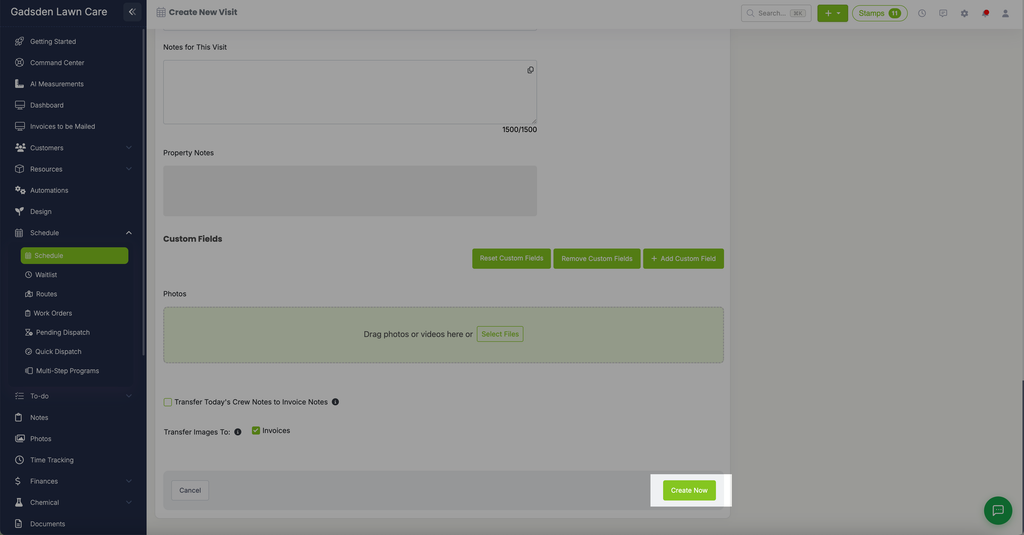
When everything looks good, click the green “Create Now” button, and LawnPro will generate the entire recurring series and add it to your schedule automatically.