Table of Contents
- Overview
- Opening Deposit / Payment Schedule Options
- Deposit Only
- Payment Schedule
- Enable Pay in Full
- What Your Customer Sees
- Viewing the Deposit in Your Account
Overview
You can require a deposit on an estimate before a customer accepts it, or split the total into a full payment schedule. This is set up right on the estimate itself.
Opening Deposit / Payment Schedule Options
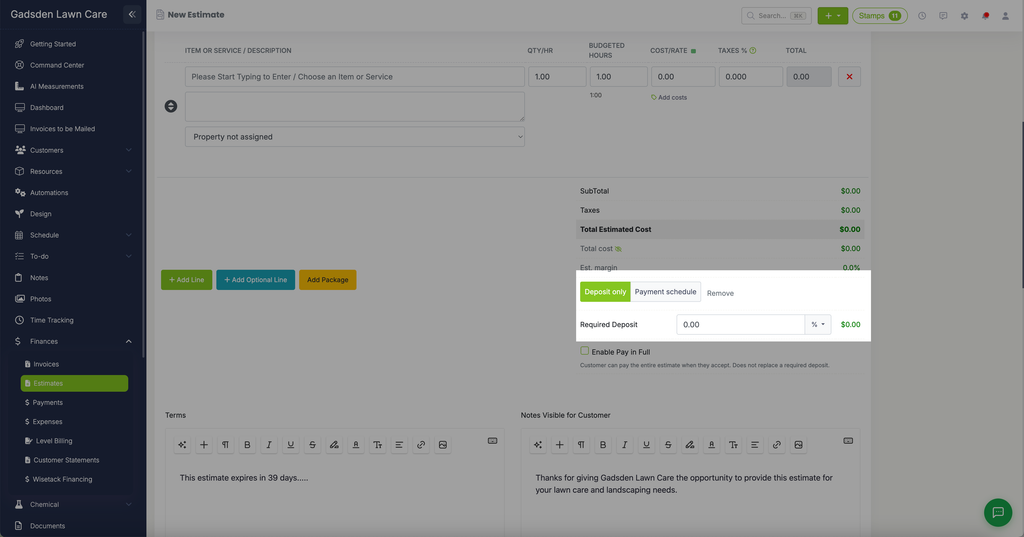
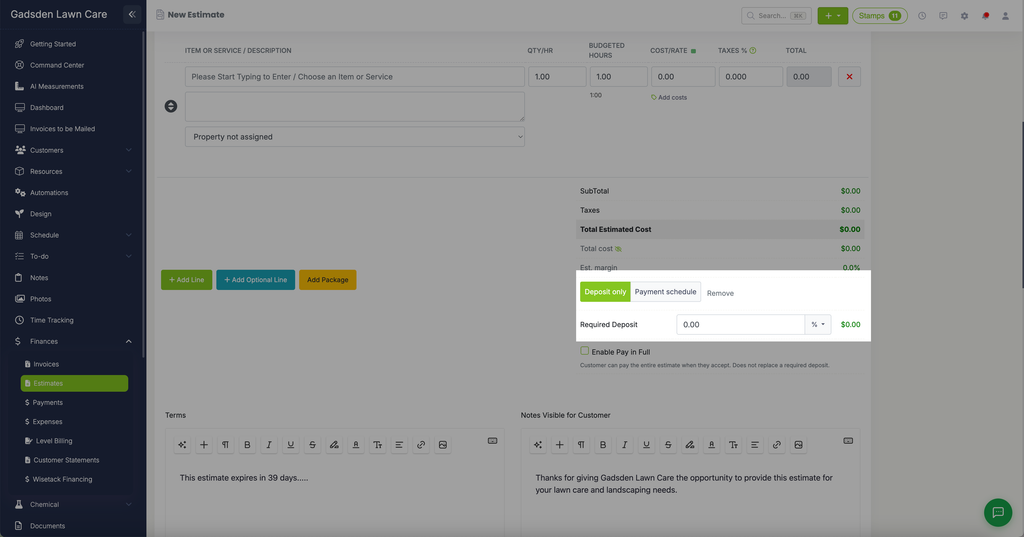
On the New Estimate (or Edit Estimate) page, click “Add Deposit or Payment Schedule” below the totals. This opens a panel with two tabs: “Deposit only” and “Payment schedule.” Click “Remove” at any time to clear whatever you’ve set up.
Deposit Only
With “Deposit only” selected, enter a Required Deposit amount. Use the % / $ dropdown to set it as a percentage of the total or a flat dollar amount — the calculated dollar amount shows to the right.
Payment Schedule
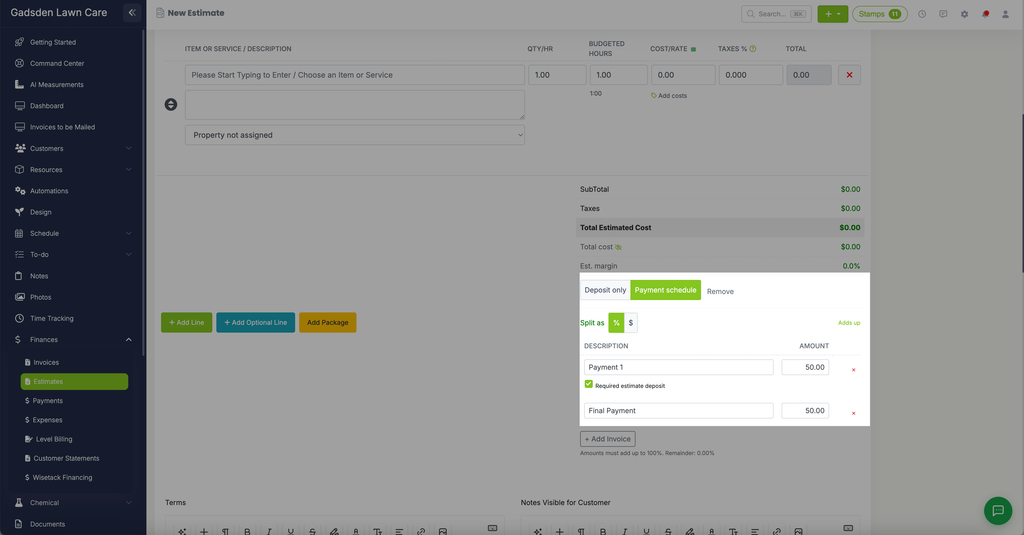
Click “Payment schedule” to split the estimate into multiple payments instead of a single deposit. Choose whether to “Split as” a percentage (%) or dollar amount ($), then set up each payment:
- Description — a label for the payment, such as “Payment 1” or “Final Payment”
- Amount — the amount for that payment
Check “Required estimate deposit” next to a payment to mark it as the deposit required before the customer can accept the estimate. Click the red X to remove a payment row, or “+ Add Invoice” to add another one.
Amounts must add up to 100% — a note at the bottom shows the remaining percentage until they do.
Enable Pay in Full
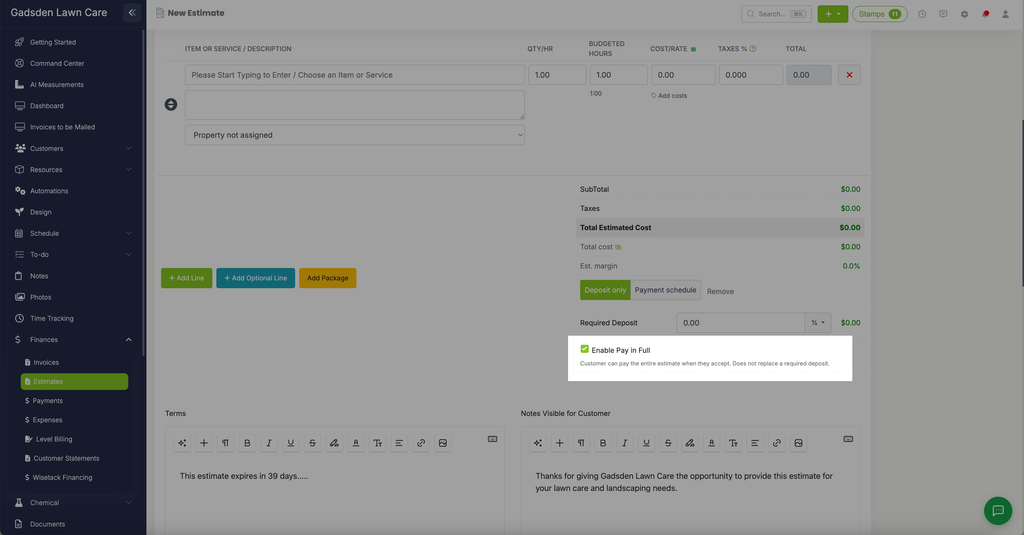
Below the deposit options, check “Enable Pay in Full” to let the customer pay the entire estimate when they accept it. This does not replace a required deposit — if one is set, the customer still needs to pay it to accept, even with this option enabled.
What Your Customer Sees
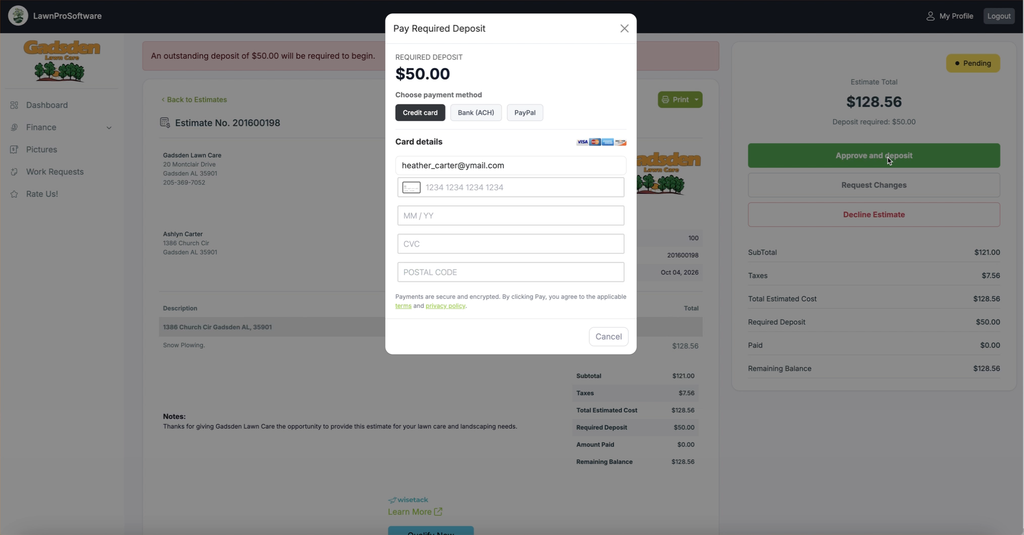
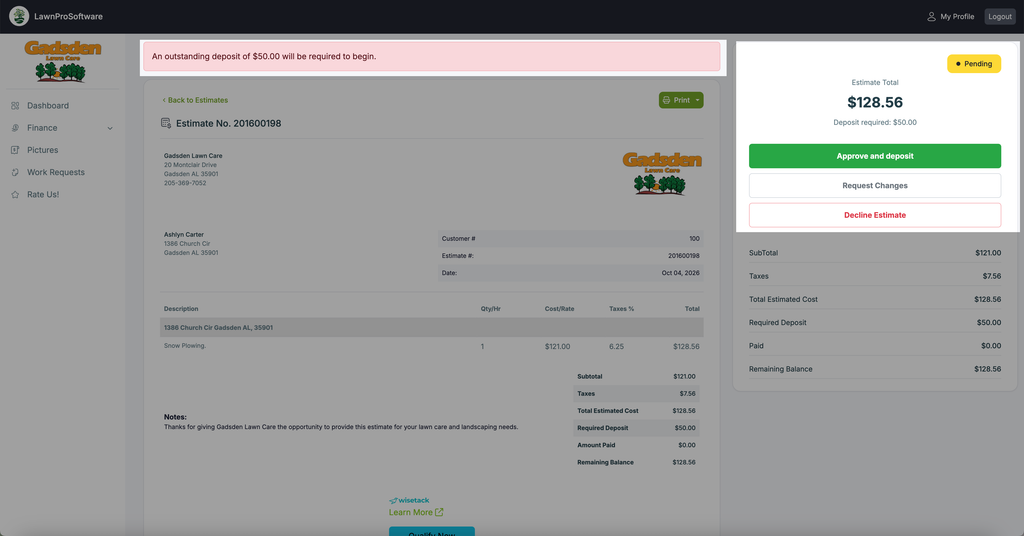
When your customer opens the estimate link you sent them by email or text, they’ll see a banner at the top reading something like “An outstanding deposit of $50.00 will be required to begin.” Alongside the full estimate, a panel shows the Estimate Total, the Deposit required, and three buttons:
- “Approve and deposit”
- “Request Changes”
- “Decline Estimate”
Below the buttons, a breakdown shows SubTotal, Taxes, Total Estimated Cost, Required Deposit, Paid, and Remaining Balance.
Clicking “Approve and deposit” opens a “Pay Required Deposit” popup. Your customer chooses a payment method — Credit card, Bank (ACH), or PayPal — enters their payment details, and submits the deposit.